
Posted 03 April 2017
In the year or so since I started printing with my trusty PowerSpec 3D PRO (Microcenter clone of the FlashForge Creator PRO), I have struggled to see what was happening in the first few layers of problem prints. The extruder/feed motor assembly is so big that it blocks most of the sight line to the build surface. What is left is a very shallow viewing angle, which is mostly shadowed by the print assembly. Over time, I have found that hanging one of my goose-neck LED bench lamps over the top edge of the cabinet on either the left or the right side gave me a much better view – the restricted viewing angle was unchanged, but a lot more light was thrown on the subject, literally. However, this was an inelegant solution to say the least, as the lamp was apt to fall off the printer at the most inopportune times.
As usual, I kept thinking of ways to improve this situation, and finally came up with the idea of seeing if I could find some small LED work lights that I could permanently attach to the printer. After some Googling around, I came up with a 2-lamp LED Auxiliary Light Kit (p/n DRL-CW3-SM-9) offered by superbrightleds.com for $24.95/pair – nice!
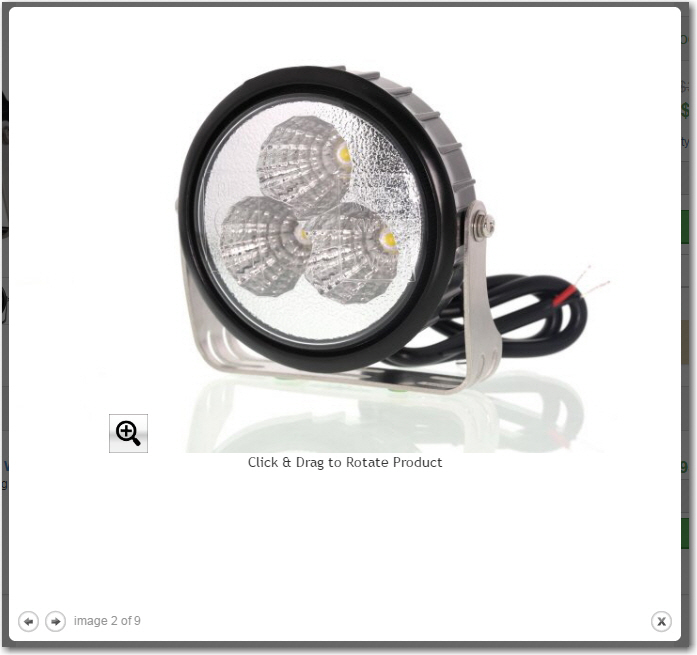
DRL-NW3-SM 12-24V 9W Auxiliary LED Light Kit (2 lamps)
After some fiddling around and some goofs, I arrived at an arrangement I liked. The lamps are mounted at the top of the cabinet and are pointed down so they illuminate the entire build surface, but are physically offset enough so the plastic top closure assembly can still be removed and put back on without problems (this was one of the goofs – the first arrangement I tried made removing/replacing this piece very tedious). The shots below show the setup.
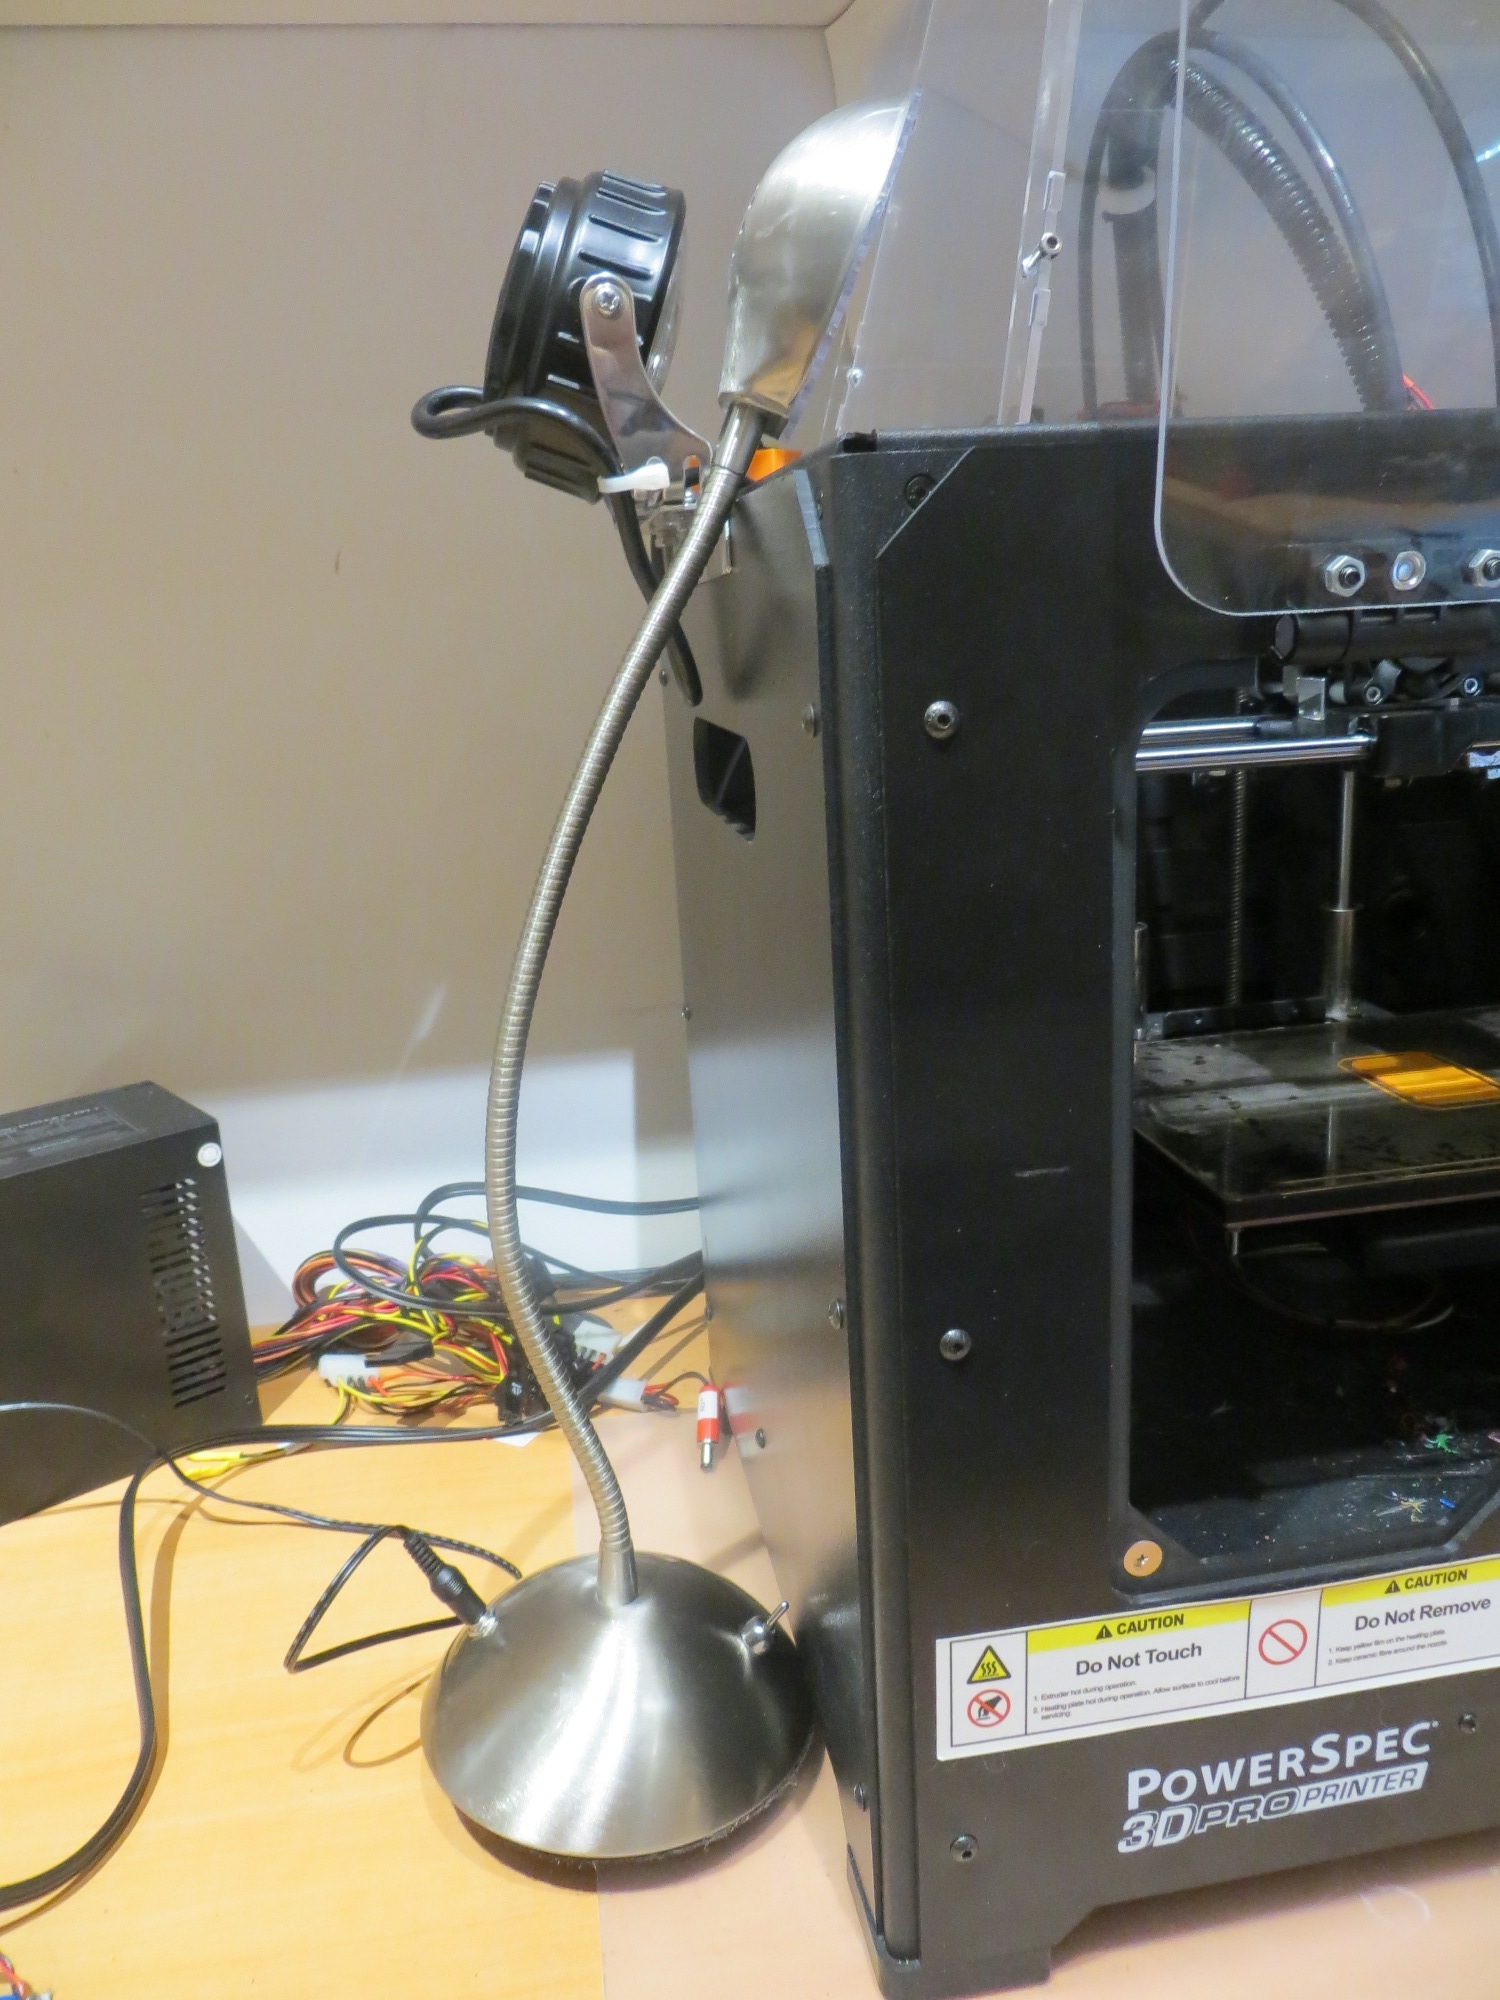
To power the lamps, I used a ‘Mean Well’ APC-25-1050 24VDC constant-current LED driver supply from ledsupply.com. This is an incredibly cheap switch-mode power supply that delivers 1.05A constant current, with an output voltage from 12-24V. This matched well with the 12-24V input spec for the LED auxiliary lamp, so I was in good shape. I had a couple of these hanging around from a previous project where I converted a crappy Lowe’s LED clip-lamp to a robust high-power LED lamp, so I got a two-fer (didn’t have to research/buy a power supply, and used up some of my excess stock – yay!).
For control, I decided to use individual power switches, mounted at the rear left & right of the cabinet. I had some small SPDT power switches available, so I printed up a nice little housing with integrated zip-tie anchor points for cable strain relief, and then ran a common power run down the back center of the cabinet to the power supply mounted on the back of the cabinet, below the right filament spool.
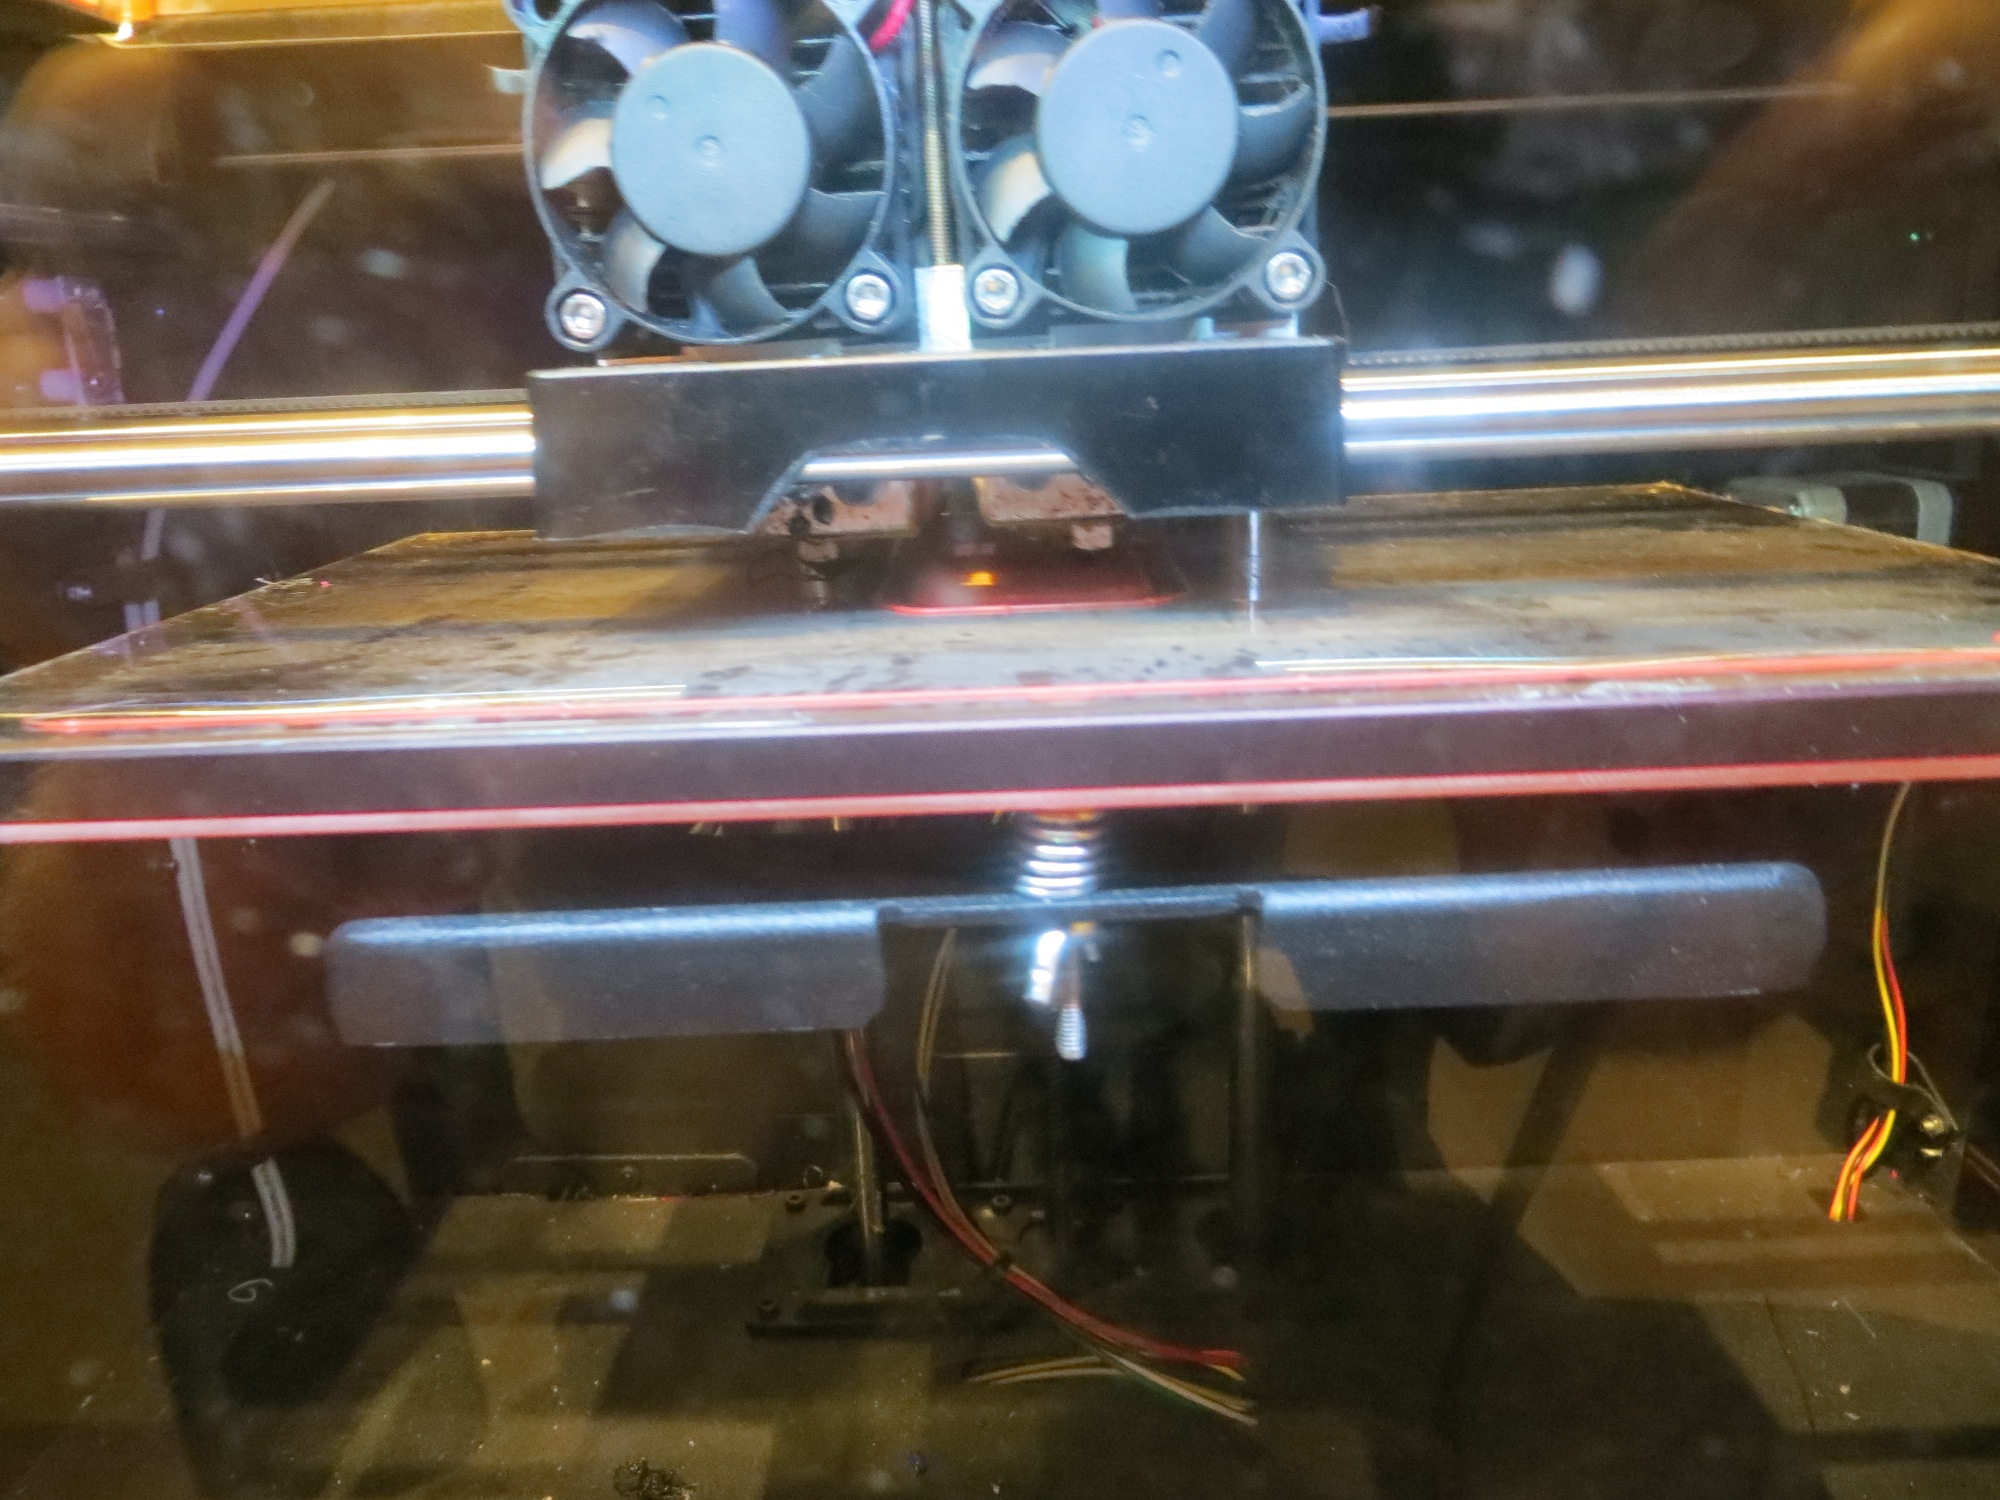
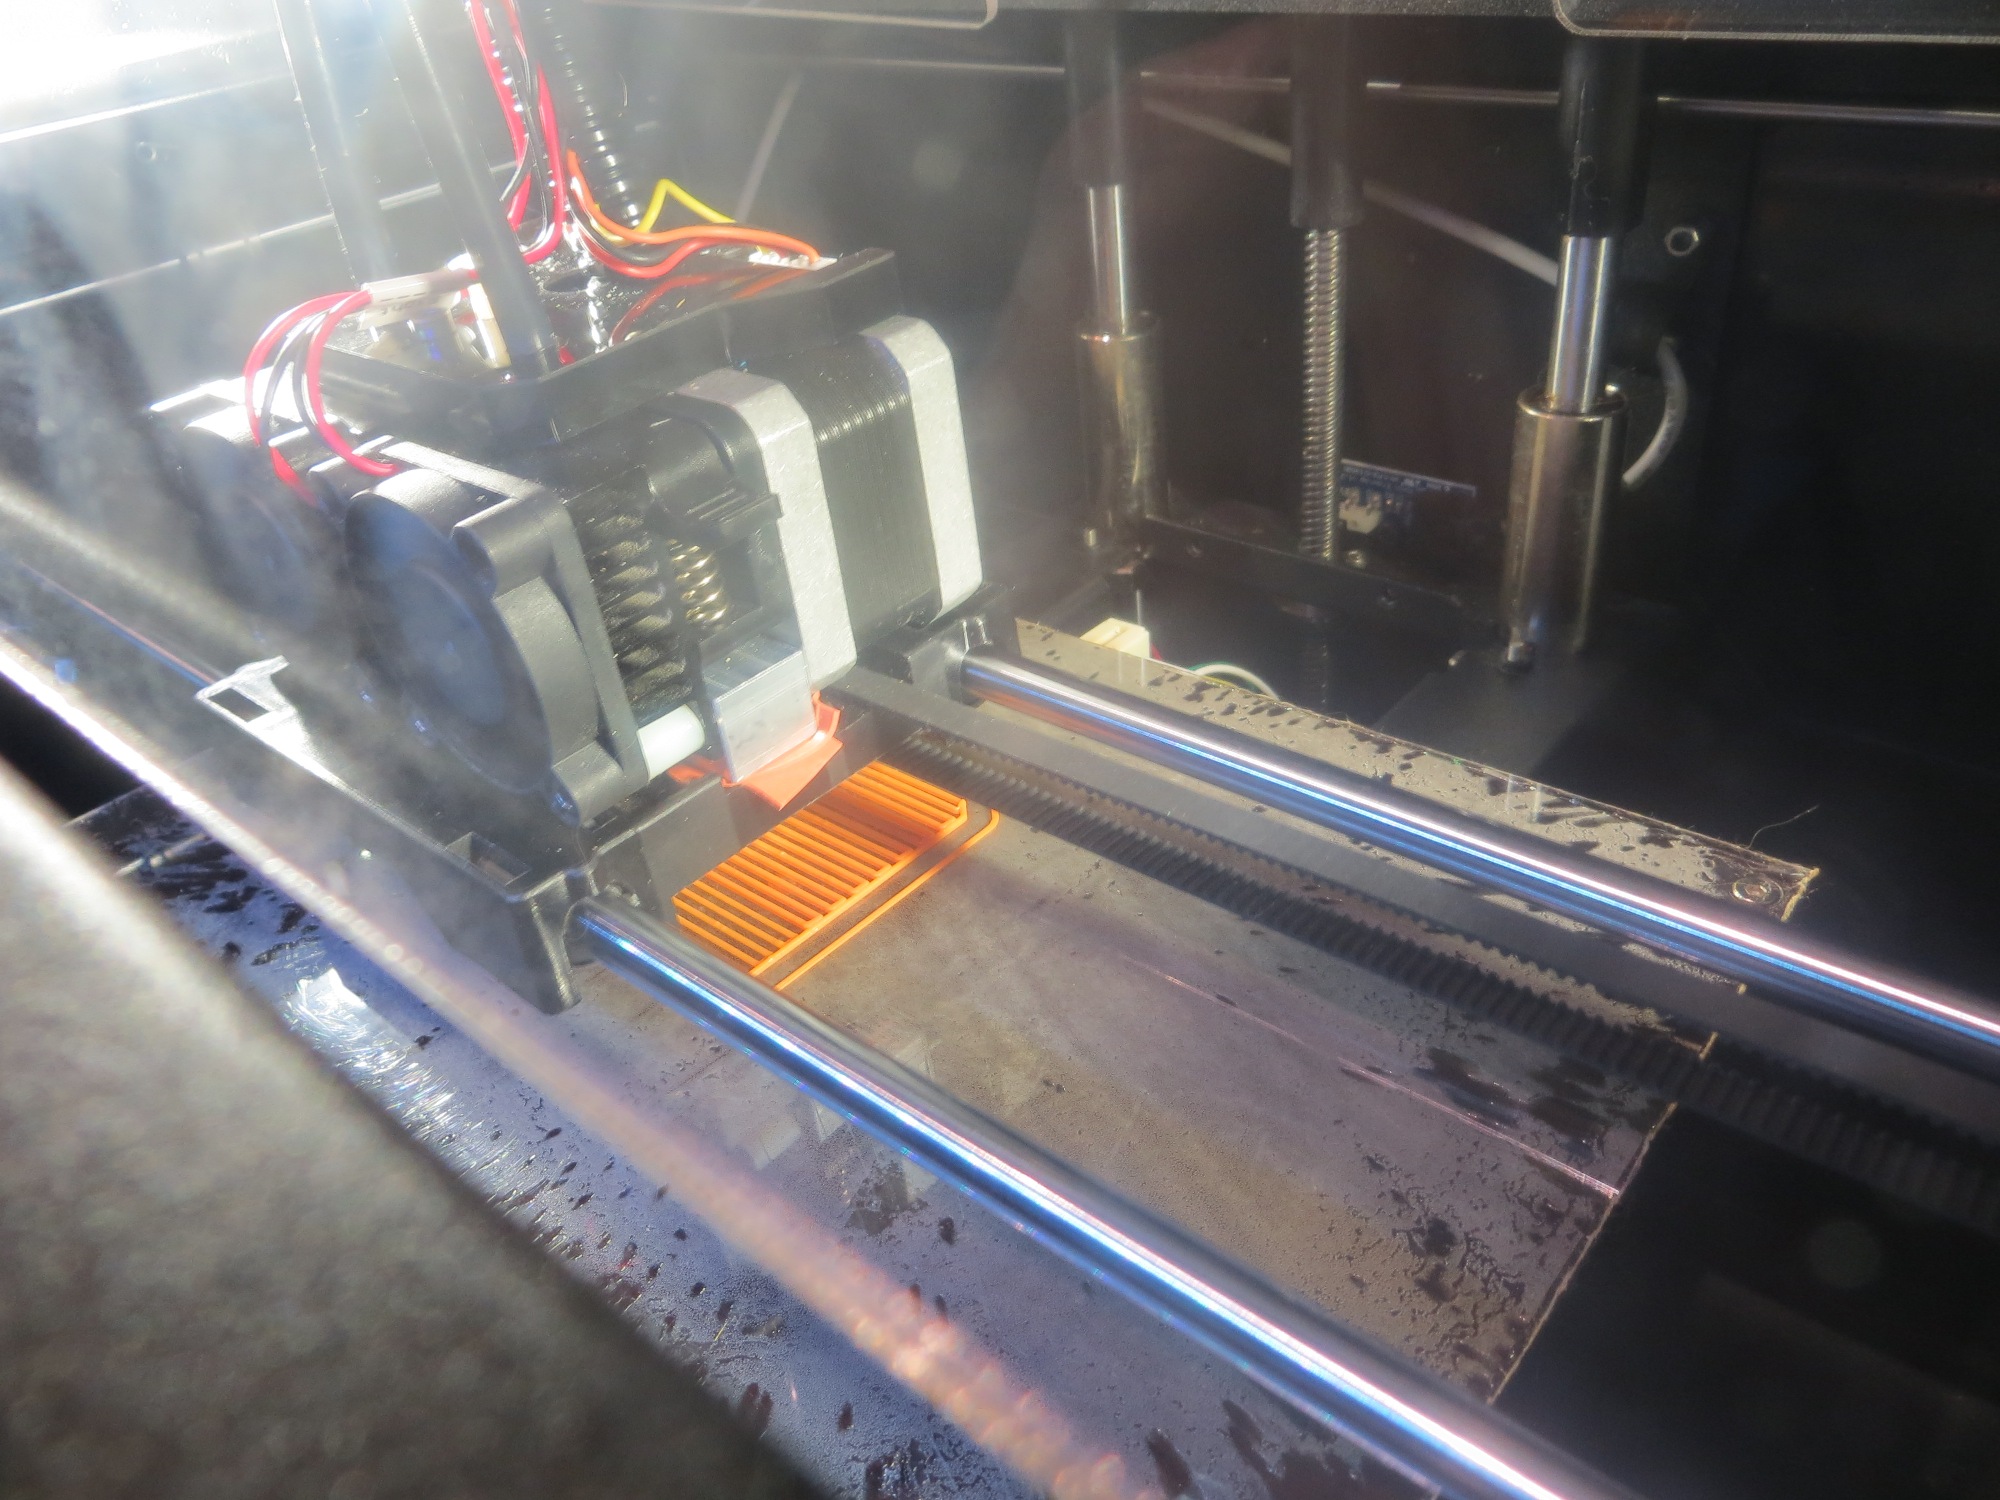
The following photos show the arrangement, and the build plate illumination during the first few layers of a test print. Enjoy
Old vs New. Hanging bench lamp in foreground, new permanently mounted LED lamp in background
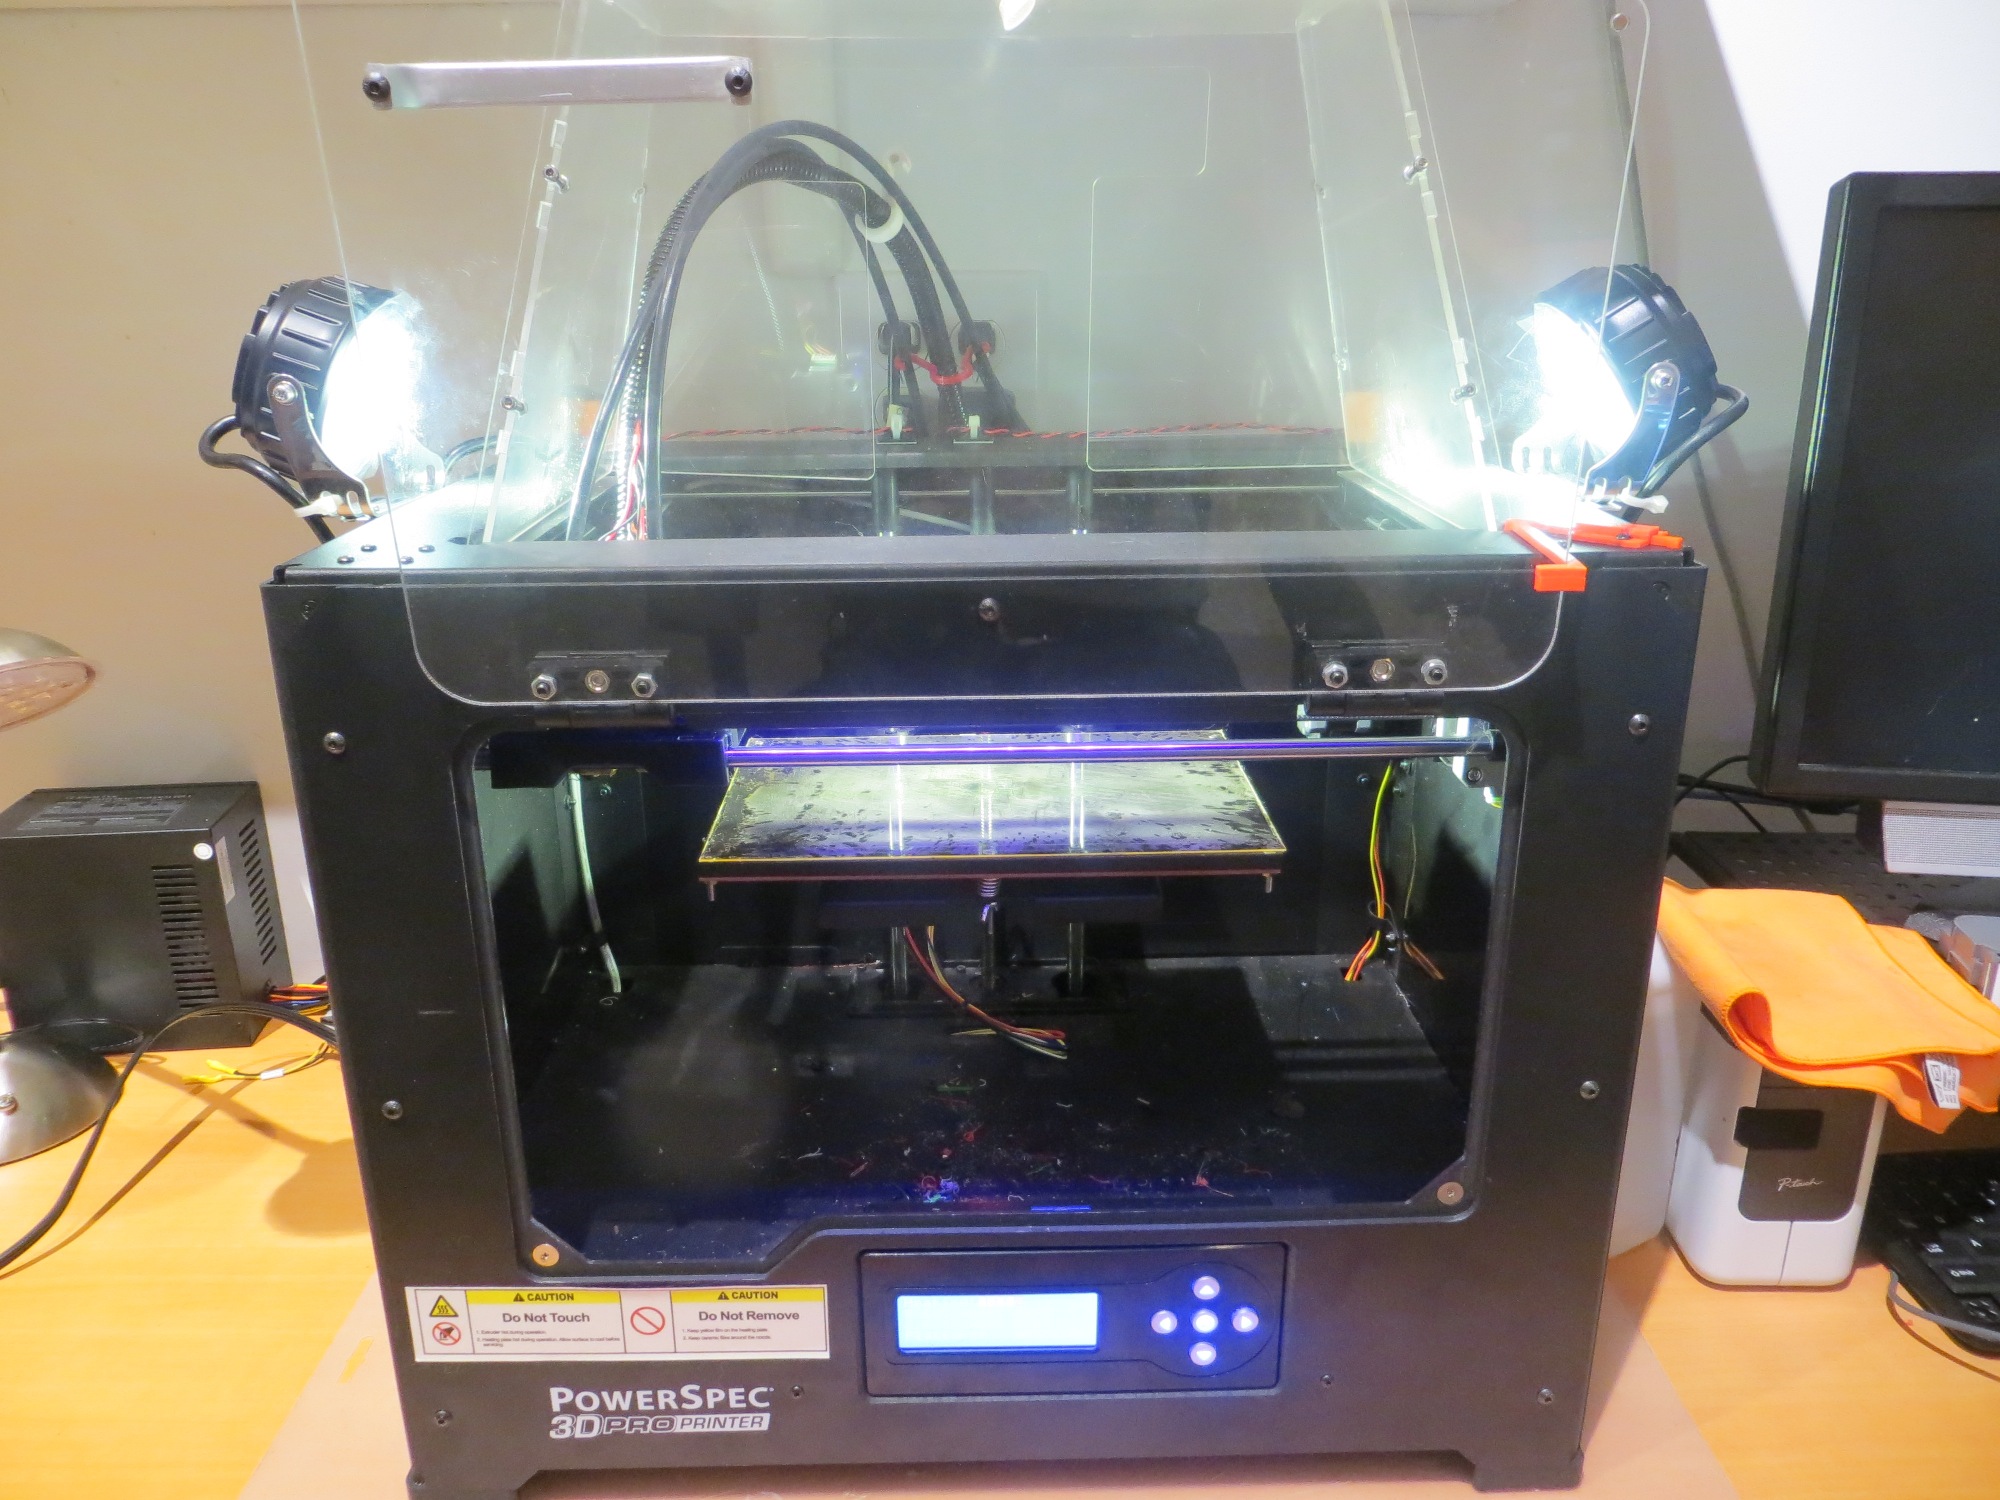
New LED lamps in action. Note the build plate illumination.
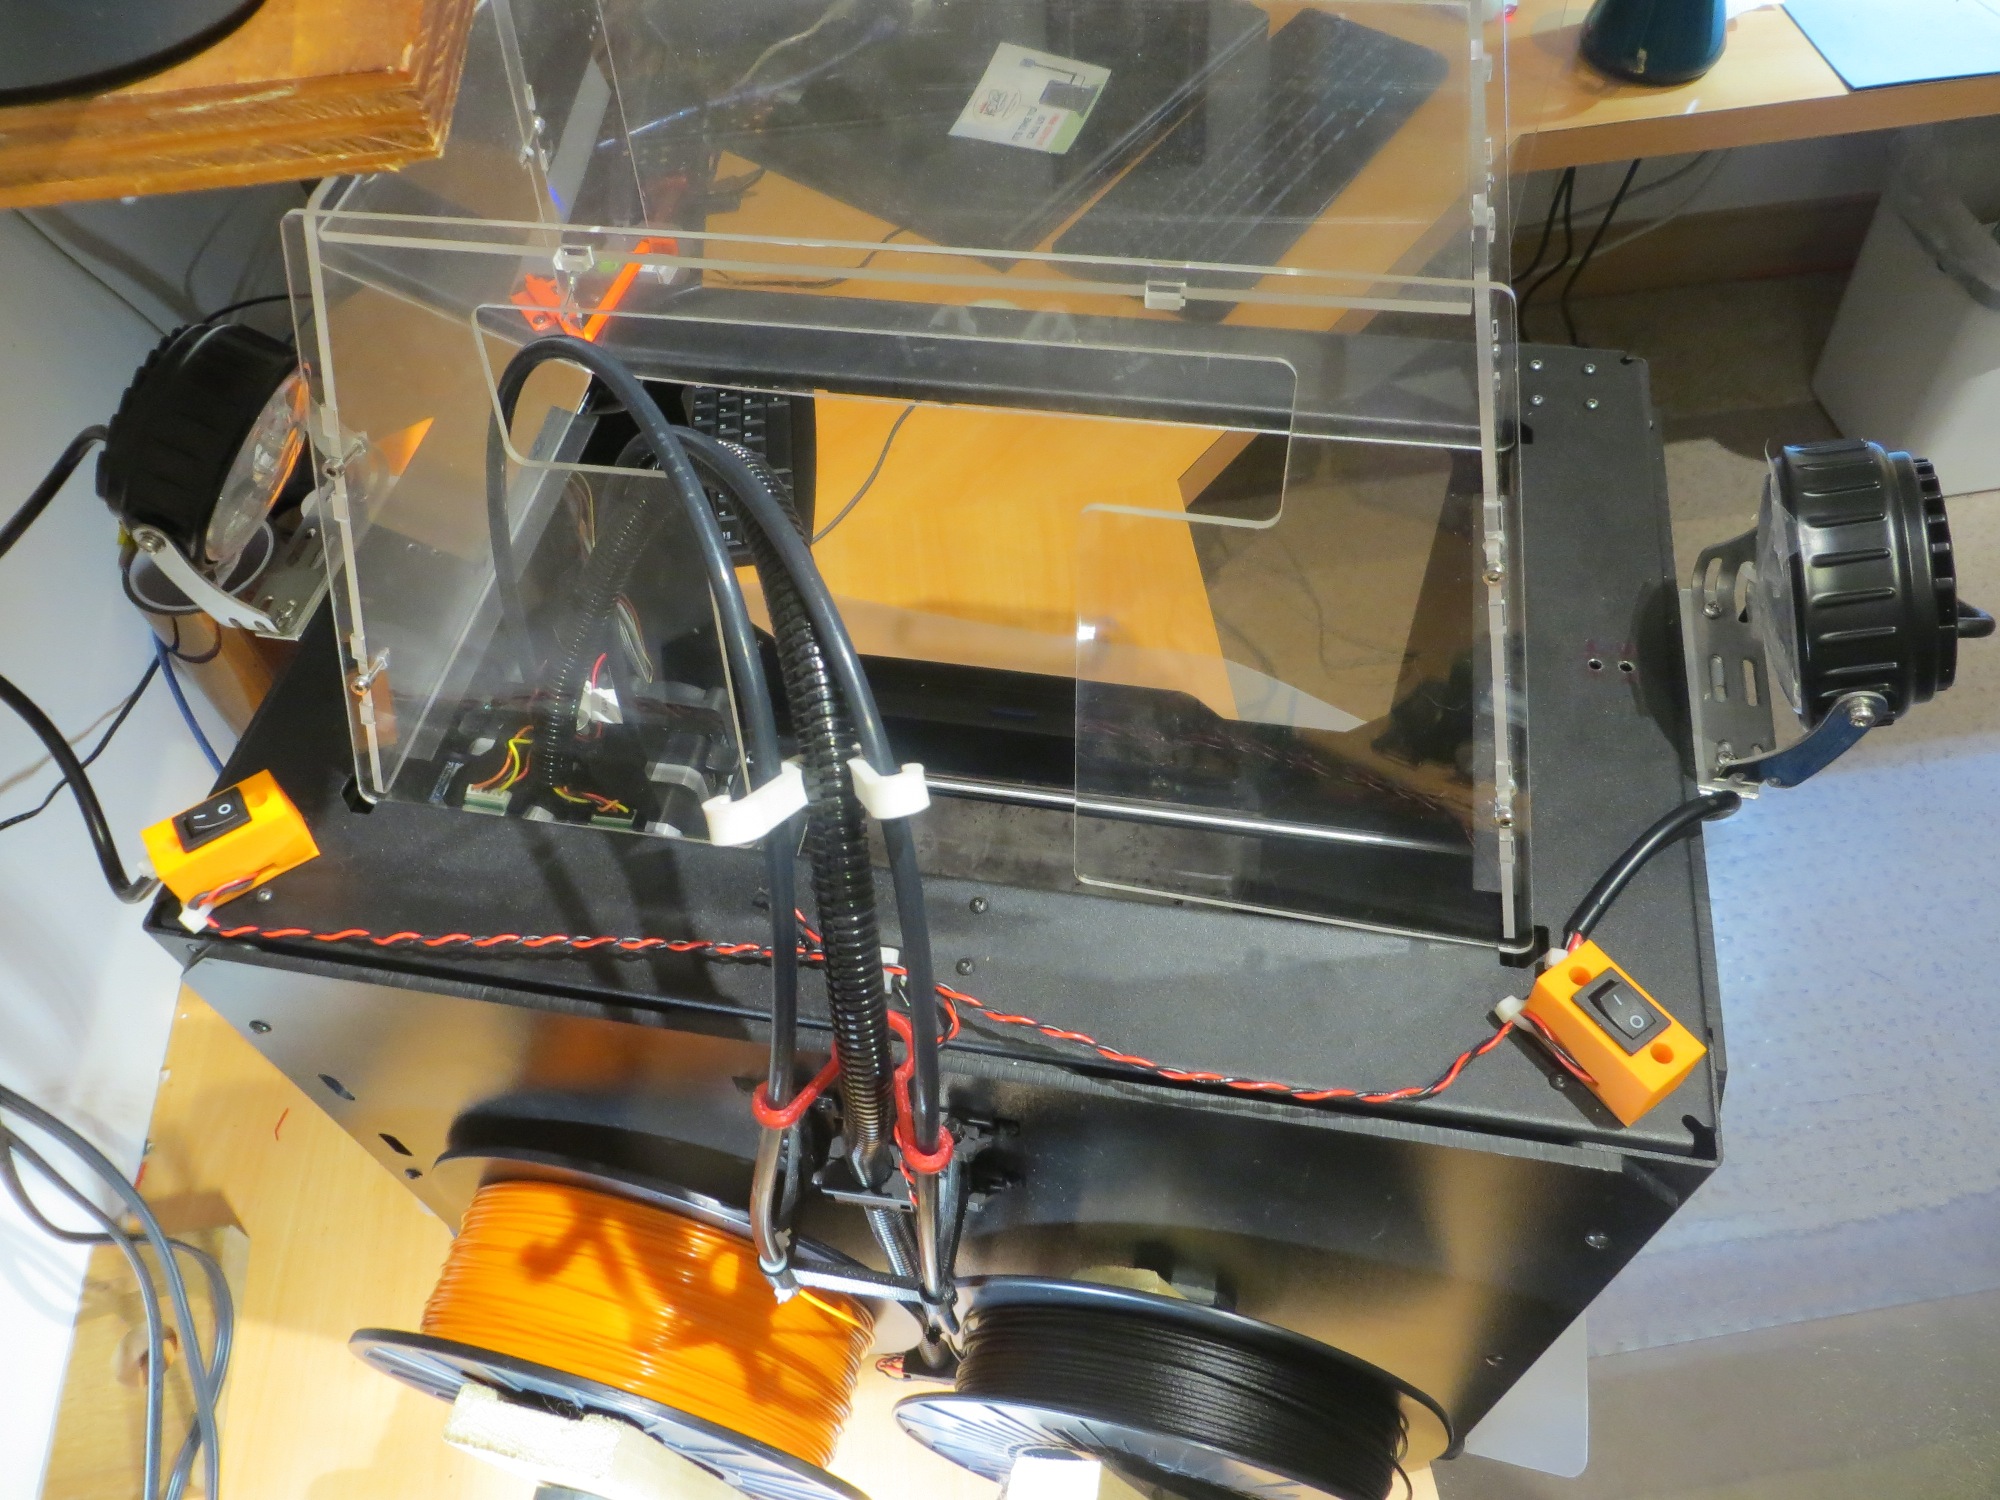
View from back of printer showing both LED lamps and ON/OFF switches
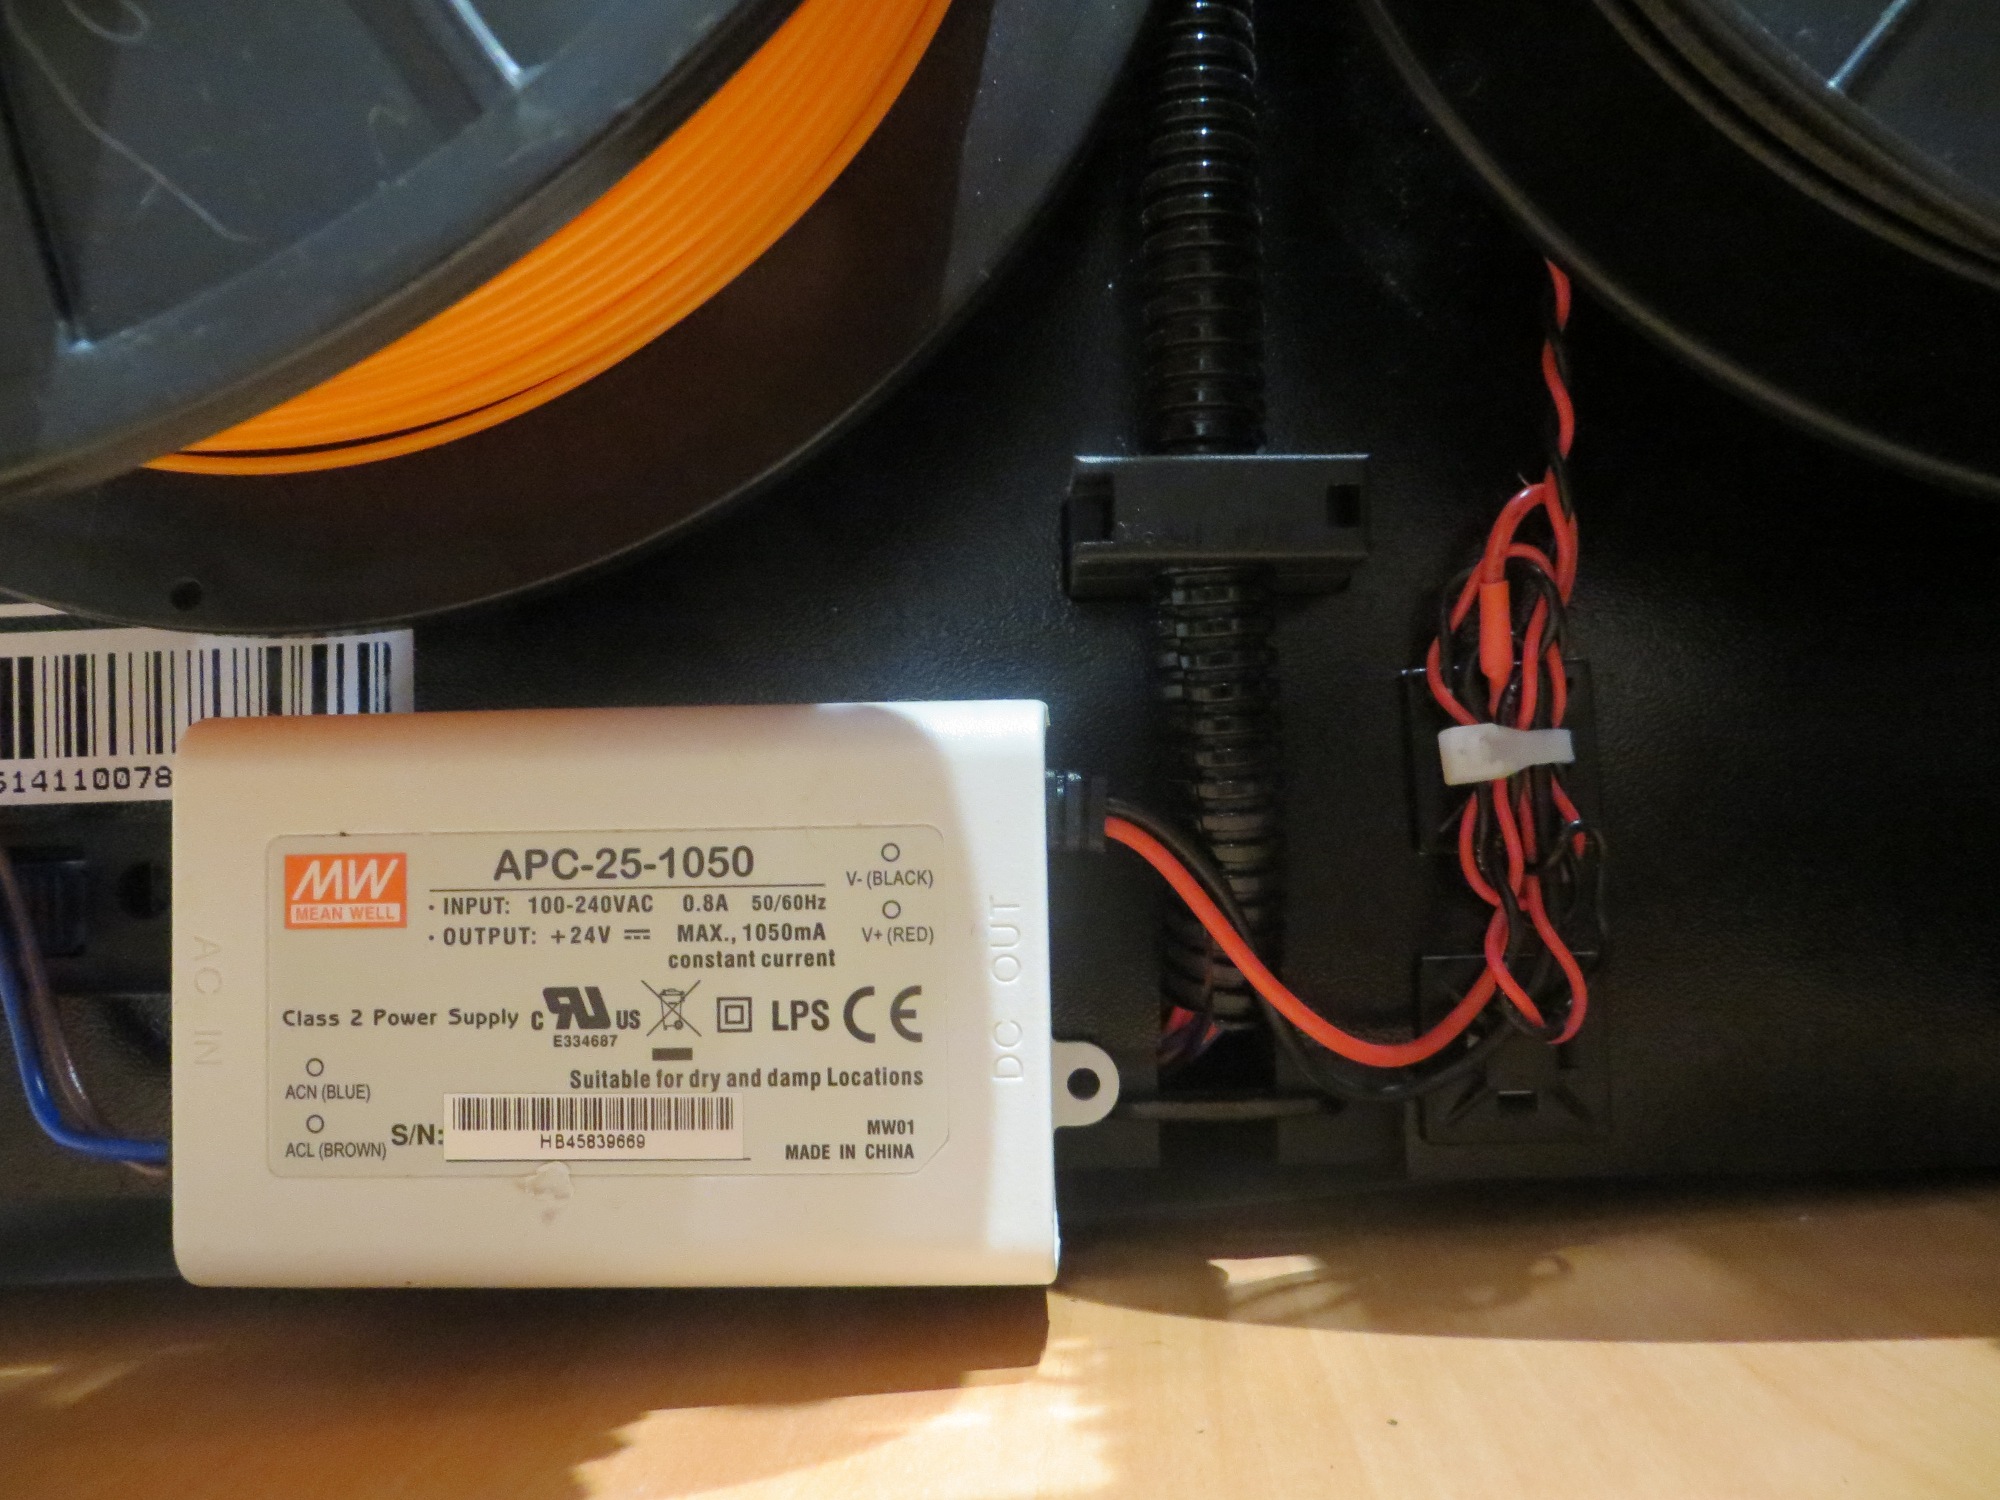
Mean Well APC-25-1050 1A constant-current LED power supply mounted at rear bottom of the cabinet
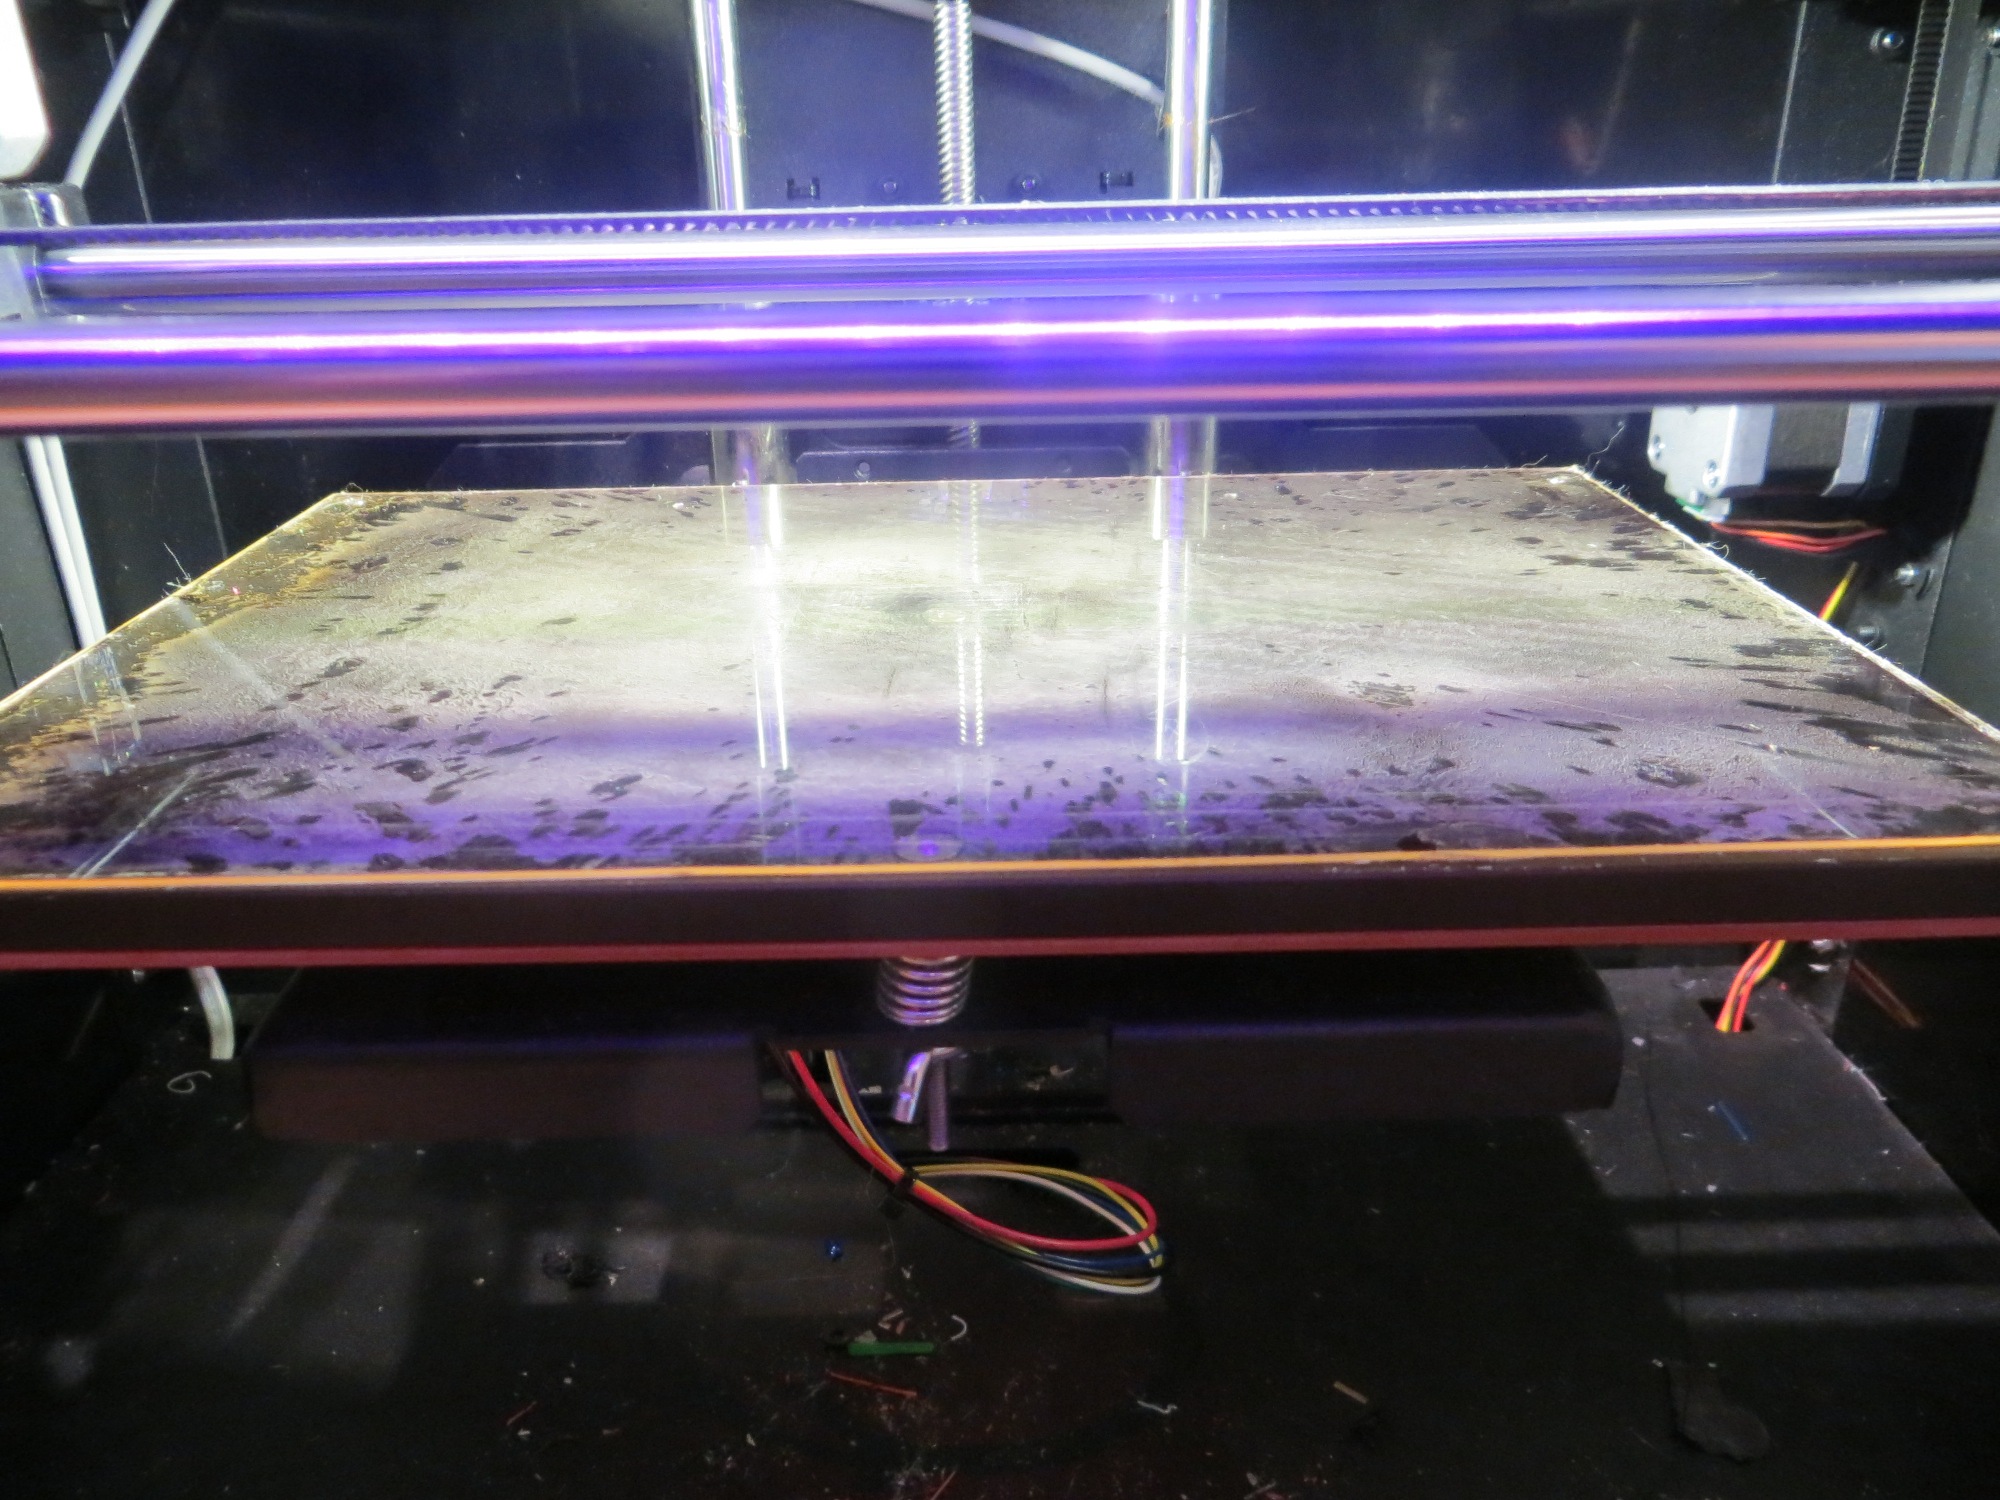
Build plate illumination with both LED lamps ON
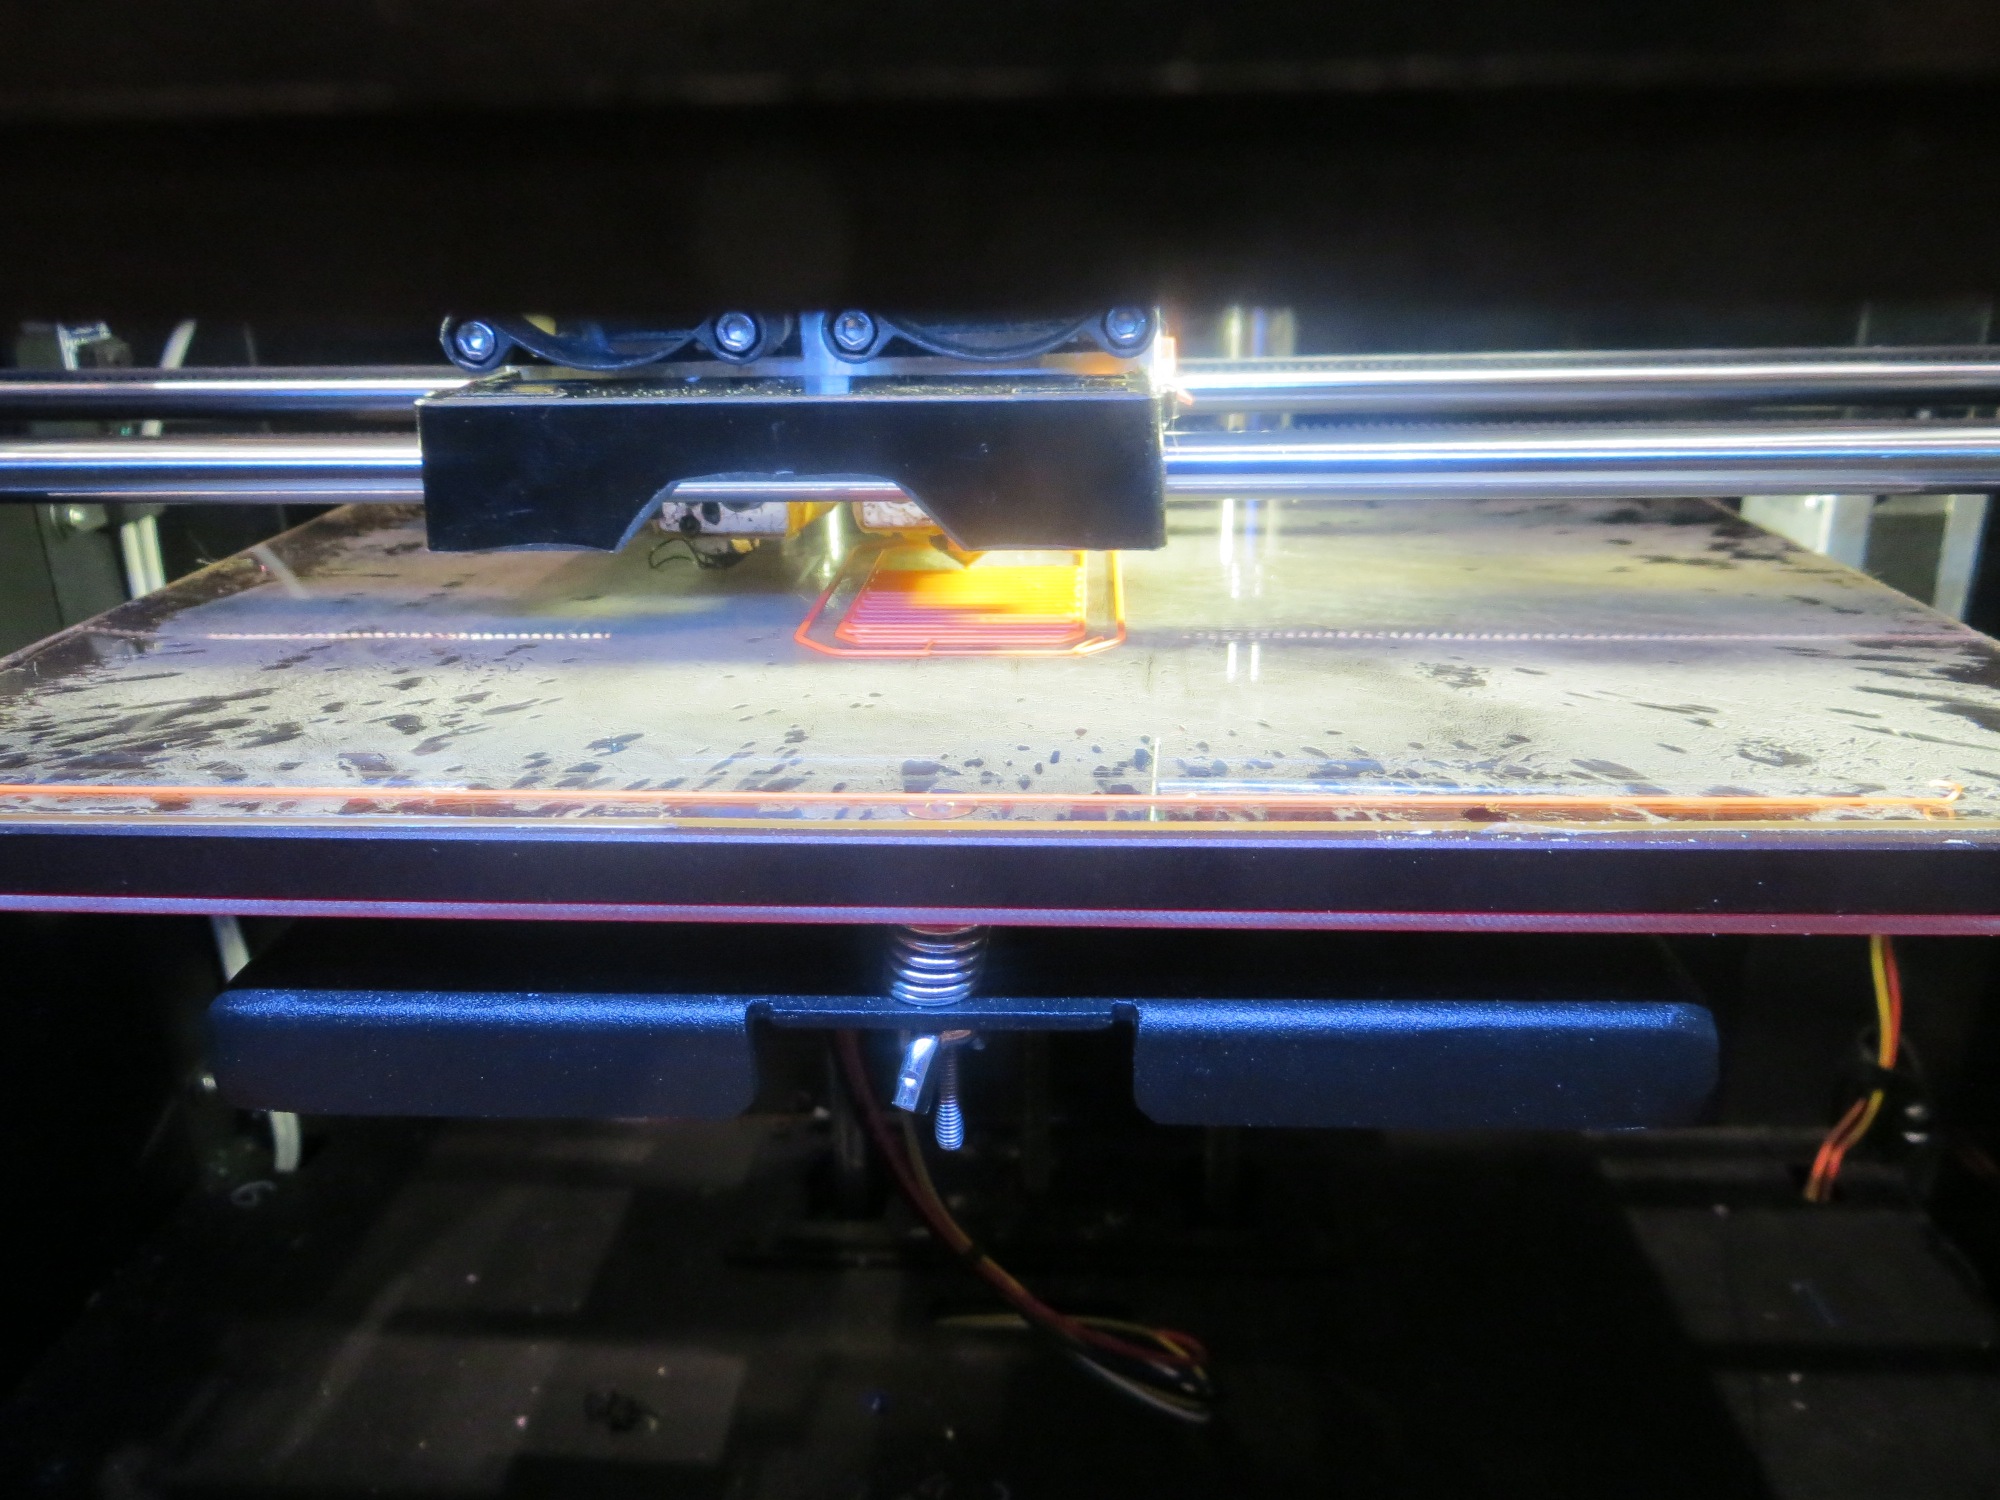
Test print with both LED lamps ON
Test print with both LEDs OFF
View from top during test print, both LED lamps ON