Posted 06 July 2020
Miracle of miracles! Arduino finally got off their collective asses and decided to do something about the well-known, well-documented, and long-ignored I2C hangup bug. Thanks to Grey Christoforo of Oxford, England for submitting the pull request that started the ball rolling. See this github issue thread for all the gory details. However, in a bizarre outcome, the implementation of the needed timeouts isn’t implemented by default! You have to modify your code to add a call to a new function, like the following:
|
1 |
Wire.setWireTimeout(3000, true); //timeout value in uSec - SBWire uses 100 uSec, so 1000 should be OK |
Note that you have to explicitly add a timeout value (3000 in my example above) or the timeout feature will still not be enabled! The ‘true’ parameter tells the library to reset the I2C bus if a timeout is detected – surely something you will want to do.
I’m currently working on a ‘before/after’ post to demonstrate that the new timeout feature actually works with real hardware scenarios. However, due to the intermittent nature of the I2C hangup bug, it takes a while (hours/days) to grind through enough iterations to excite the bug reliably, so it may be a while before I have a good demonstration
One last thing; at some point the examples in C:\Program Files (x86)\Arduino\hardware\arduino\avr\libraries\Wire\examples (on my Win 10 machine) will probably be updated/expanded to show how to properly implement the new timeout feature, but this has not happened yet AFAICT.
The rest of this post describes my attempt to verify that the new timeout feature does, in fact, work as advertised. The idea is to construct a “before-and-after” demonstration, where the ‘before’ configuration reliably hangs up using the Wire library without the timeout enabled, and an ‘after’ configuration that is identical to the ‘before’ setup except with the timeout enabled.
Before Configuration:
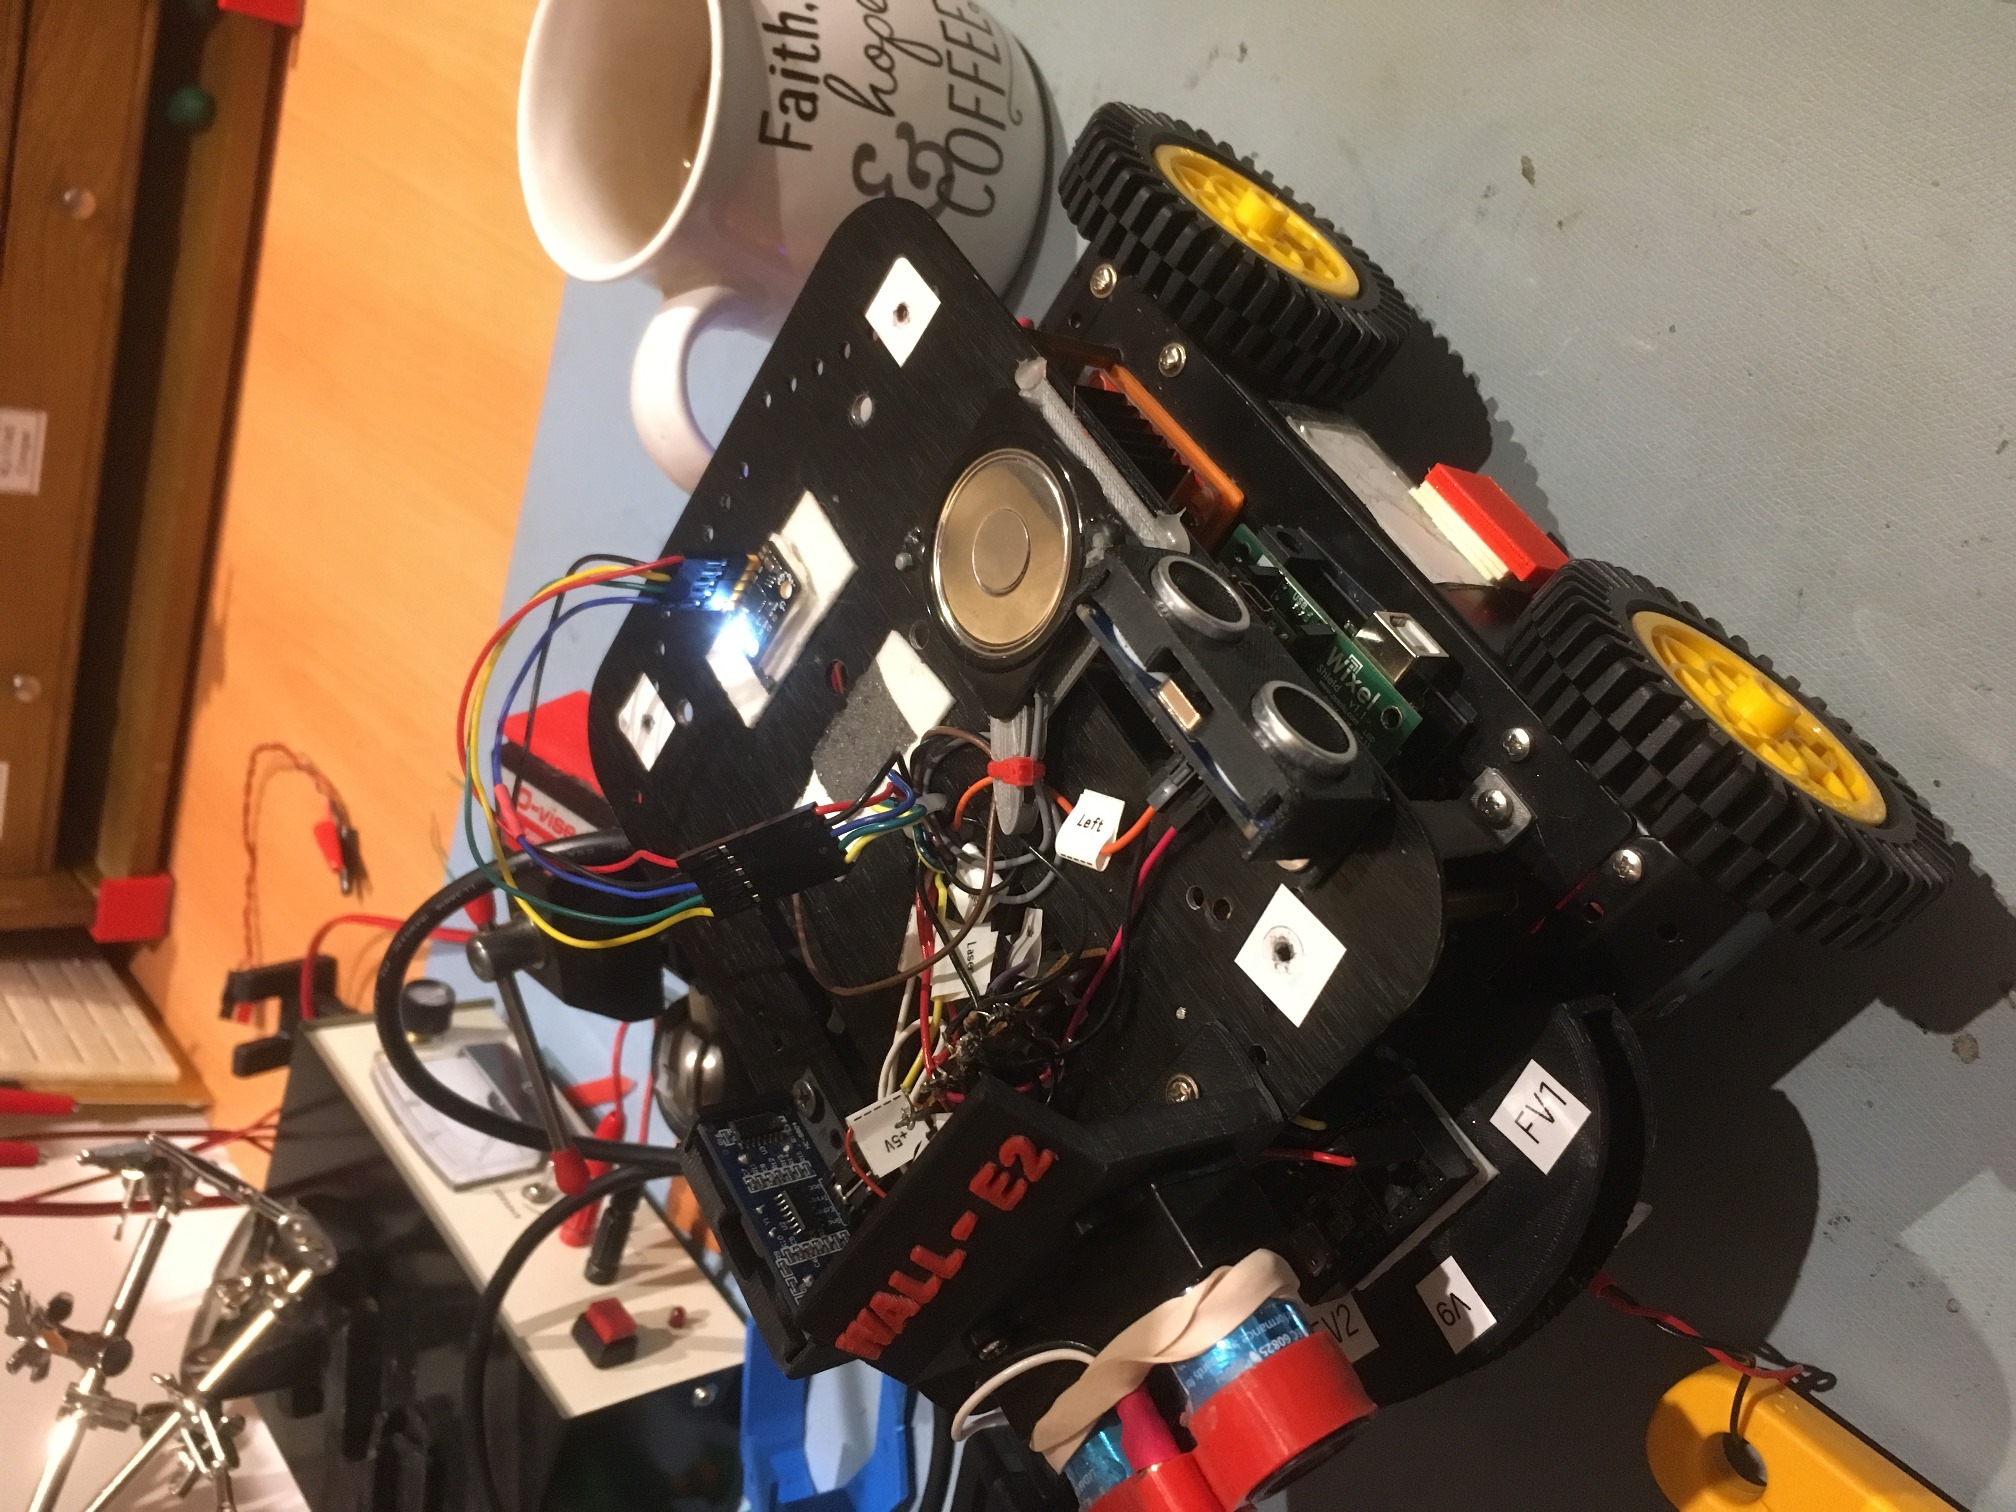
I actually started with a ‘before-before’ configuration using the SBWire library, as I have been working with I2C projects and the SBWire library ever since I gave up on the Arduino Wire library two years ago. This configuration is patterned after Wall-E2, my current autonomous wall-following robot, which uses an Adafruit RTC, an Adafruit FRAM, a DFRobots MPU6050 IMU, and six VL53L0X time-of-flight proximity sensors (the ToF sensors are managed by a slave Teensy over the I2C bus). For this test, I arranged all the I2C components on a plug board and connected to them using an Arduino Mega 2560 (the same controller I have on Wall-E2), as shown in the following photo.
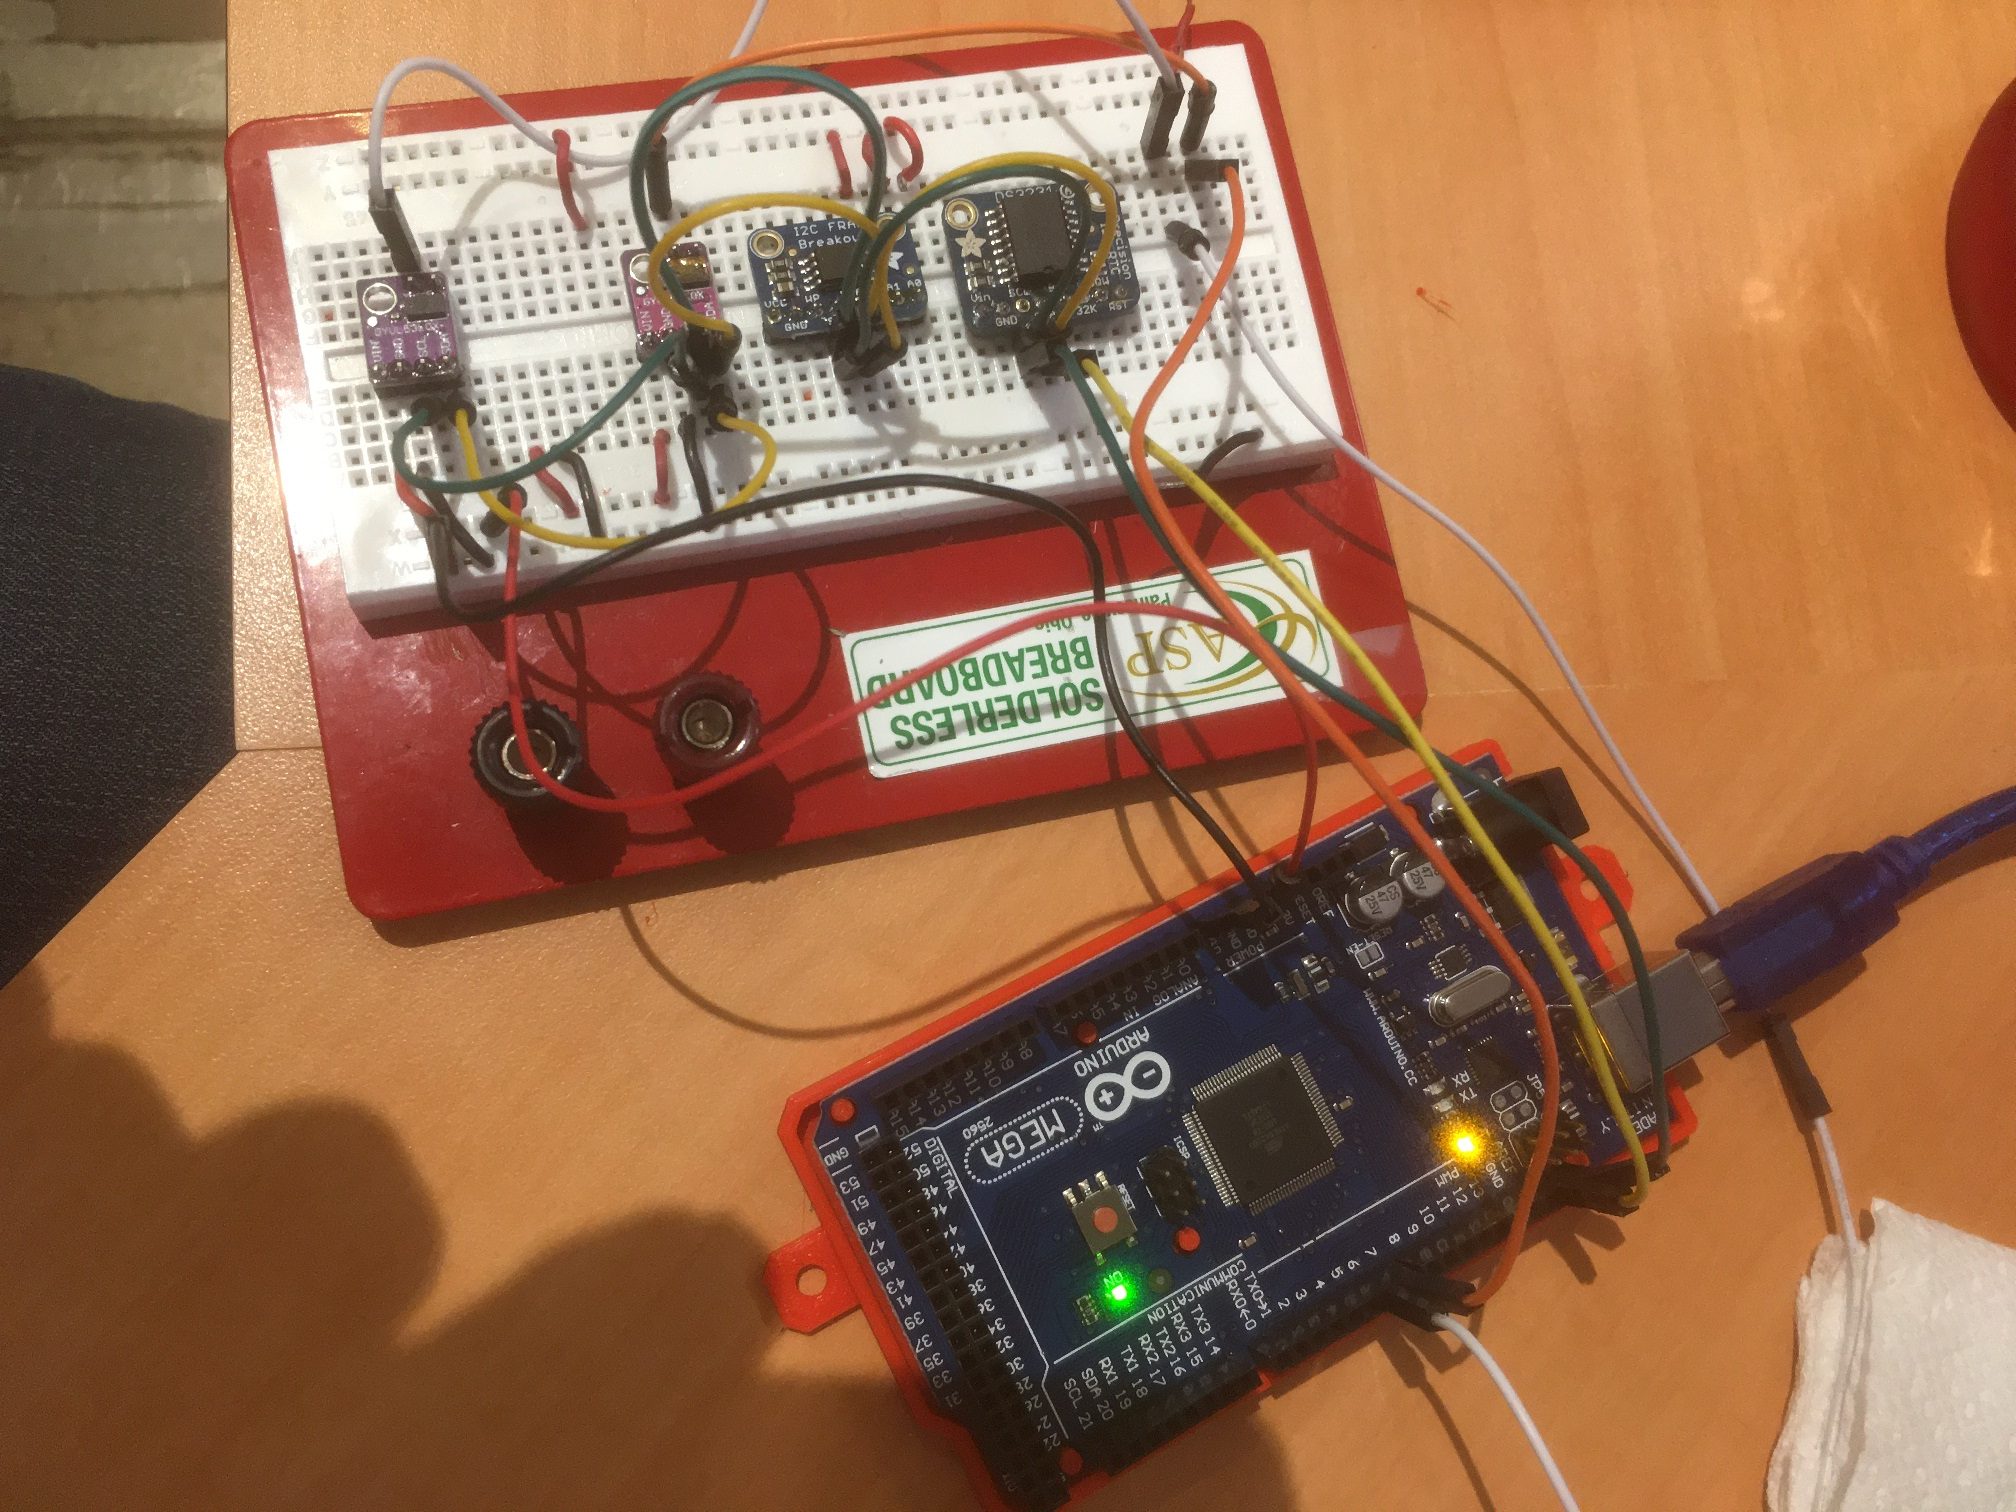
From left to right; two VL53L0X ToF modules, FRAM module, DS3231 RTC module, MPU6050 IMU module
The software is a cut down version of the robot software, and in this first test all it does is print out time/date from the RTC and the relative heading value from the IMU. After almost 13 hours, it was still running fine, as shown below:
|
1 2 3 4 5 6 7 8 9 10 |
Date/Time Min HdgDeg 07/06/2020 10:27:47 762.43 116.50 07/06/2020 10:27:47 762.43 116.50 07/06/2020 10:27:48 762.44 116.49 07/06/2020 10:27:48 762.44 116.49 07/06/2020 10:27:48 762.44 116.50 07/06/2020 10:27:48 762.44 116.49 07/06/2020 10:27:48 762.44 116.49 07/06/2020 10:27:48 762.44 116.49 07/06/2020 10:27:48 762.45 116.49 |
So now I have a ‘known good’ (with SBWire) hardware configuration. The next step is to change the software back from SBWire to Wire without the timeout implemented. This should fail – the IMU readout should hangup within a few hours as it did before I originally switched to SBWire.
July 08 2020 Update:
After laboriously changing back from SBWire to Wire, I got the configuration shown in the following photo to work properly using the new Wire library without the new timeout feature enabled.
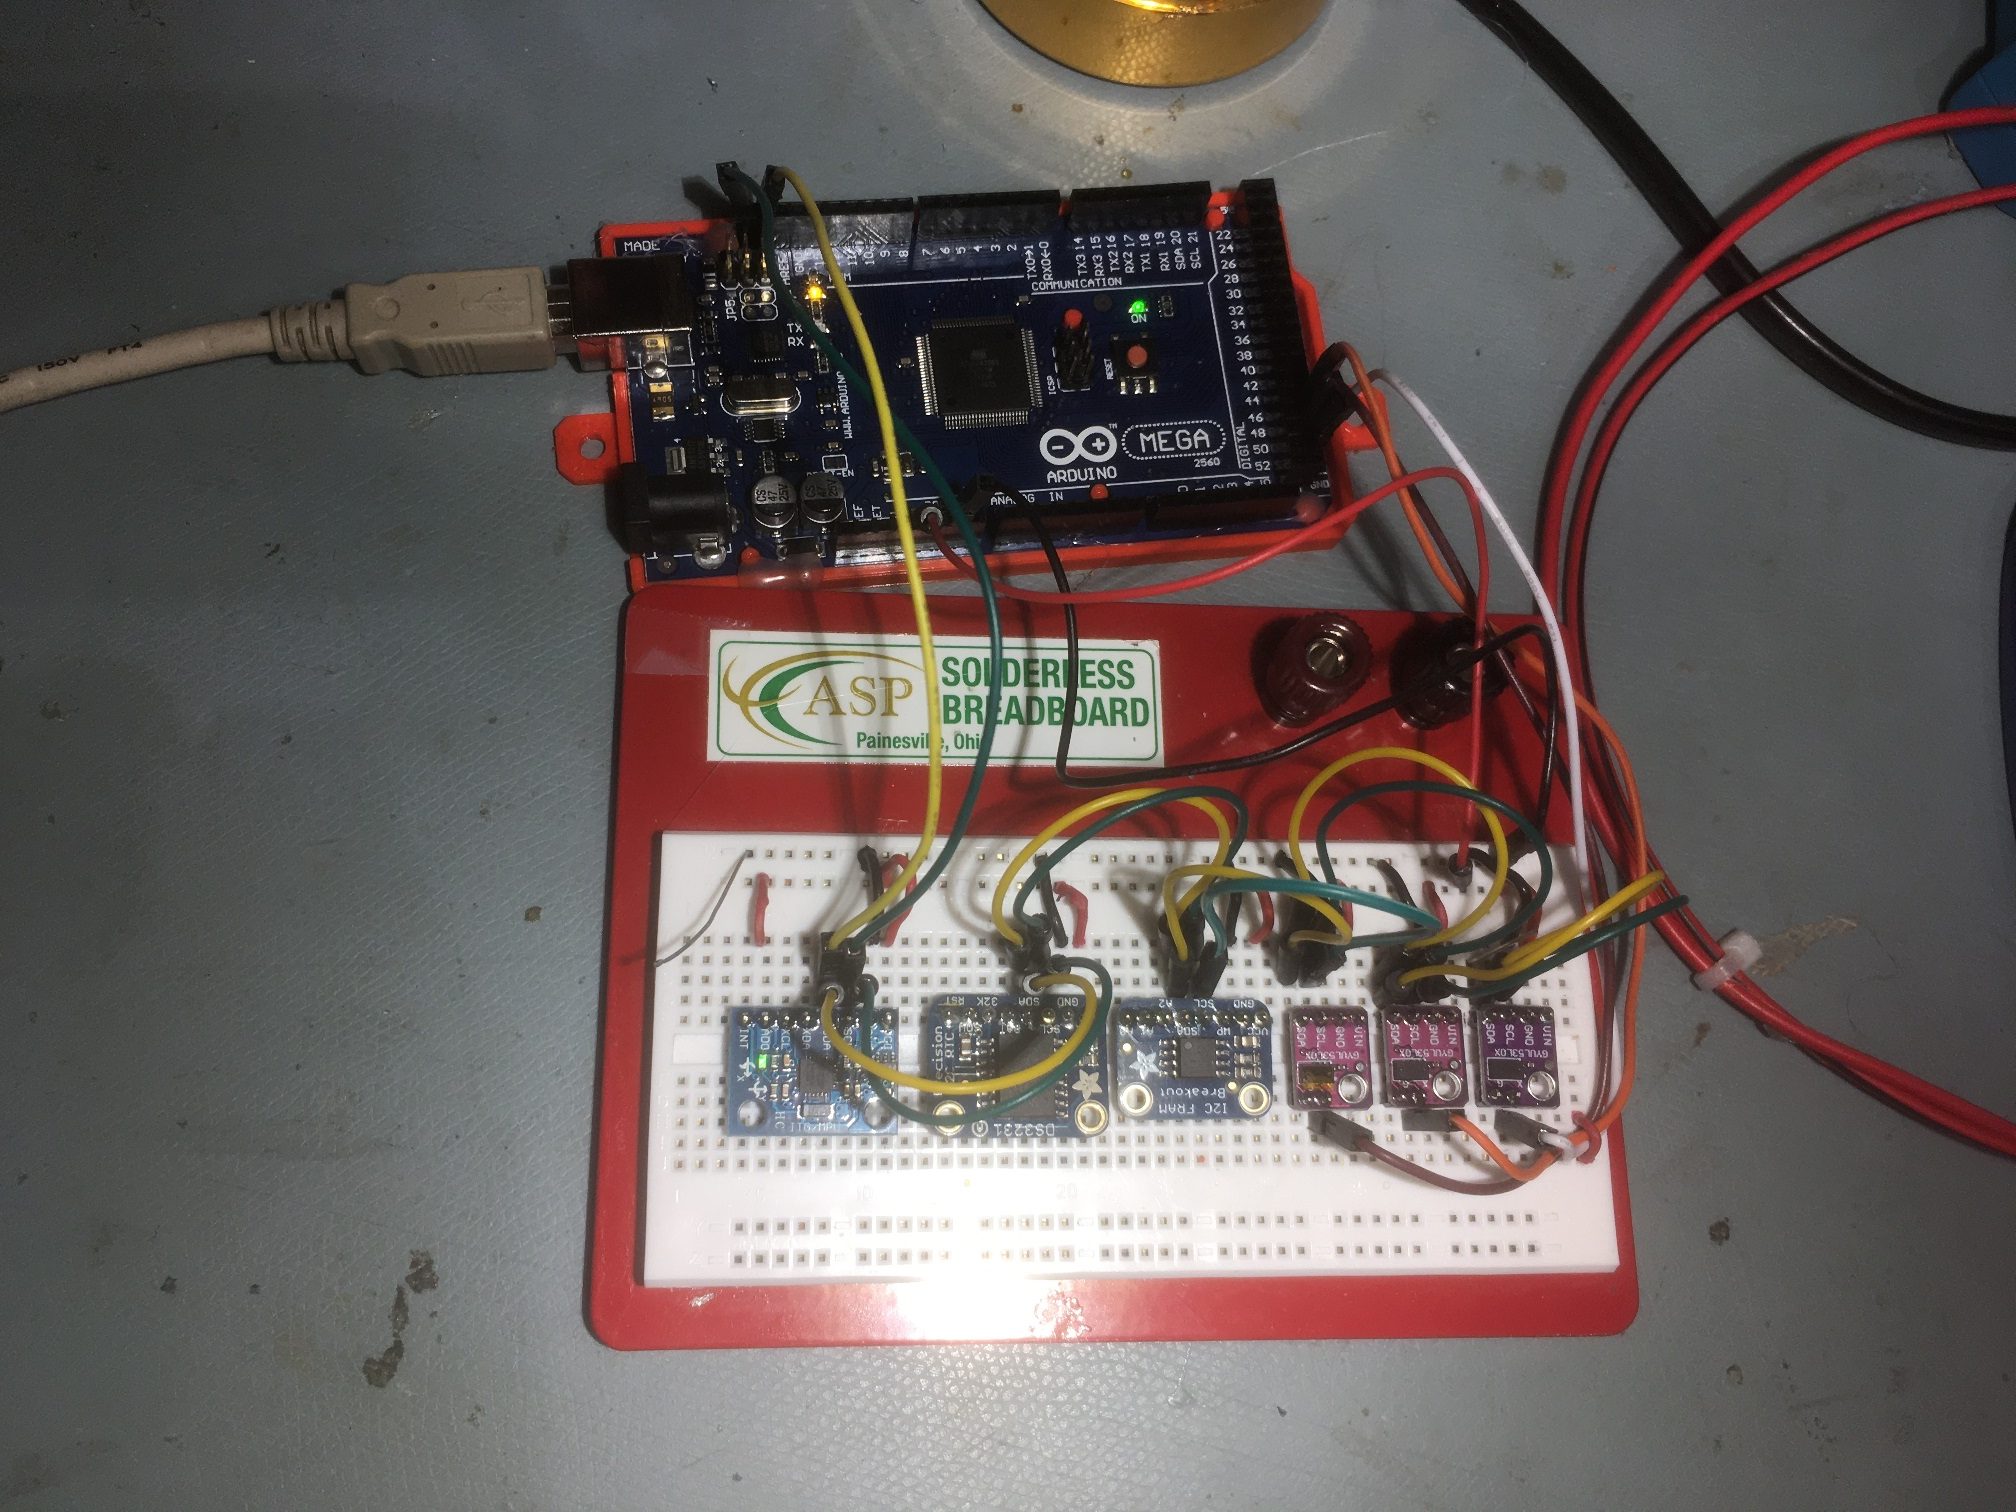
From left to right: MPU6050 IMU, DS3231 RTC, Adafruit I2C FRAM, and 3e VL53L0X ToF proximity sensors, all on the Mega 2560’s I2C bus
I programmed the Mega to access everything but the FRAM 10 times/second, and print out the results on the serial monitor, and then let it run overnight. When I got up this morning I expected to see that it had hung up after a few hours, but discovered that it was still running fine after eight hours – bummer! at 10 meas/sec that is 480 min * 60 sec/min * 10 = 288,000 I2C measurement cycles * 5 I2C transactions per cycle = 1,440,000 I2C transactions. I was bummed out because it will be impossible to verify whether or not the timeout feature actually works if I can’t get a configuration that reliably hangs up. When I came back a few hours later, I saw that the printout to the serial monitor had stopped at around 700 minutes, but this turned out to be the monitor hanging up – not the I2C bus – double bummer.
So, I modified the program to only report results every second instead of 10/second so I won’t run out of serial monitor again, and restarted the ‘before’ configuration.
10 July 2020 Update:
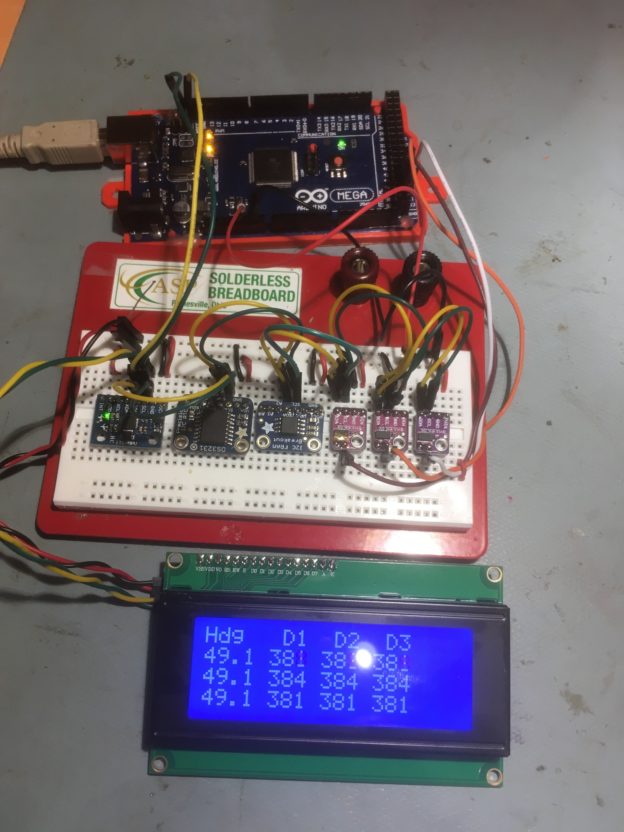
I added the Sunfounder 20 x 4 I2C LCD display to the setup so I could display the IMU heading and proximity sensor distances locally, as shown below
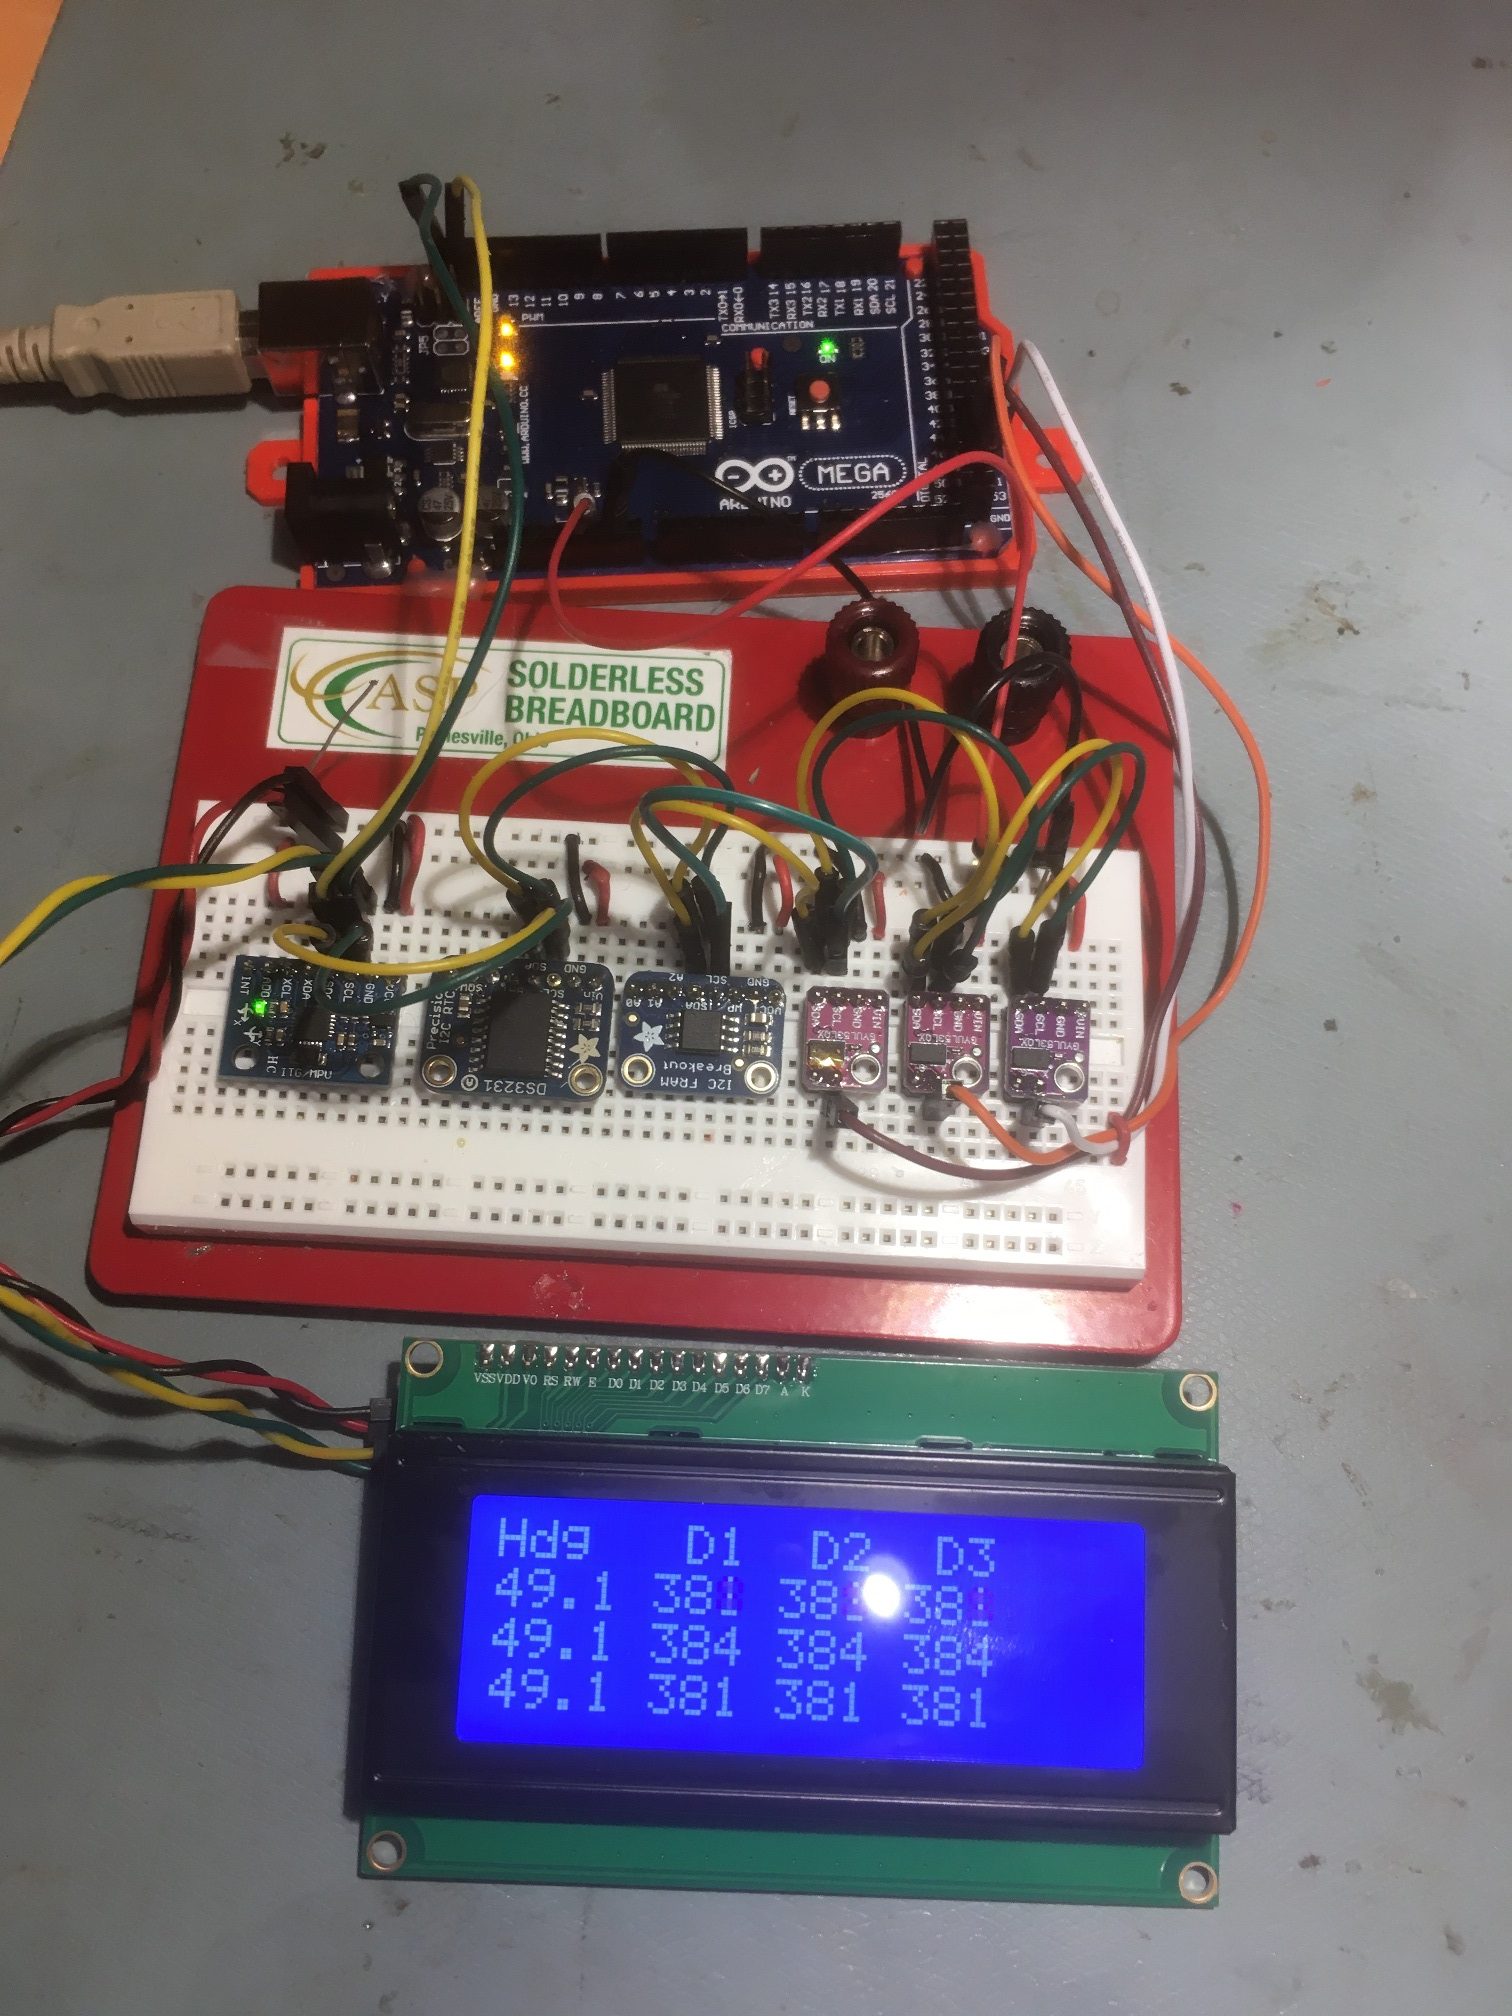
I2C Test setup with Sunfounder 20 x 4 I2C LCD added
After getting this setup running, I was trying to figure out how to definitively demonstrate I2C bus hangups without the Wire library timeout feature (the ‘before’ configuration) and then demonstrate continued operation with timeouts enabled (the ‘after’ configuration). In an email conversation, Grey Christoforo pointed me to another poster who was doing the same thing, by using an external transistor to short one I2C line to ground under program control, thereby demonstrating that the timeout feature allowed continued operation. This gave me the idea that manually shorting one of the I2C lines to ground should do the same thing, and would allow me to demonstrate the ‘before’ and ‘after’ configurations.
The following code snippet shows the code necessary to enable the Wire library timeout feature
|
1 2 3 4 5 6 7 8 9 10 11 12 13 14 |
void setup() { Serial.begin(115200); < all my other setup code removed > //Wire.setWireTimeout(25000,true); //Wire.setWireTimeout(10000,true); //Wire.setWireTimeout(5000,true); //Wire.setWireTimeout(2000,true); //too small Wire.setWireTimeout(3000,true); wireTimeoutCount = 0; Wire.clearWireTimeoutFlag(); } |
Although not entirely necessary, this is how I instrumented my code to capture timeout events and display them on my serial monitor
|
1 2 3 4 5 6 7 8 9 10 11 12 13 14 15 16 17 18 19 20 21 22 23 24 25 26 27 28 29 30 31 32 33 34 35 36 37 38 39 40 41 42 43 44 45 46 47 48 49 50 51 52 53 54 55 56 57 58 59 60 |
void loop() { if (Wire.getWireTimeoutFlag()) { wireTimeoutCount++; Wire.clearWireTimeoutFlag(); mySerial.printf("Wire timeout detected; count now %d\n", wireTimeoutCount); } if (sinceLastNavUpdateMsec > NAV_UPDATE_INTERVAL_MSEC) { update_count++; if (update_count > NAV_UPDATE_HEADER_INSERTION_INTERVAL) { update_count = 0; mySerial.printf("\n%s\n", NavUpdateHeaderStr); } sinceLastNavUpdateMsec -= NAV_UPDATE_INTERVAL_MSEC; //update heading value UpdateIMUHdgValDeg(); //updates IMUHdgValDeg //update lidar1/2/3 values lidar_1.rangingTest(&measure1, false); // pass in 'true' to get debug data printout! lidar_2.rangingTest(&measure2, false); // pass in 'true' to get debug data printout! lidar_3.rangingTest(&measure3, false); // pass in 'true' to get debug data printout! lidar1_dist = (measure1.RangeMilliMeter <= MAX_LIDAR_RANGE_MM) ? measure1.RangeMilliMeter : MAX_LIDAR_RANGE_MM; lidar2_dist = (measure2.RangeMilliMeter <= MAX_LIDAR_RANGE_MM) ? measure2.RangeMilliMeter : MAX_LIDAR_RANGE_MM; lidar3_dist = (measure3.RangeMilliMeter <= MAX_LIDAR_RANGE_MM) ? measure3.RangeMilliMeter : MAX_LIDAR_RANGE_MM; float elapsedMin = millis() / 60000.f; DateTime now = rtc.now(); char buffer[100]; memset(buffer, '\0', 100); GetShortDayDateTimeStringFromDateTime(now, buffer); mySerial.printf("%s\t%3.2f\t%3.2f\t%d\t%d\t%d\n", buffer, elapsedMin, IMUHdgValDeg,measure1.RangeMilliMeter, measure2.RangeMilliMeter,measure3.RangeMilliMeter); } if (sinceLastLCDUpdate > LCD_UPDATE_INTERVAL_MSEC) //used for LCD update { sinceLastLCDUpdate -= LCD_UPDATE_INTERVAL_MSEC; memset(lcdbuffer, '\0', NUM_LCD_COLS); sprintf(lcdbuffer, "%3.1f %d %d %d", IMUHdgValDeg, lidar1_dist, lidar2_dist, lidar3_dist); lcd.setCursor(0, lcdRownum); //mySerial.printf("lcdClearLine = %s\n", lcdClearLine); lcd.print(lcdClearLine); lcd.setCursor(0, lcdRownum); lcd.print(lcdbuffer); lcdRownum--; lcdRownum = (lcdRownum < 1) ? 3 : lcdRownum; //valid values are 3,2,1 } }//loop |
All my other hardware setup code has been removed for clarity. Notice though, that I tried a number of different timeout values, starting from the default value of 25000 (25 mSec) down to 2000, and then back up to 3000. At least in my particular configuration, the 1000 value was too small – it caused a timeout flag to be generated on every pass through the loop. This was an unexpected result, as the SBWire library uses a 100 uSec (i.e. a timeout value of 100) for it’s default timeout value, and this setting has always worked fine in all my I2C projects.
In any case, here’s a short video that demonstrates that the Wire library can now recover from an I2C bus traffic interruption via the use of the new timeout feature.
Stay tuned!
