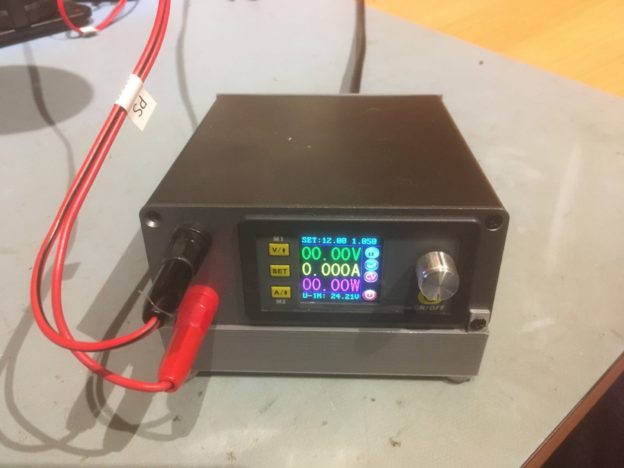
Posted 30 June 2020,
Almost exactly one year ago I ran across some posts regarding a very nice lab power supply regulator and display called the DPS500x power supply front-end. My existing linear style supply was getting a little long in the tooth, and ran out of gas pretty quickly above about 12V and 1A. So, I decided it was time to upgrade, and wound up with a very nice, lightweight well-performing unit. Unfortunately I forgot to document the project and when I recently wanted to point someone else to this nifty product, I didn’t have anything comprehensive to point to!
So, this post is a belated documentation post for the project.
There are three ‘big’ pieces (big in terms of importance, but not in actual size or weight) used in this project; the controller head itself, an appropriate housing, and a AC/DC power supply that will fit inside the housing
The DPS5005 50V 5A constant voltage/constant current digital controller head
This is a really neat little gadget that takes a DC power supply as input and steps it down to the desired output voltage using a highly efficient buck voltage converter technique, and applying some constant voltage/constant current magic to the output, all in a package that is maybe 40 x 60 x 30 mm. I got mine from Banggood.com, but they are available everywhere.
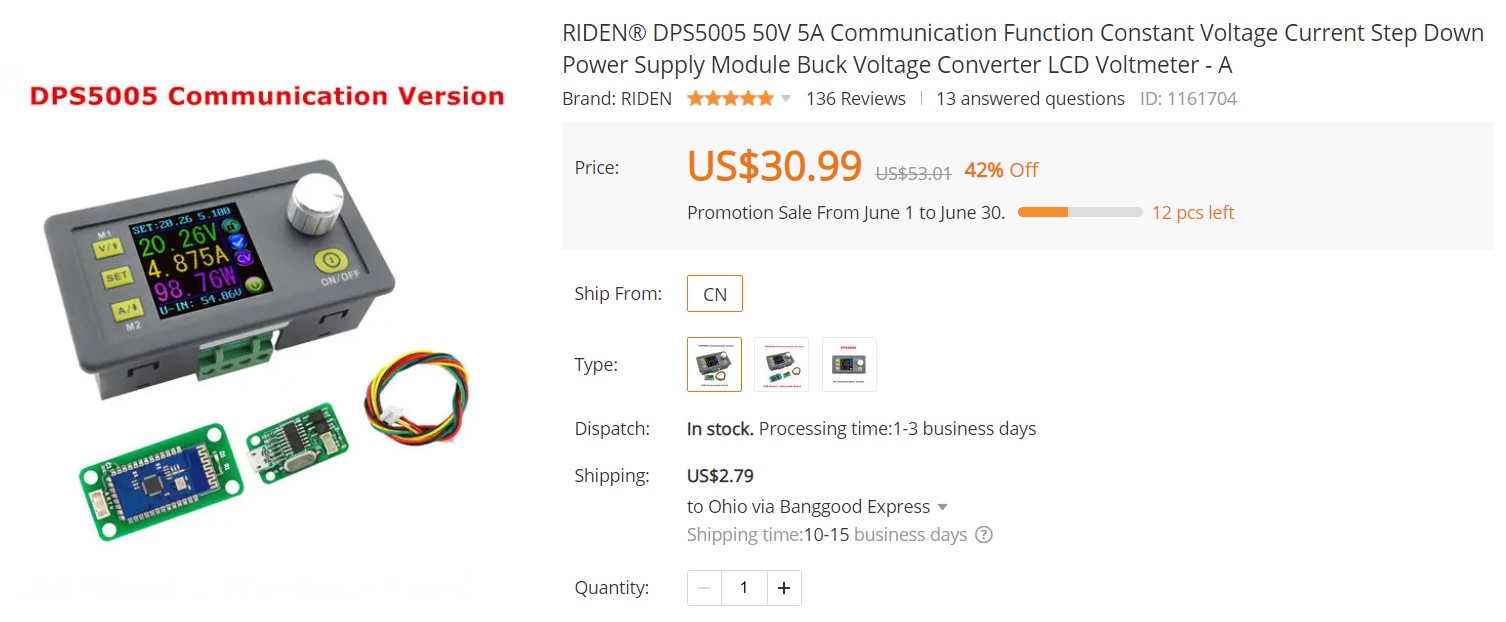
DPS5005 from Banggood
A suitable housing
In this case, an aluminum two-piece housing and hardware kit custom designed to house the DPS500x series of power supply controller heads. The upper and lower halves slide together via a tongue-and-groove arrangement, and is VERY well done. In addition, the housing has three sets of internal rails that make it easy to align/mount internal assemblies – NICE!
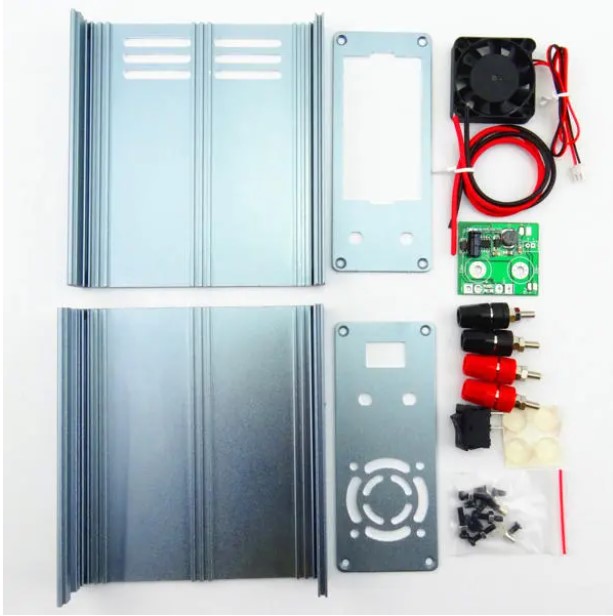
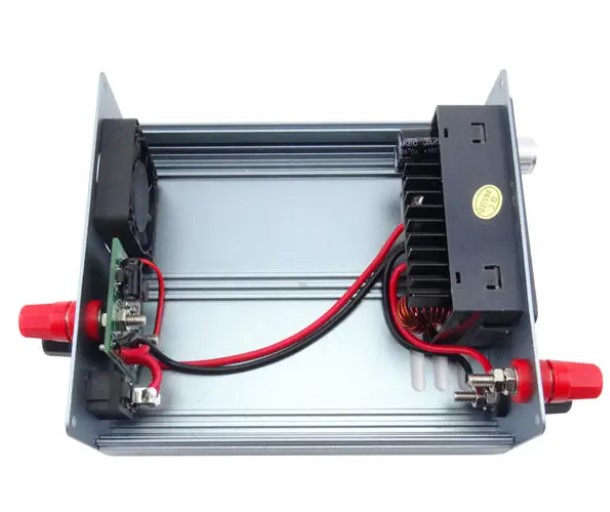
As the second photo above suggests, one suggested layout is to have an external 25-50V power supply connected to this piece, with basically nothing inside. However, I did some research and convinced myself that I could fit a small open-frame AC/DC power supply inside the housing and wind up with a complete unit, just with lower wattage.
An AC/DC power supply
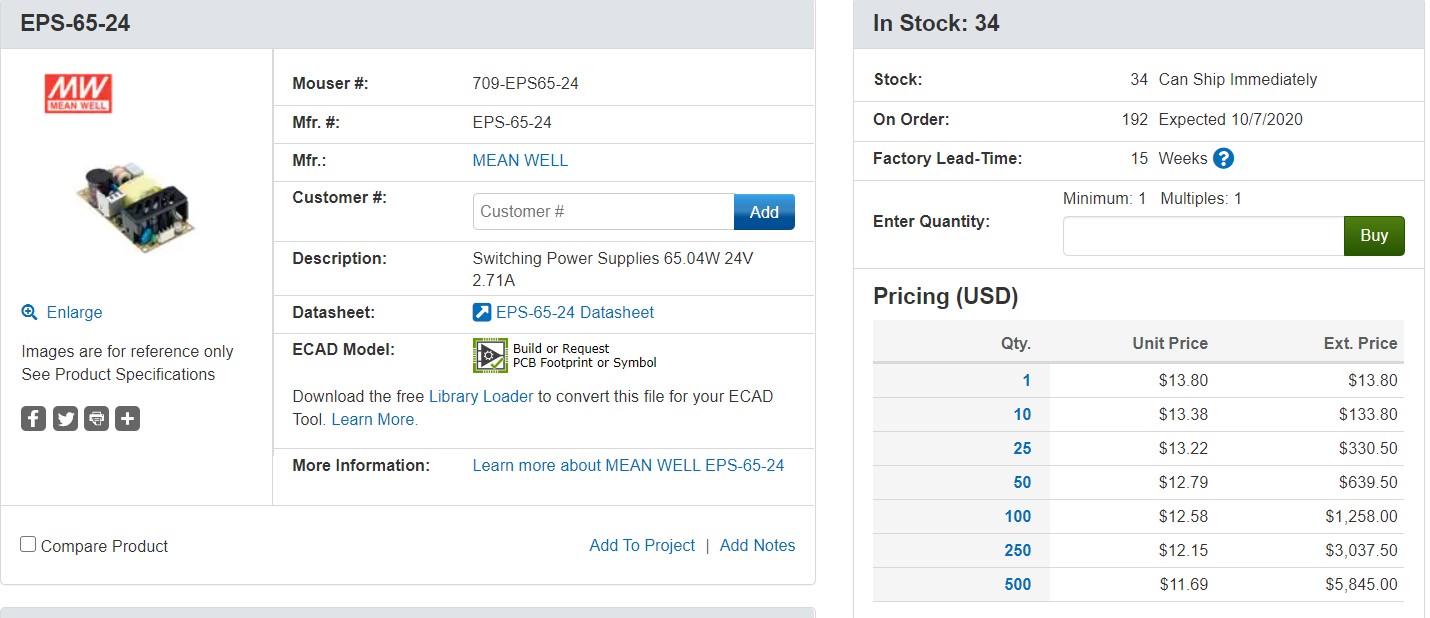
I wanted one that could fit inside the housing between the front and back plates to provide the ‘raw’ DC voltage to the controller head. In the past I have used a number of Mean Well supplies and found them to be small, reliable, and cheap, so I started looking for a unit that could deliver 24V at 2A or greater (the most I thought I would need for a general-purpose bench-top power supply) while still fitting into the housing. After a bit of research, I found that the Mean Well EPS-65-24 24V 2.7A open-frame power supply would do the trick nicely, and was available from Mouser for $13.80
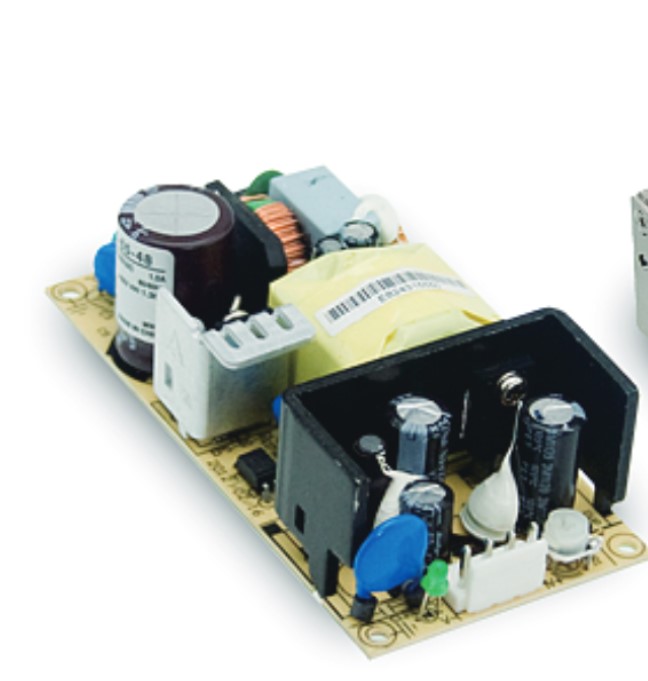
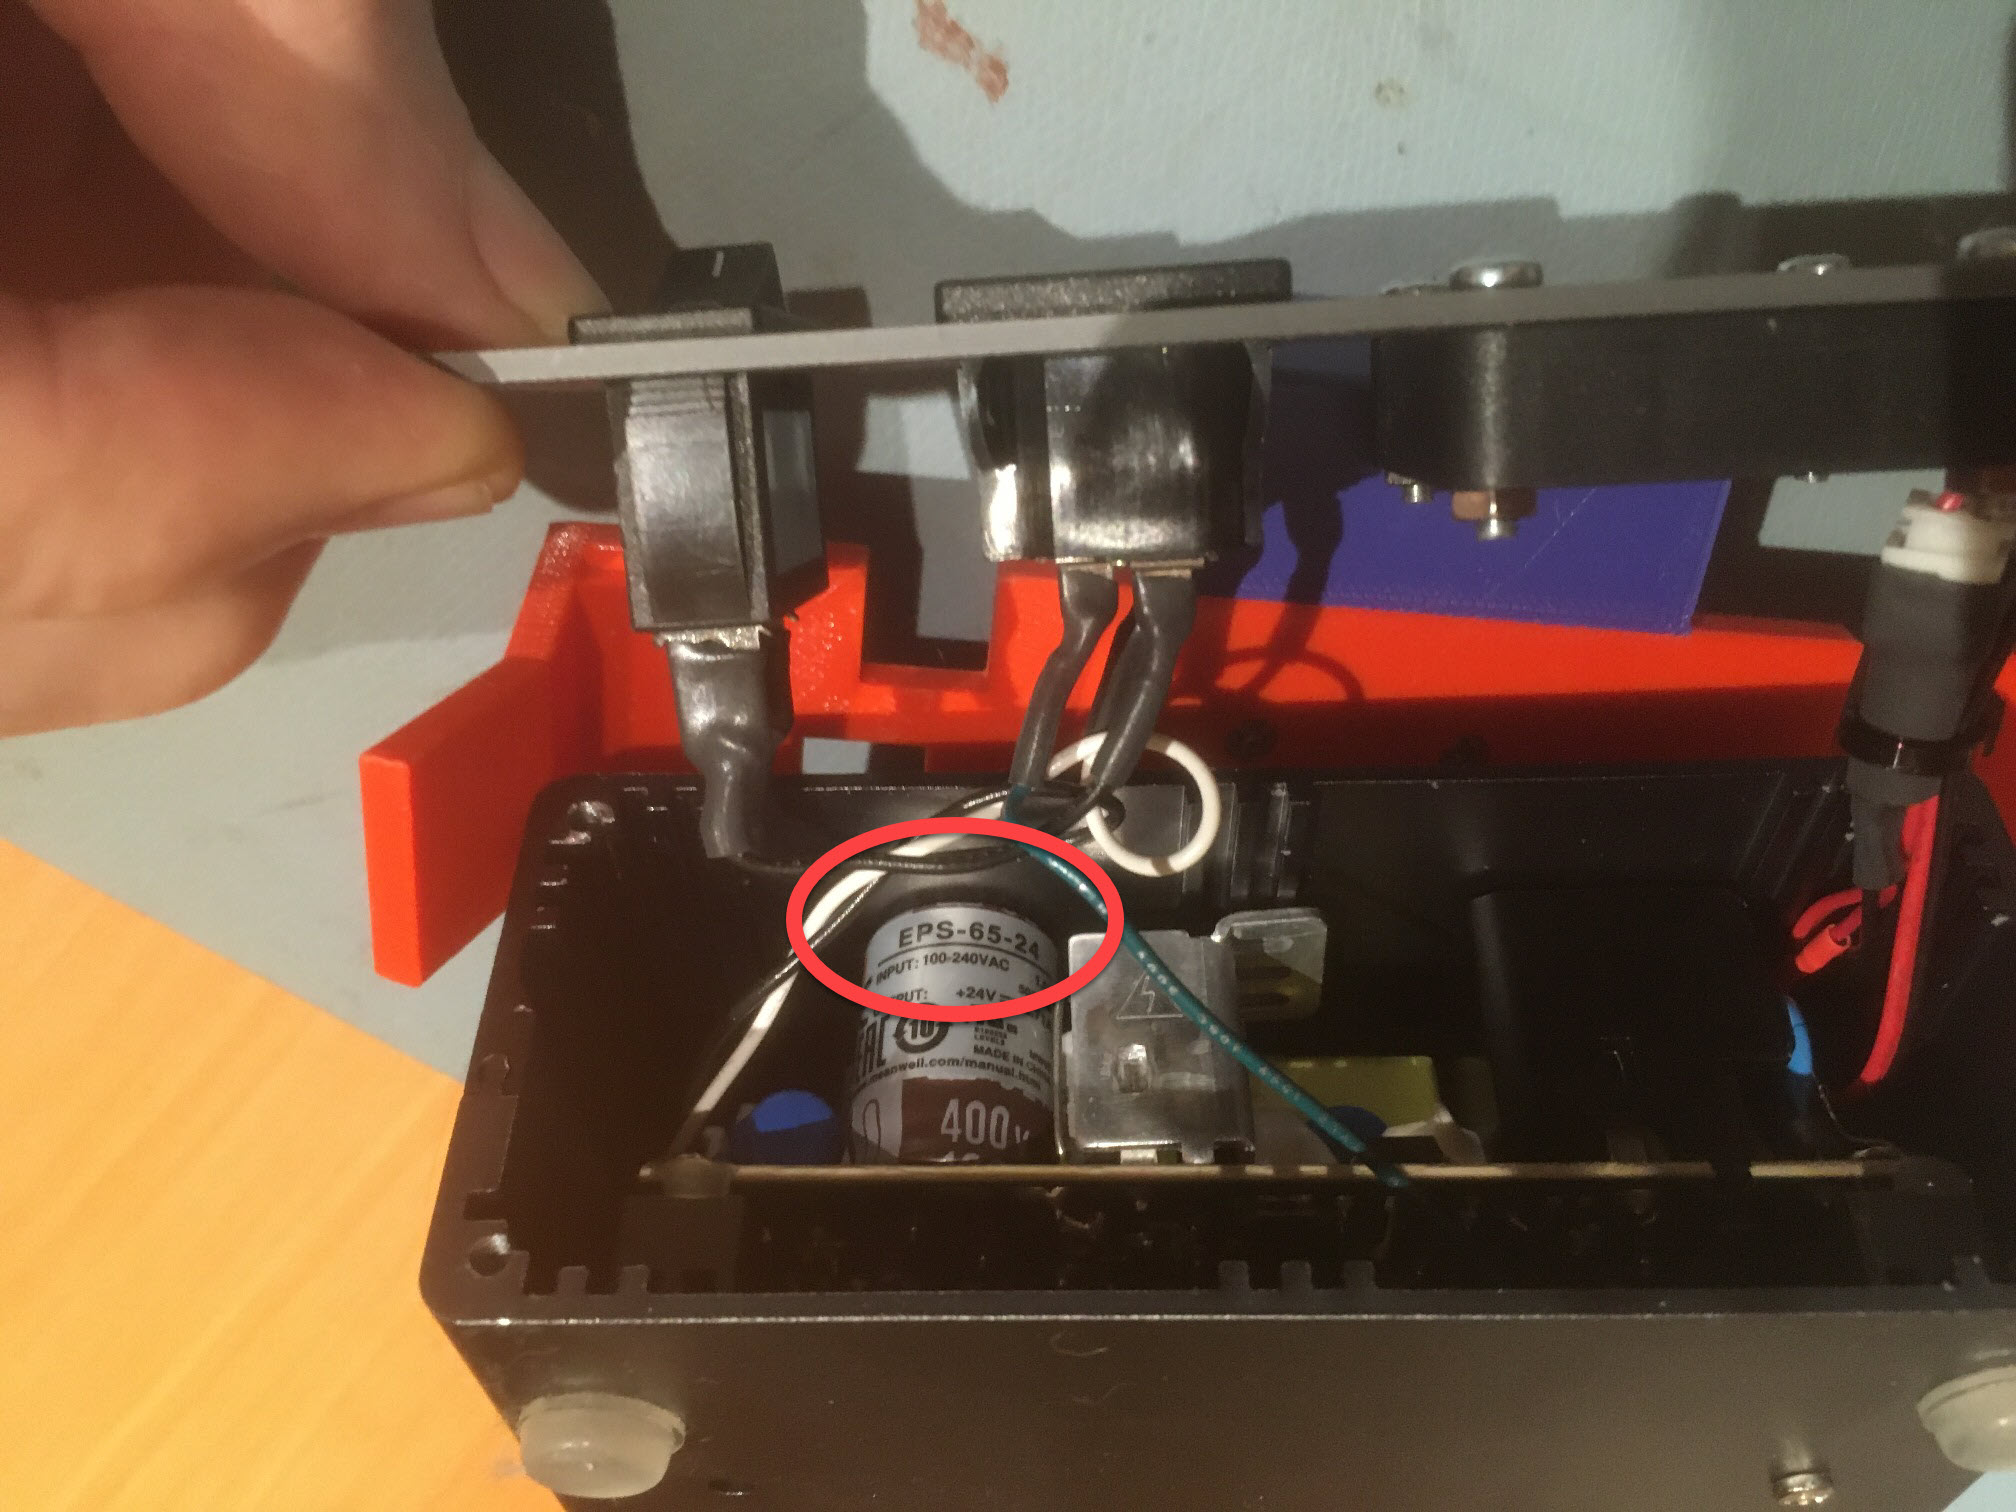
Side view of power supply with model number shown
With all the ‘big’ parts identified and ordered, there some smaller issues that needed to be addressed:
Custom 3D printed back panel:
Because I was planning to use an internal AC/DC power supply rather than an external one, I needed a panel-mounted AC plug instead of DC Banana plugs, and I wanted an AC ON/OFF switch as well. So using the basic dimensions and layout of the existing back panel, I designed a new one in TinkerCad to meet my needs. I found some designs for 40mm fan grills on thingiverse and used them to create a cutout directly into the back panel, and took the cutout dimensions for the power switch and AC plug from the manufacturer’s specs for the parts. When I was finished, I had a nice 3D printed panel as shown below:
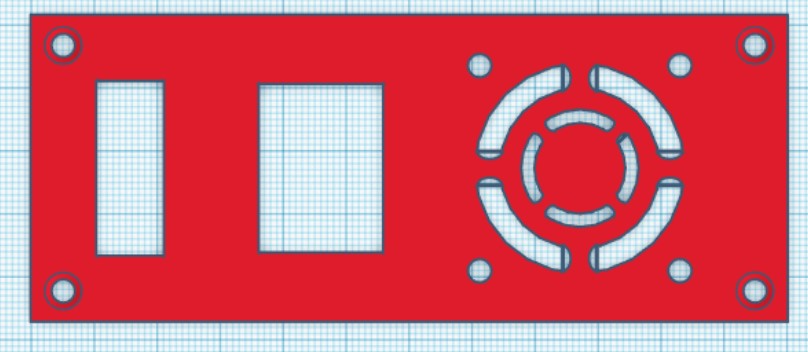
TinkerCad back panel design
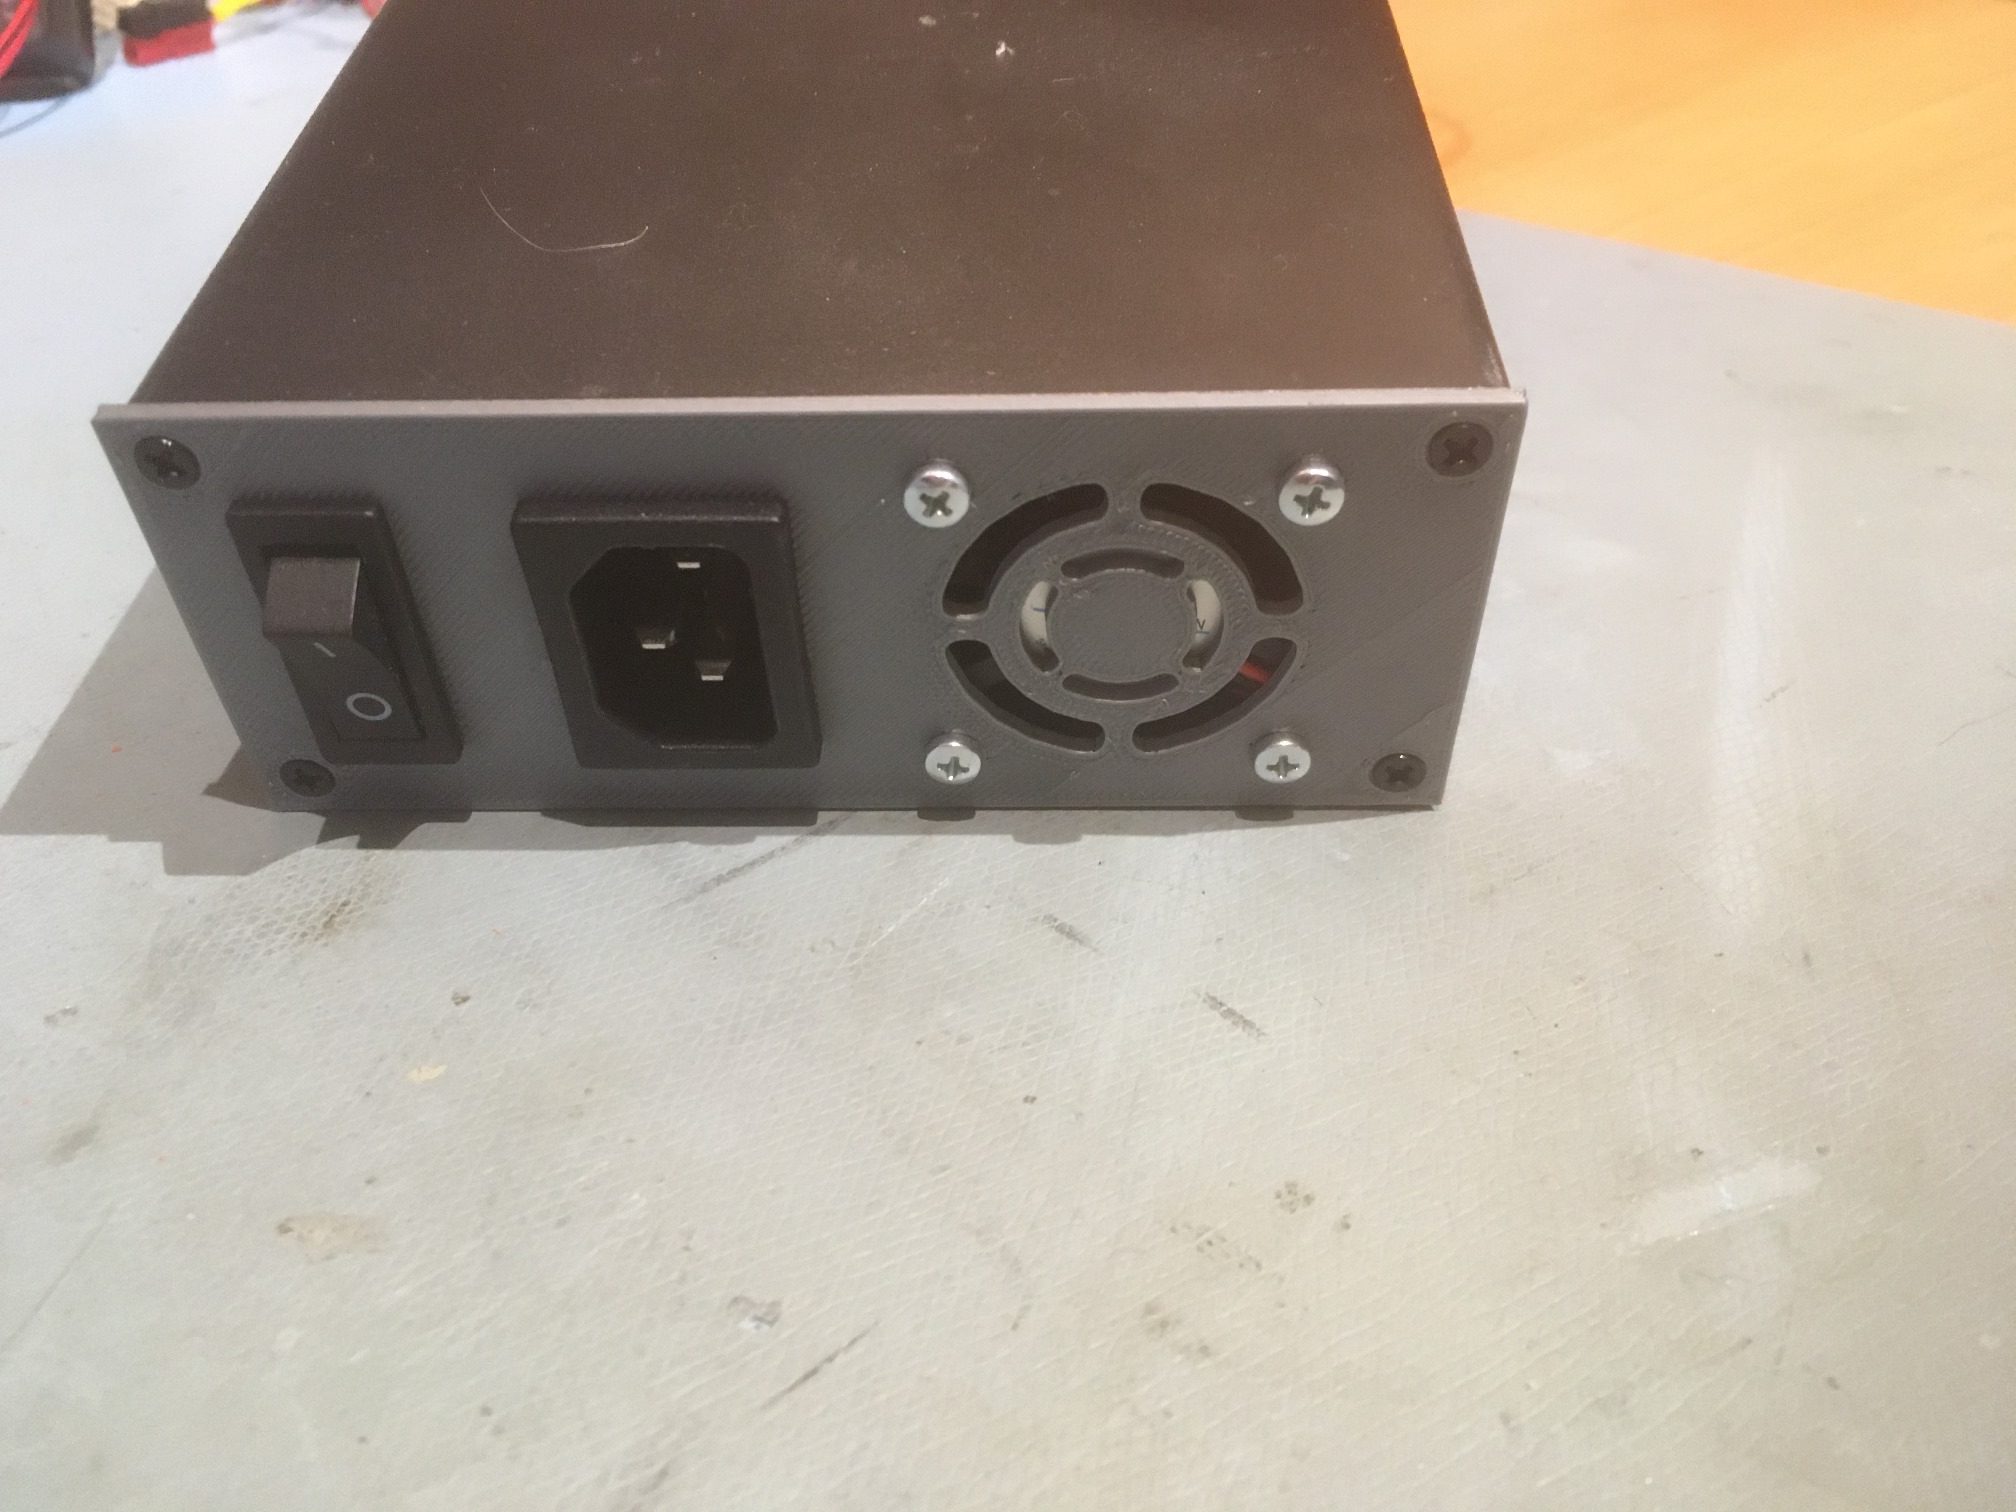
Custom back panel installed on power supply housing
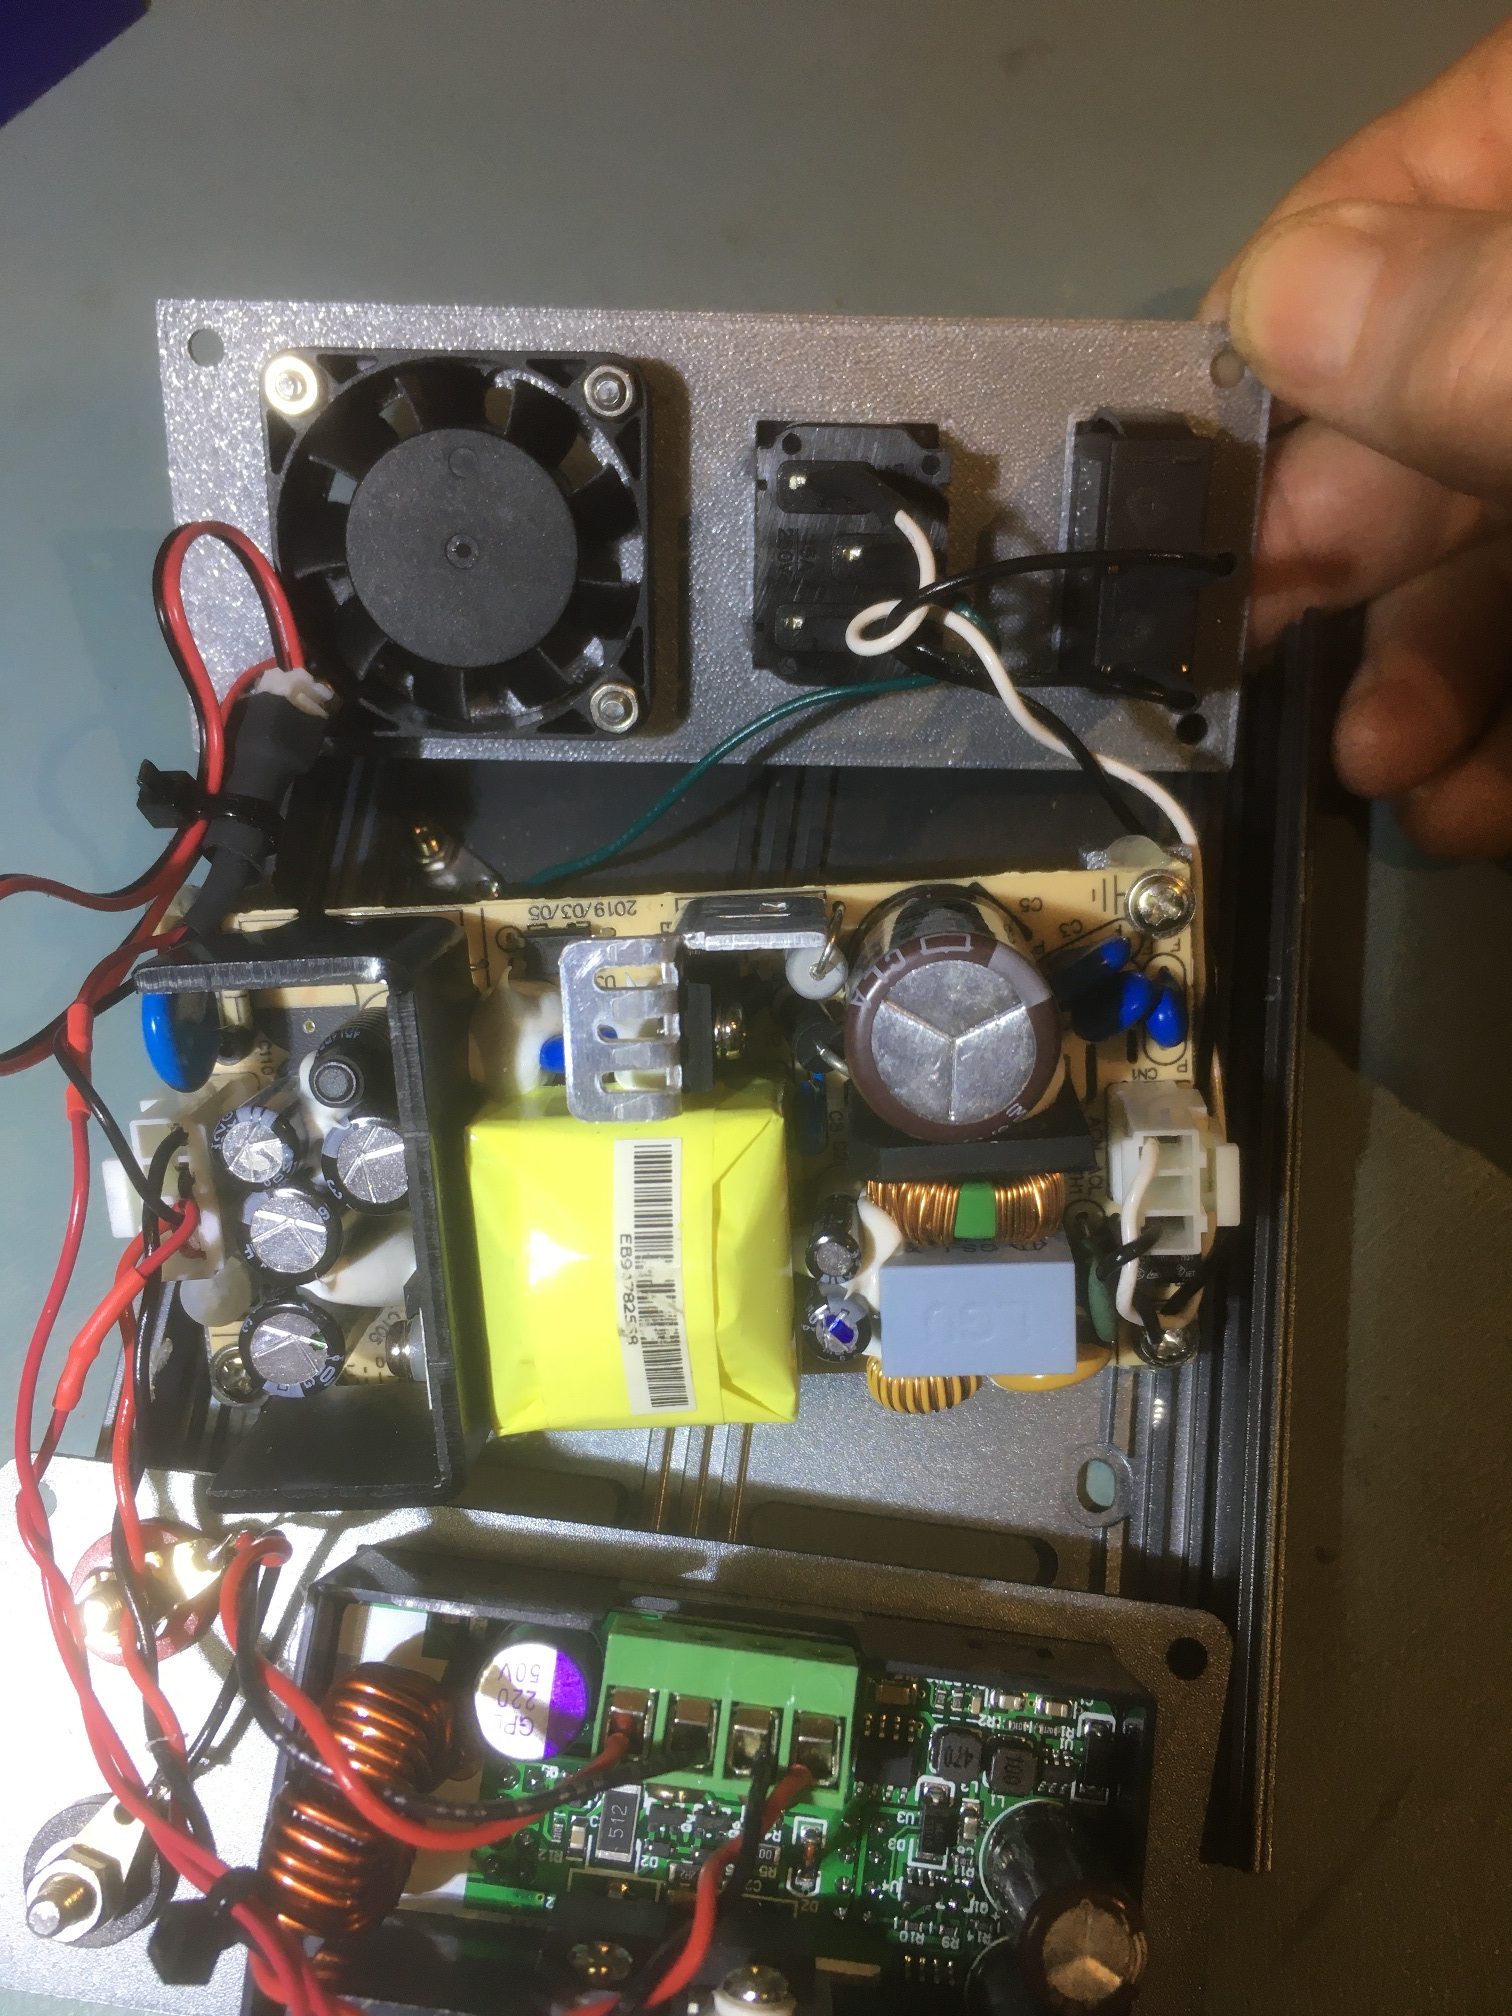
Power Supply Mounting Rails:
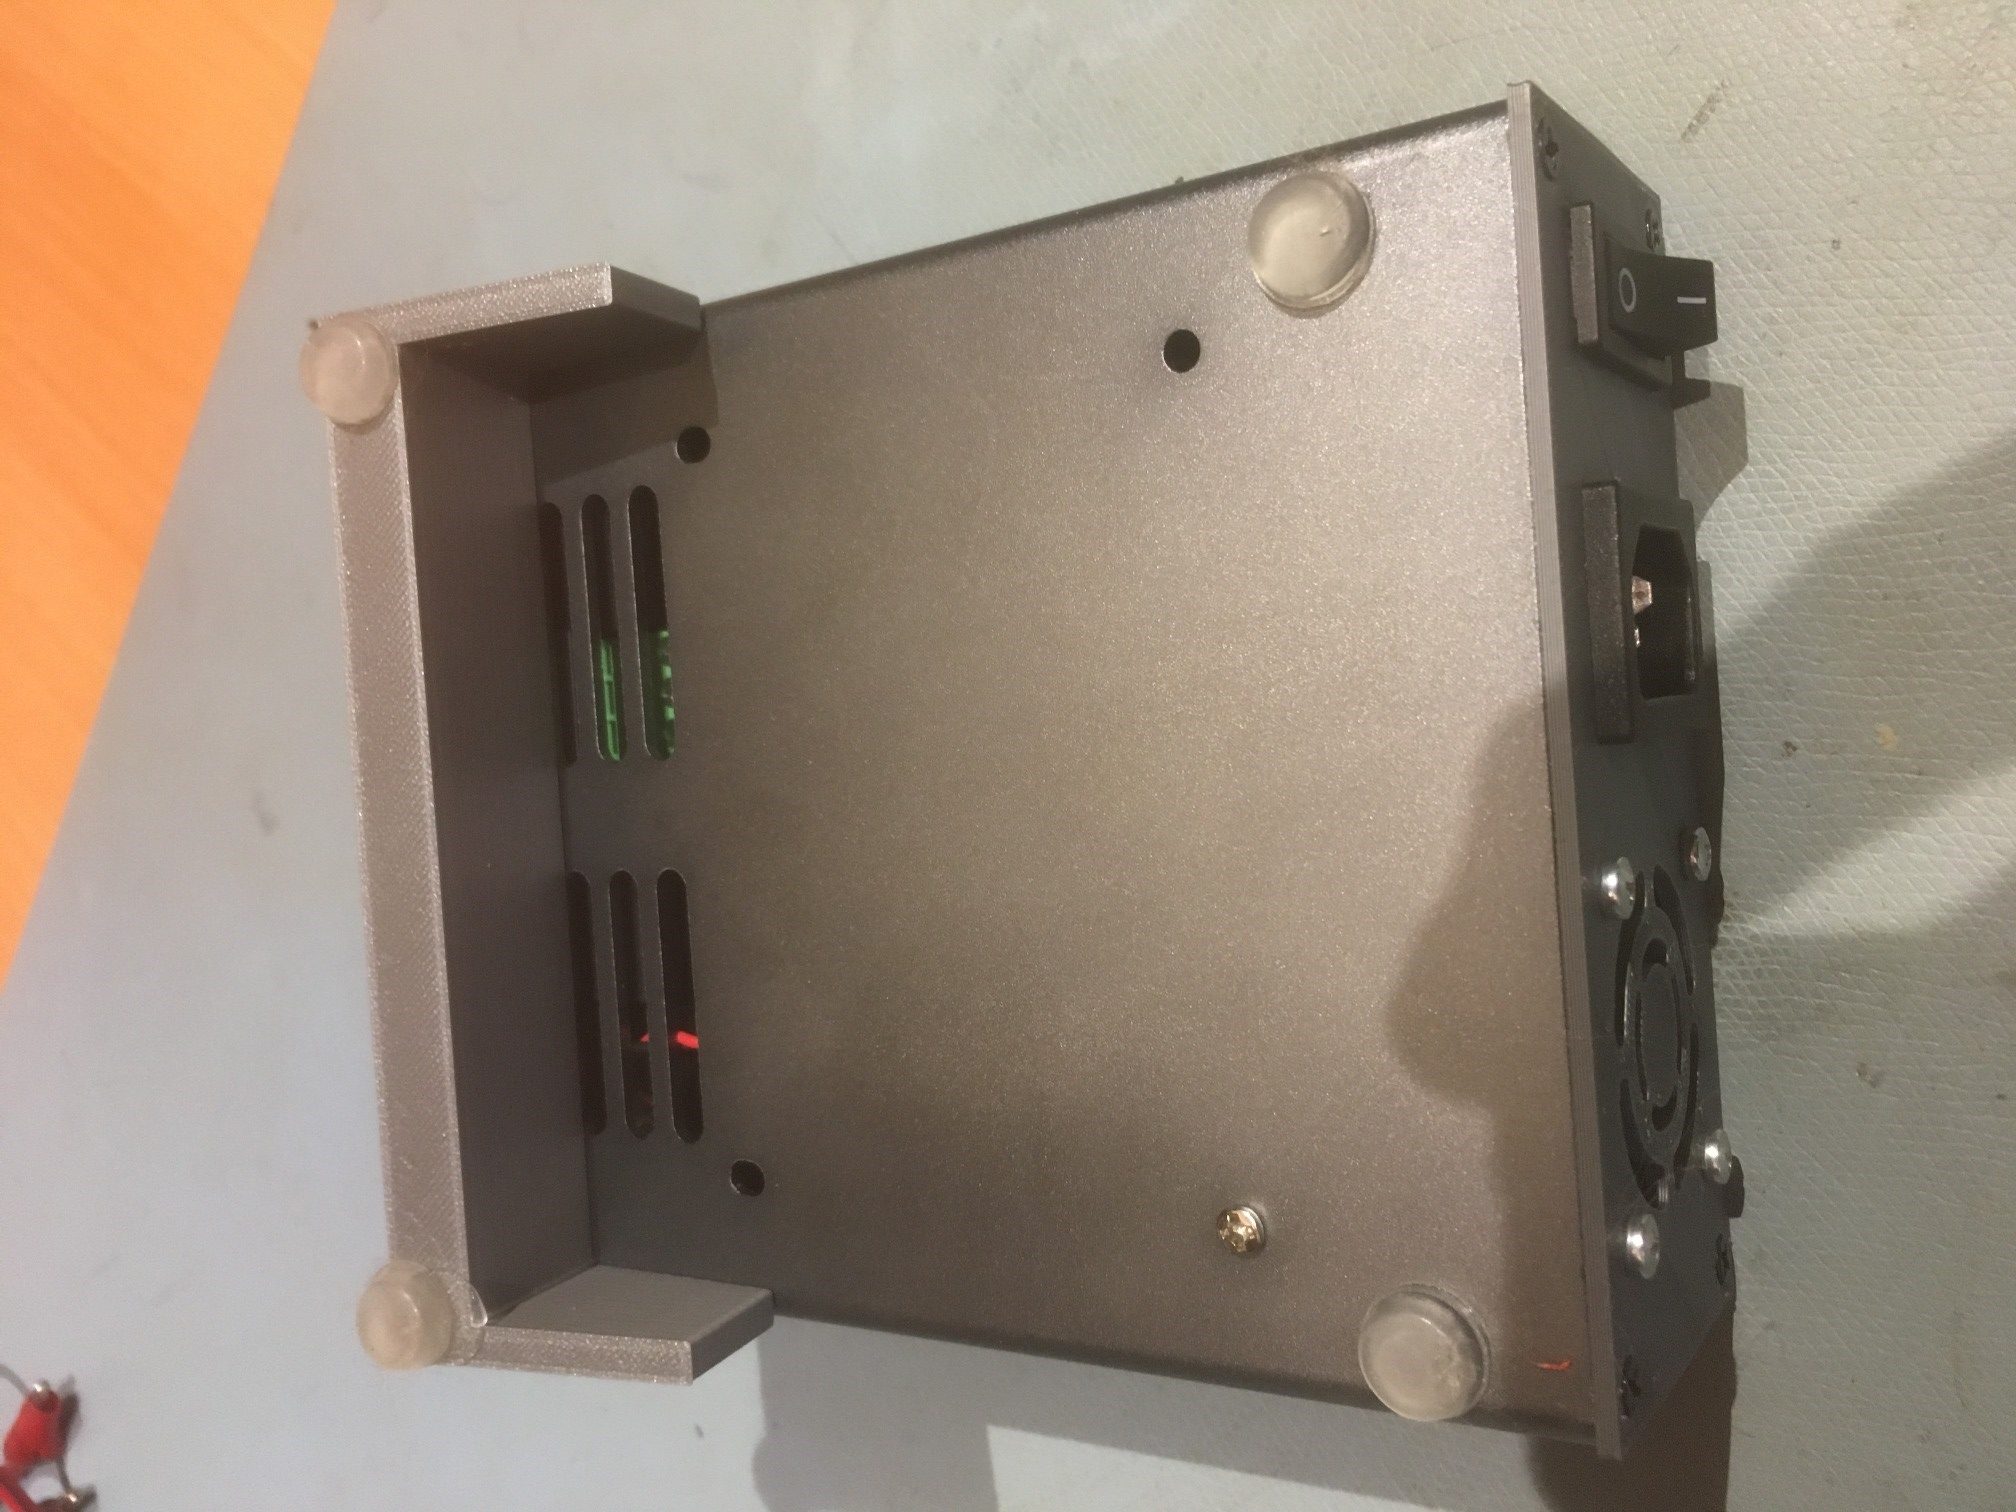
The housing sports three sets of internal rails that can be used for parts mountings, so I designed and printed some ‘runners’ that would attache to the bottom of the power supply and mate with the internal rail geometry, as shown below:
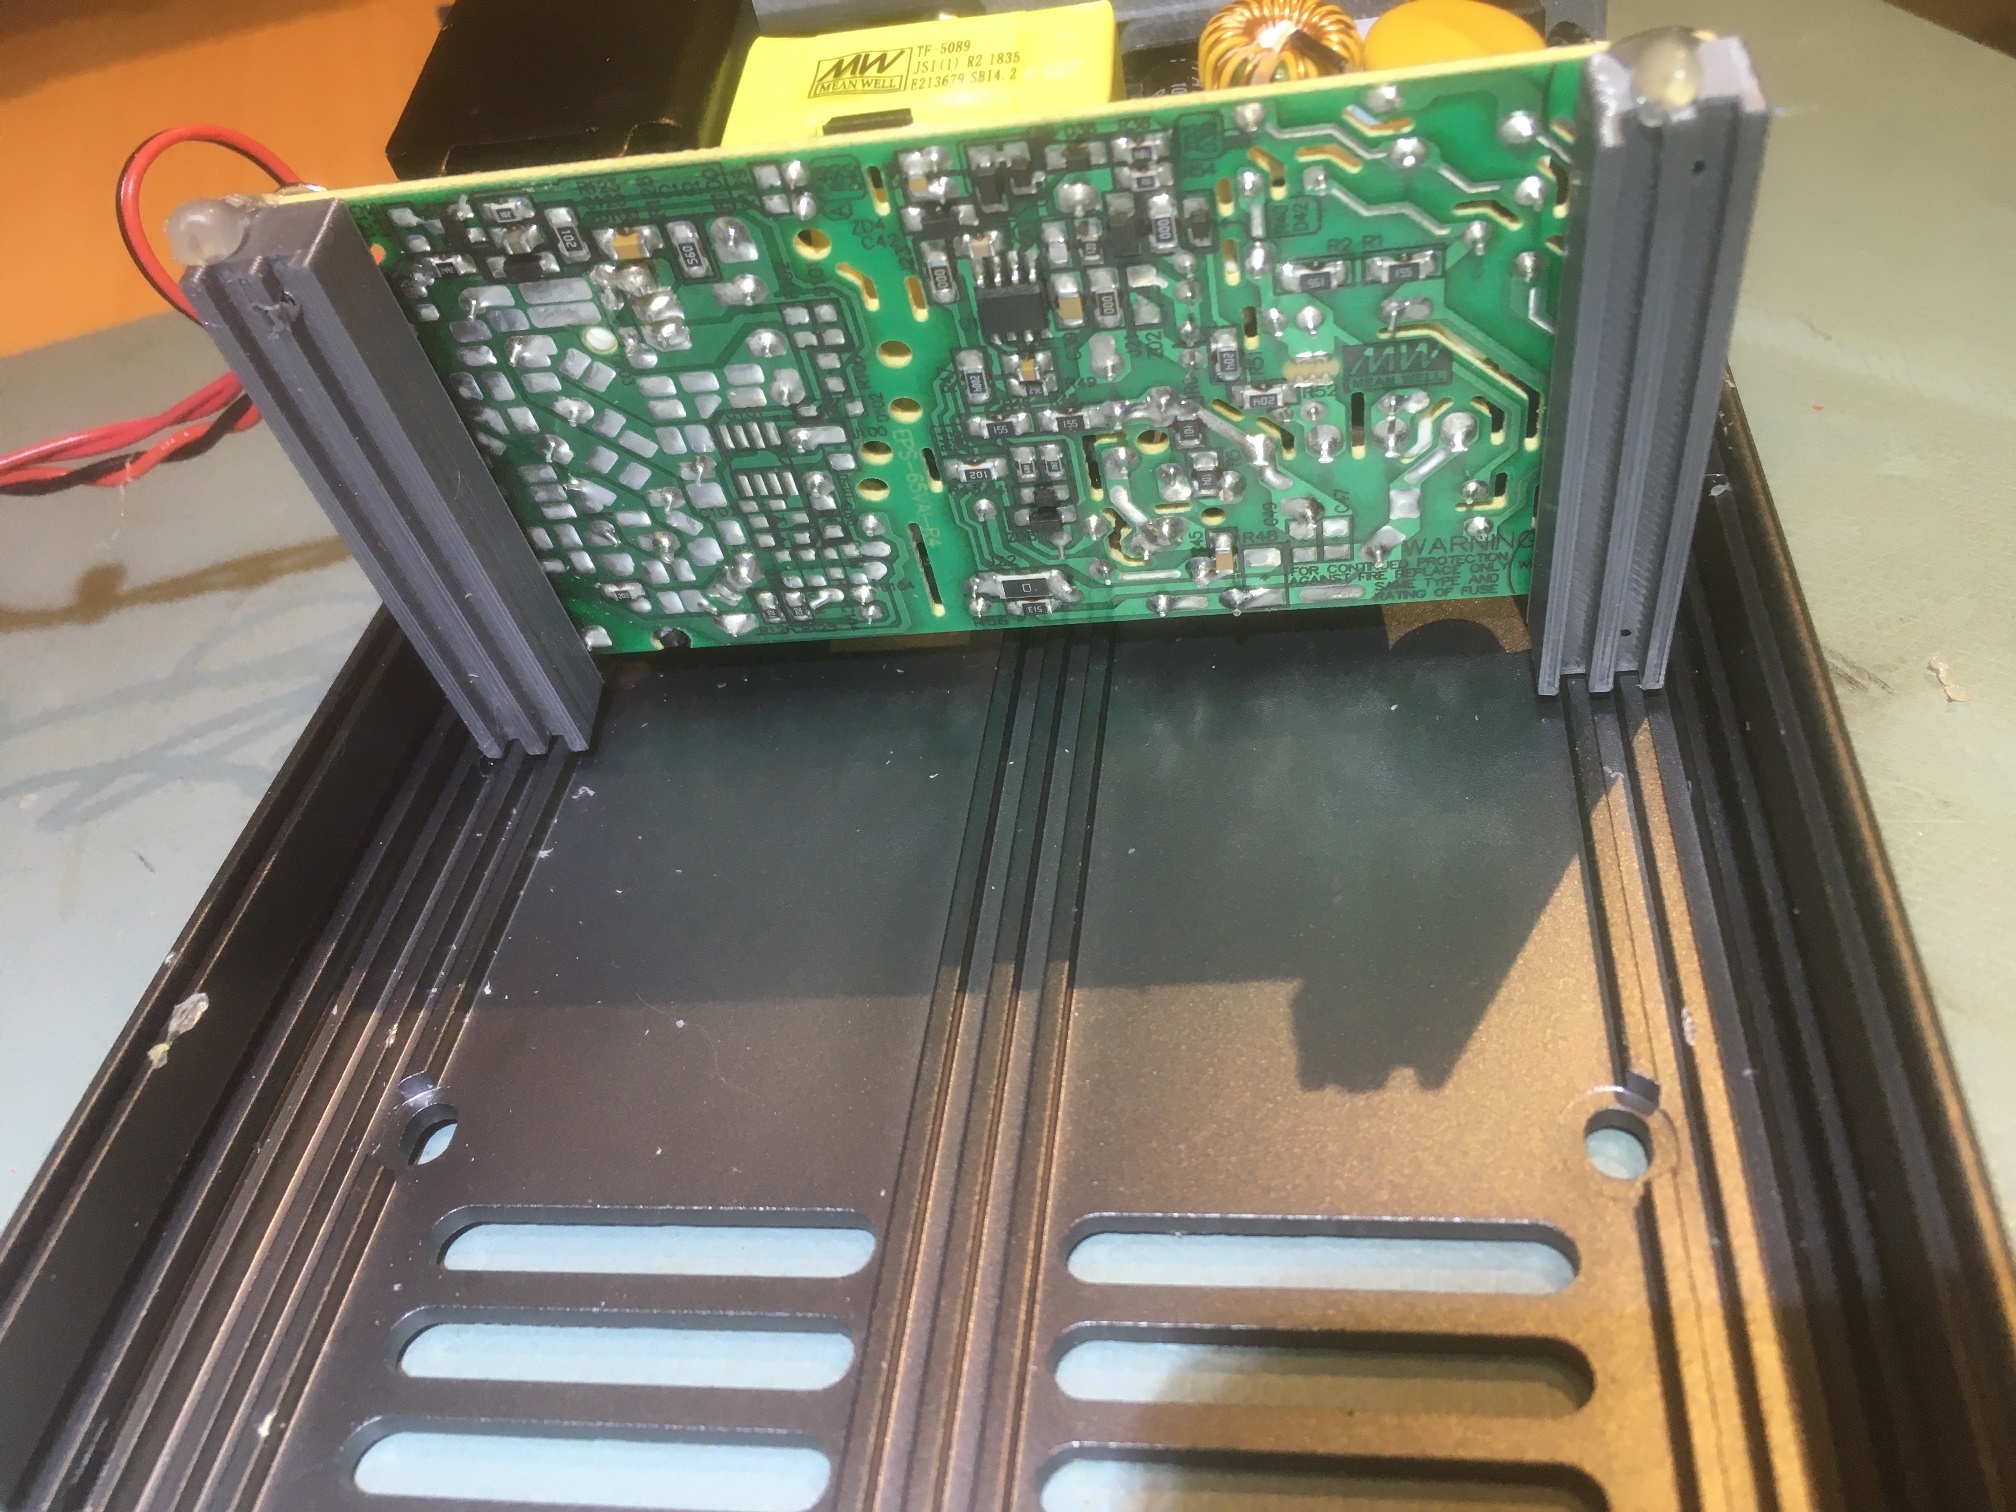
3D-printed runners to mate with housing internal rail structures
Tilt Stand:
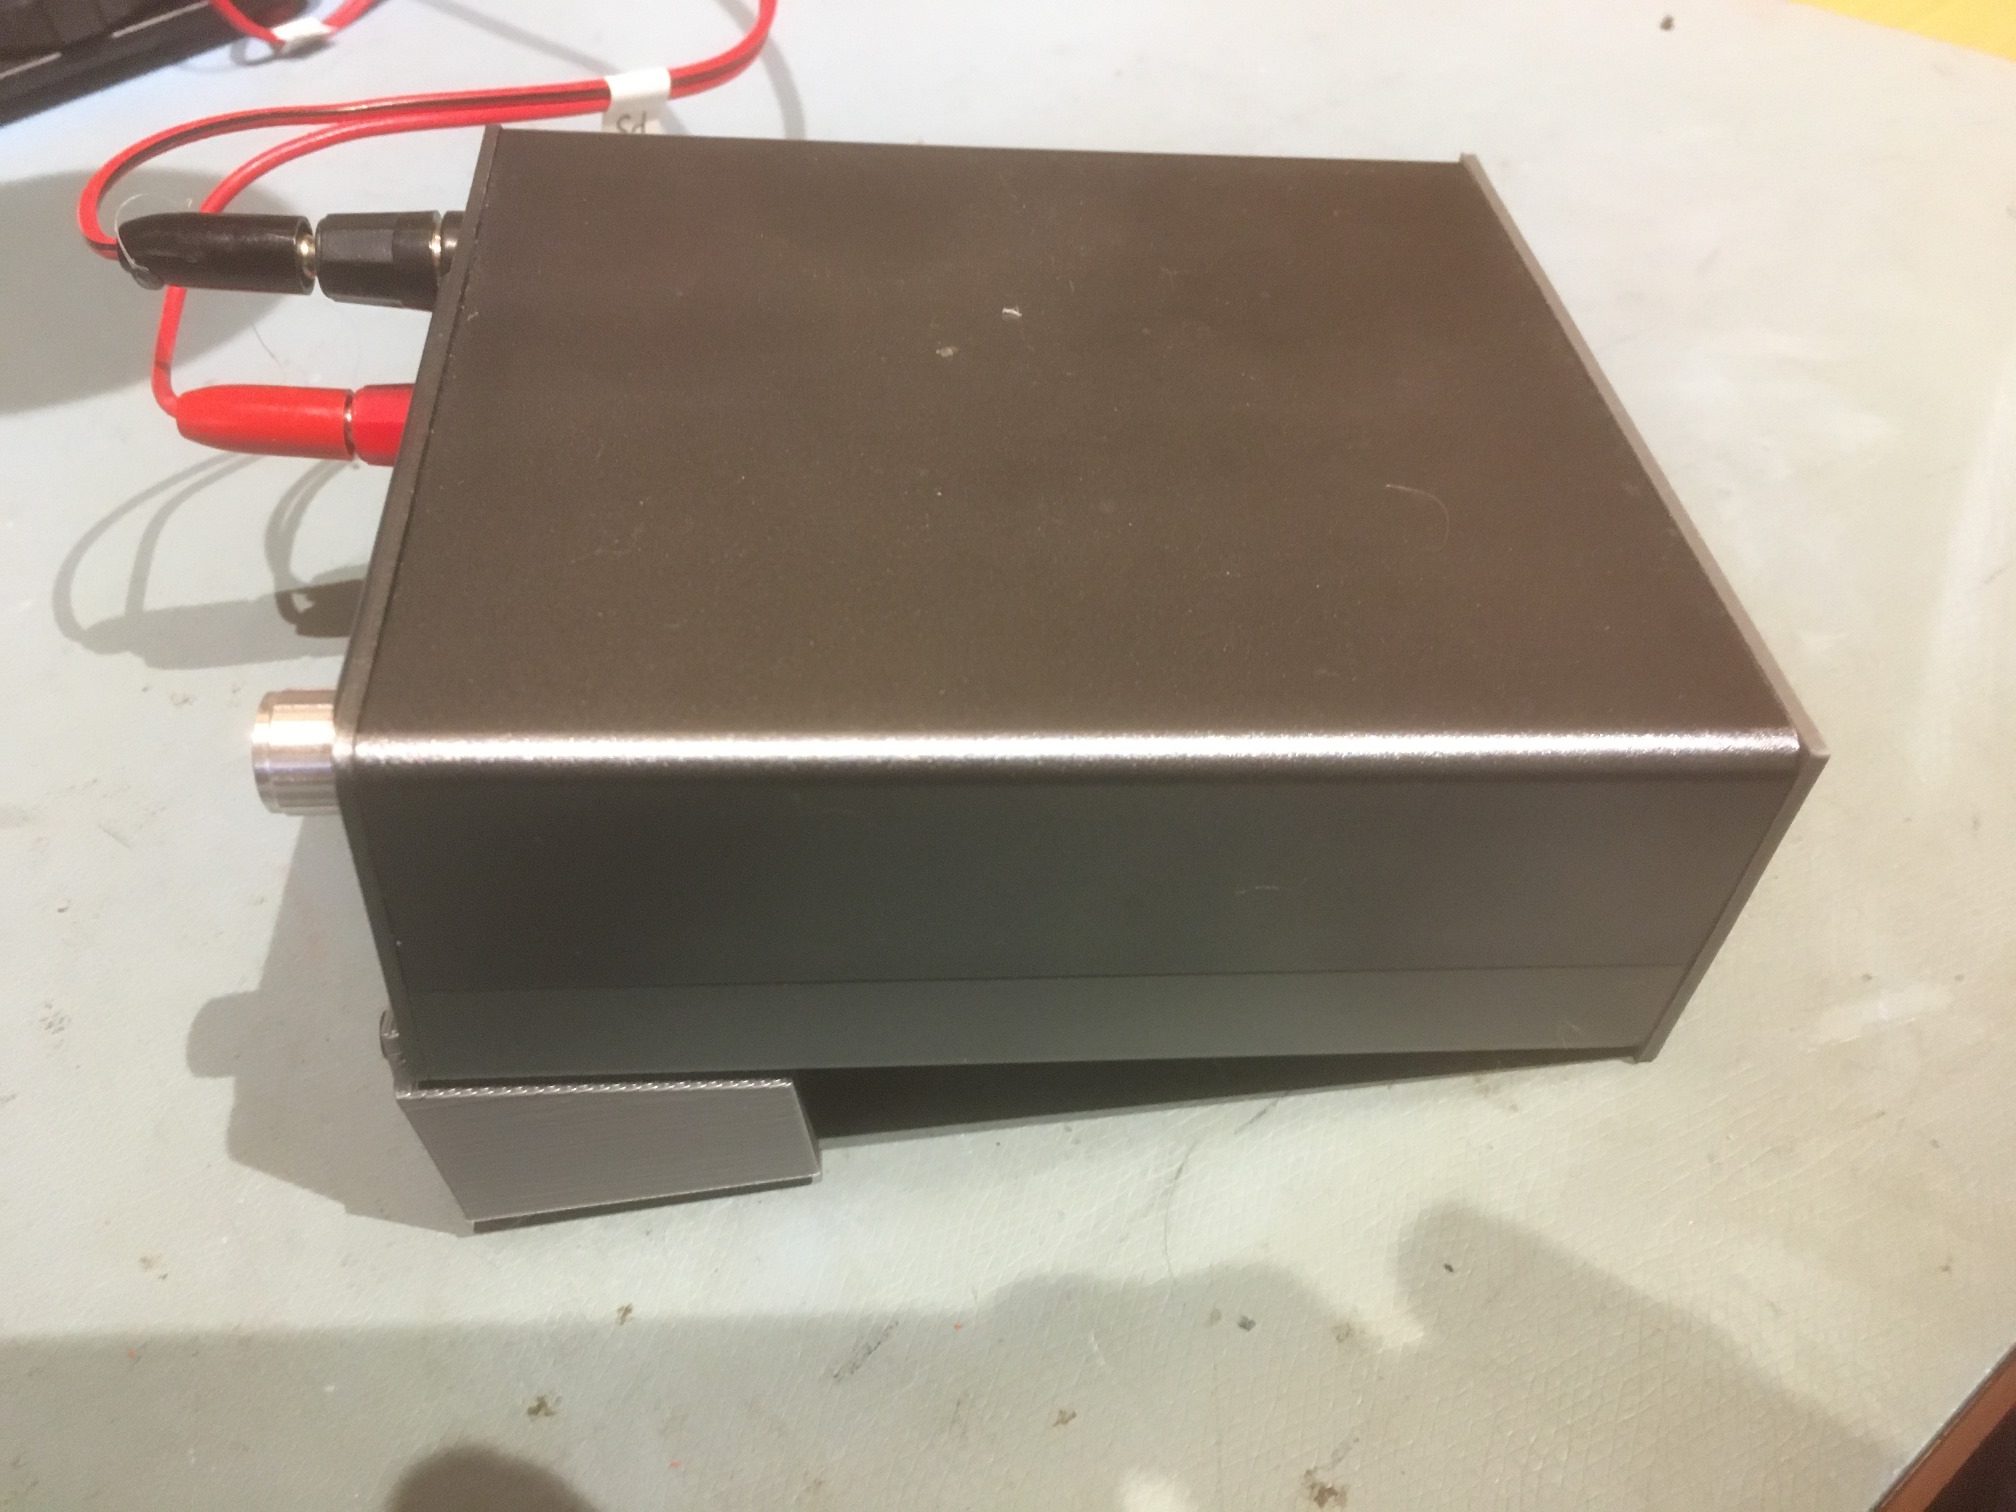
The finished power supply worked great, but it was so small and flat that it was difficult to get my fingers on the controls, so I designed and fabricated a custom tilt stand, as shown below
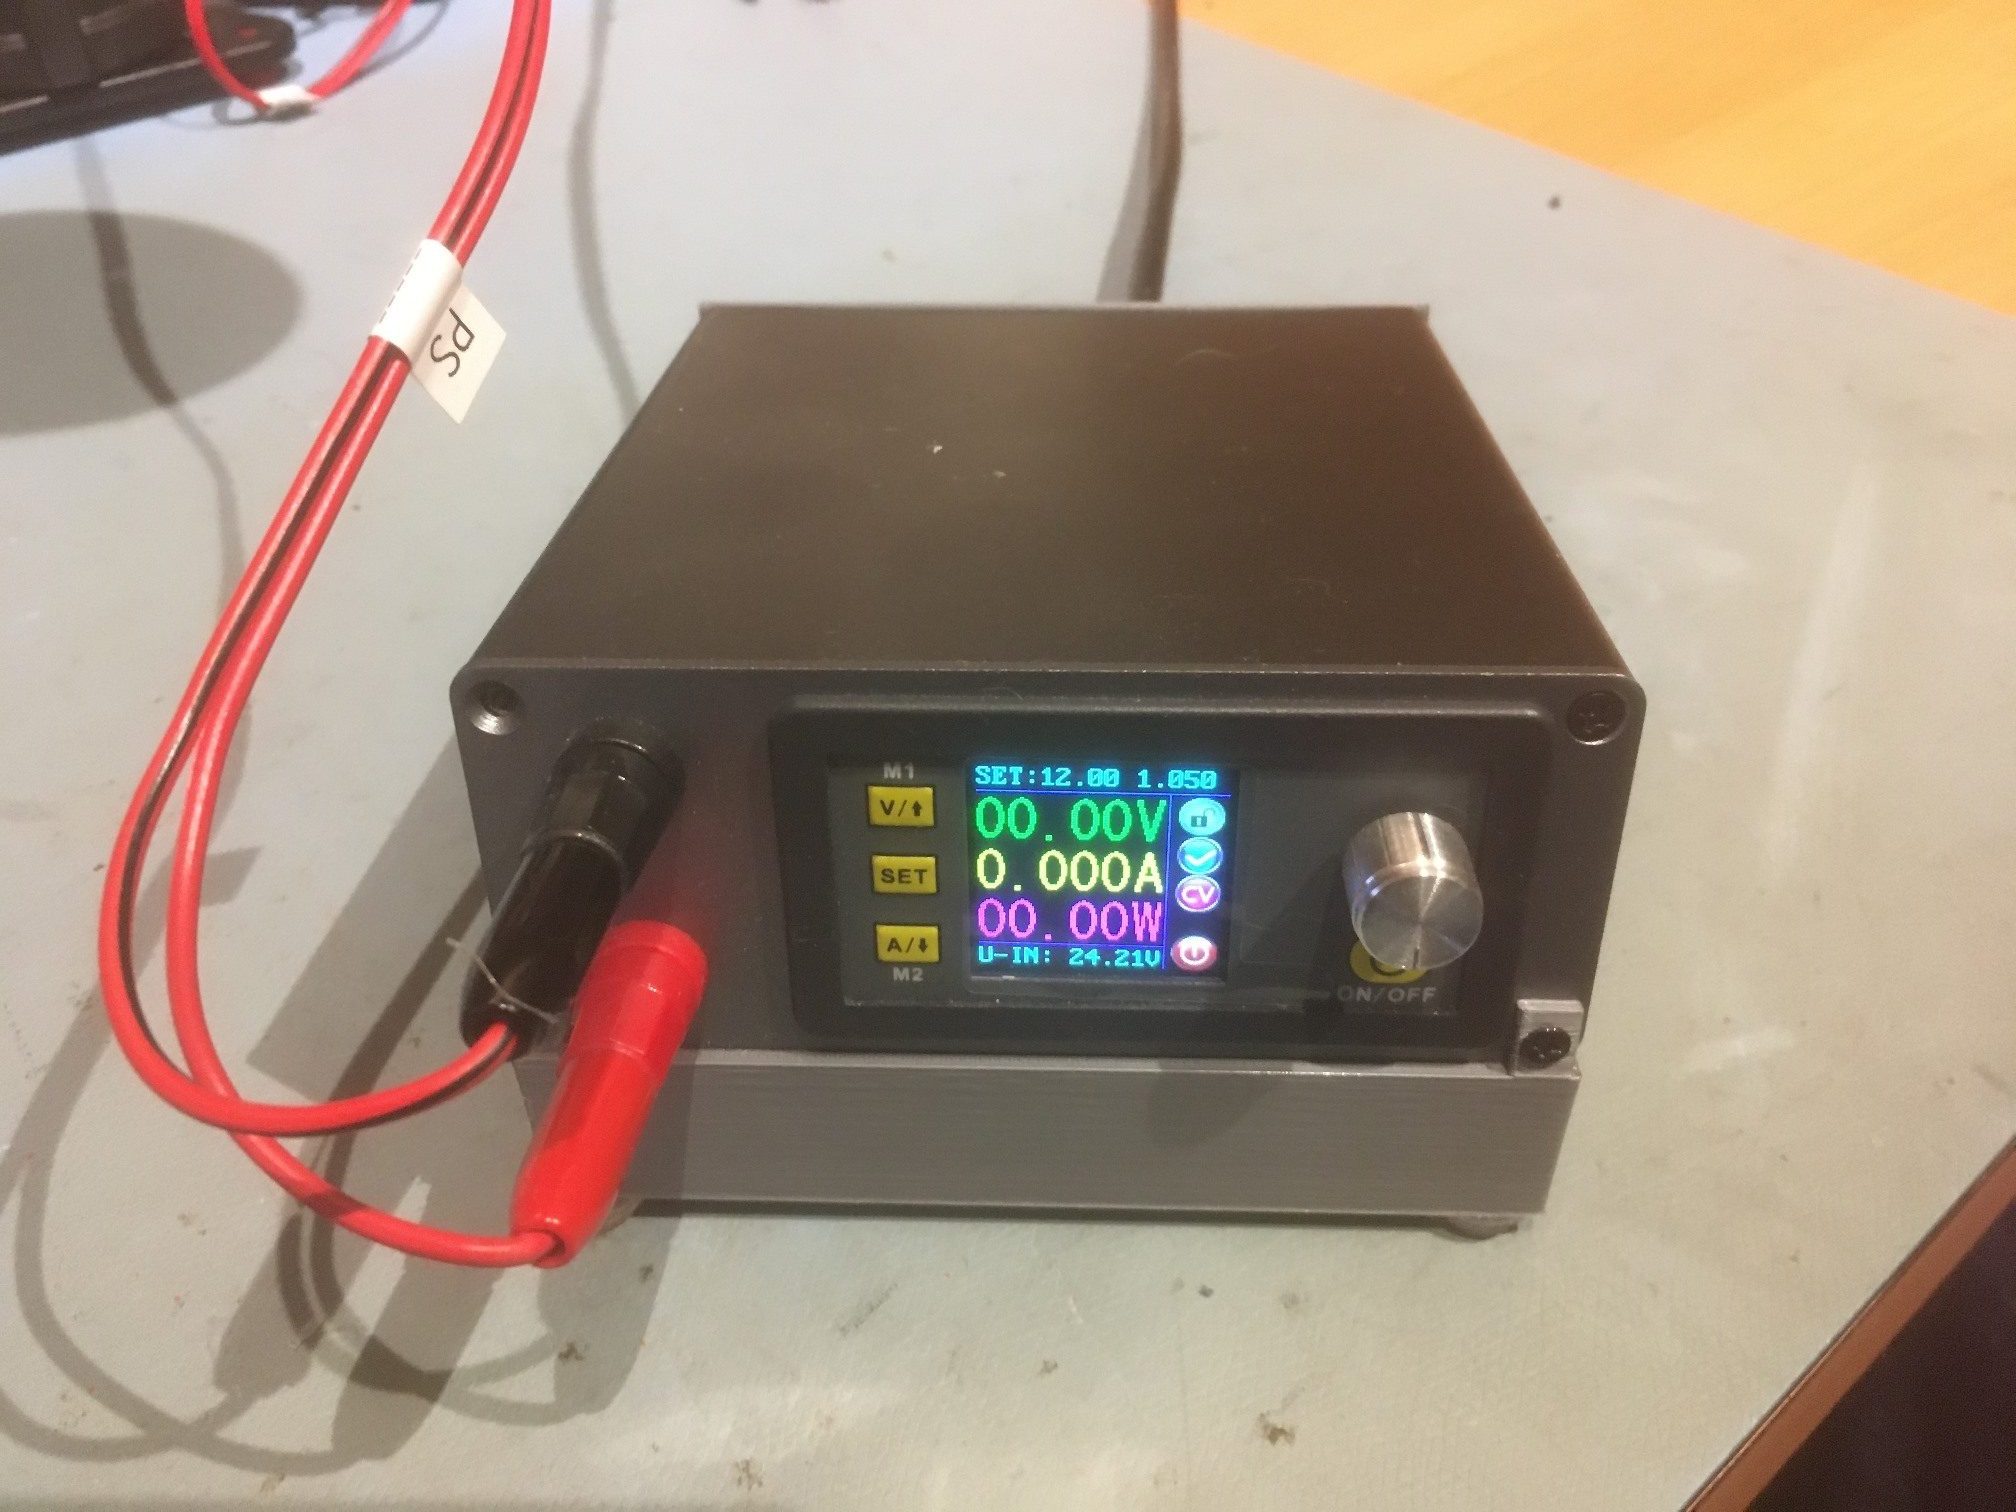
Front view showing tilt stand. Ignore the missing screw 😉
Miscellaneous:
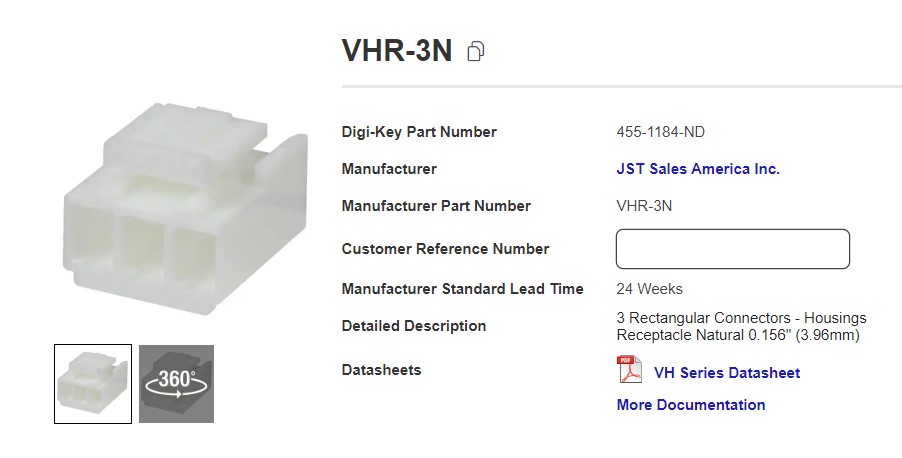
Mean Well AC/DC power supply AC input connector:
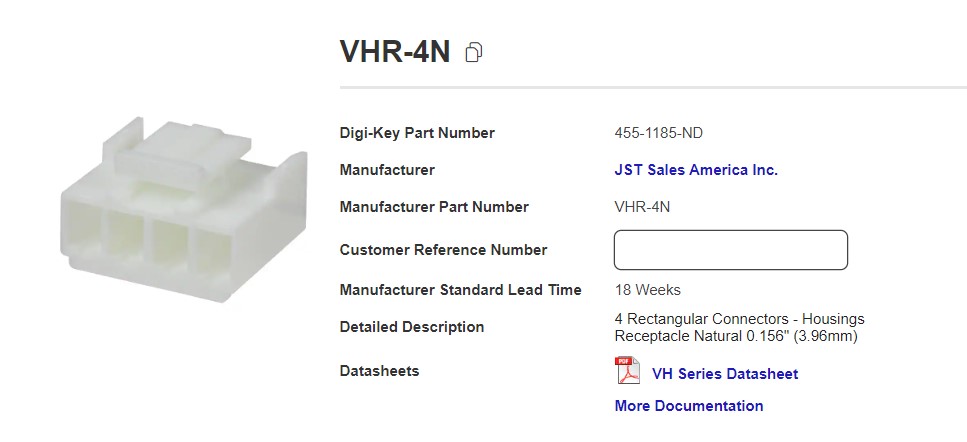
Mean Well AC/DC power supply DC output connector:
HP style AC cord panel-mount receptacle: 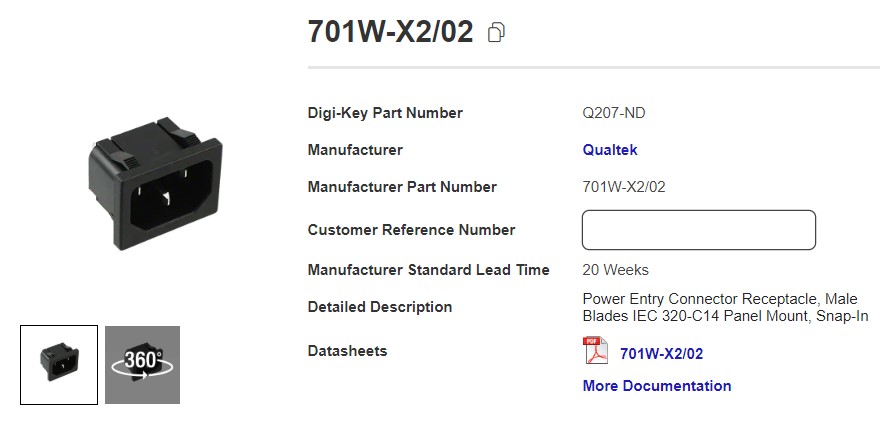
AC Power switch: KCD3 T85 16A 250VAC, 20A 125VAC.
Here’s a link to the 3D print (STL) files for the tilt stand and the custom rear panel. If you don’t have access to a 3D printer, there will surely be someone in your local area who can print them for you.
Frank
