Posted 13 July 2021
Being an old fart, I have unfortunately accreted a number of meds that I must take on a daily basis; the current count is four different meds – two in caplet style, and to in pill style. Each night I have to remove the cap from four different bottles, extract just one pill/caplet, and close the cap, all without losing any. After the umpteenth time that I either lost a pill on the floor, or had some very expensive caplets literally go down the drain, I said “there must be a better way…”.
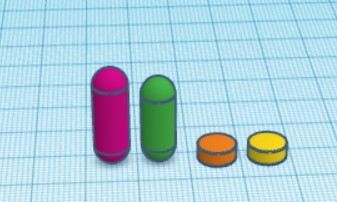
So, I started designing a mechanism that would dispense just one pill/caplet on each cycle. I started out by creating TinkerCad models of the pills and caplets, as shown below:
Then I started working on a dispensing mechanism, and wound up with the following design.
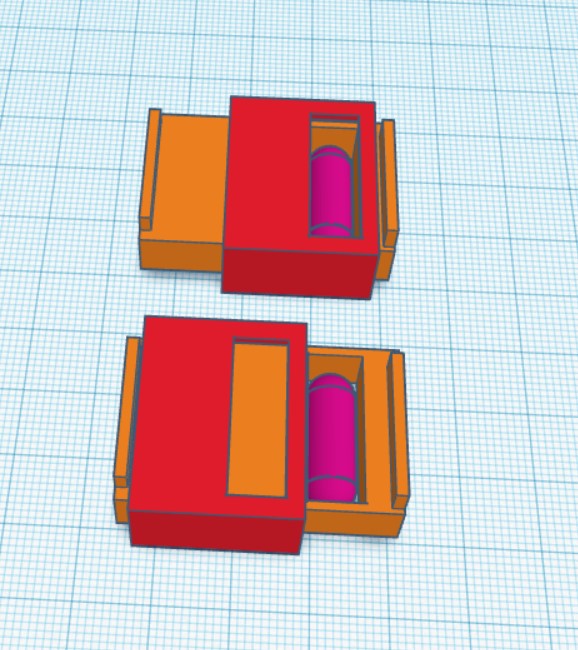
The mechanism consists of a sliding drawer and a collar with a caplet-sized slot. In the ‘load’ position (upper image above), the caplet falls through the slot into a caplet-sized bay in the drawer. In the ‘dispense’ position, the caplet falls through the open bottom of the drawer bay. Each time the drawer is moved back to the ‘load’ position, another caplet falls into the dispense bay, and is dispensed when the drawer is moved back to the ‘dispense’ position.
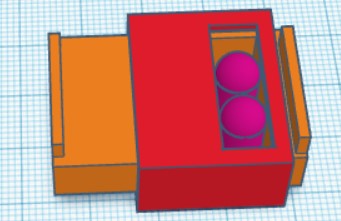
The above design worked very well, but there were two significant problems; the drawer wouldn’t stay in the ‘load’ position, so care had to be taken to avoid dispensing several caplets at a time, and it was possible for two caplets to fit vertically into the slot, jamming the mechanism, as shown below:
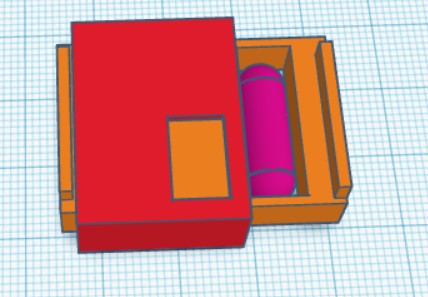
To keep the drawer in the ‘load’ position, a small rubber band was attached to the collar (the red part above) and around the right end of the drawer, using a hot-glue gun. This keeps the drawer in the ‘load’ position until actively pushed against the rubber band tension to the ‘dispense’ position. The issue with two caplets jamming the drawer was solved by placing a ‘flap’ over the slot in the collar, reducing the hole size such that only one caplet at a time can fit. A caplet goes through the hole vertically, and then slides down into the drawer bay, winding up horizontally in the bay, as shown below:
The next step in the project was to design and fabricate an adaptor piece to connect the dispensing mechanism to the pill bottle. TinkerCad doesn’t really support morphing from one shape to another, so I had to find a different way. I tried Blender, and while it did work, I had no experience with the product and so stumbled around a lot. Next I tried Open SCAD and discovered the ‘hull()’ feature, which does pretty much exactly what I want. After playing around with this a while, I came up with the following OSCAD script to do what I wanted:
|
1 2 3 4 5 6 7 8 9 10 11 12 13 14 15 16 17 18 19 20 21 22 23 24 25 26 27 28 29 30 31 32 33 34 35 36 37 38 39 40 41 42 43 44 45 46 47 48 49 |
/*07/12/21 Caplet dispenser adaptor for bottles with various size caps. The cap fits into the top, and the center of the cap is cut away to allow the pills to fall down into the funnel. This part gets mated with the actual dispenser mechanism in TinkerCad 07/13/21 - increased wall thickness at square/cone transition - added flap to ensure only one cap at time into dispensing cavity - increased the height of the pill bottle mating collar */ rect_w = 12; //rectangle width rect_l = 28; //rectangle height th = 2; //wall thickness of the completed object cyl_id = 56; //id to match pillbottle lid cyl_od = cyl_id + 2*th; //outside diameter ht = 16; //total height of morphed element rect_h = 6; //height of just the rectangular solid rim_ht = 12; //height of the collar above the morphed element fn = 60; //number of sides making up cylinders module cube_cyl(w,l,rect_h,dia, ht) { dh = 0.5; echo(w = w, l = l, h = ht); echo(rect_l = rect_l, rect_w = rect_w, rect_h = rect_h); hull() { cube([w,l, dh], center=true); translate ([0,0,ht]) cylinder (d=dia, h=0.5, $fn=fn); } translate ([0,0,-rect_h/2])cube([w,l,rect_h], center=true); translate ([0,0,ht+rim_ht/2])cylinder(h=rim_ht, d=dia, center=true, $fn=fn); } difference () { cube_cyl(rect_w,rect_l, rect_h, cyl_od,ht); color("green") // translate ([0,0,-0.5])cube_cyl(rect_w-th,rect_l-th,rect_h+th, cyl_id,ht+1); translate ([0,0,0])cube_cyl(rect_w-th,rect_l-th,rect_h+th, cyl_id,ht+1); } //07/13/21 flap ensures only one cap at a time into dispensing cavity translate ([0,-rect_l/6,0])cube([rect_w,2*rect_l/3,1], center=true); |
The above code and parameter set produced the following model:
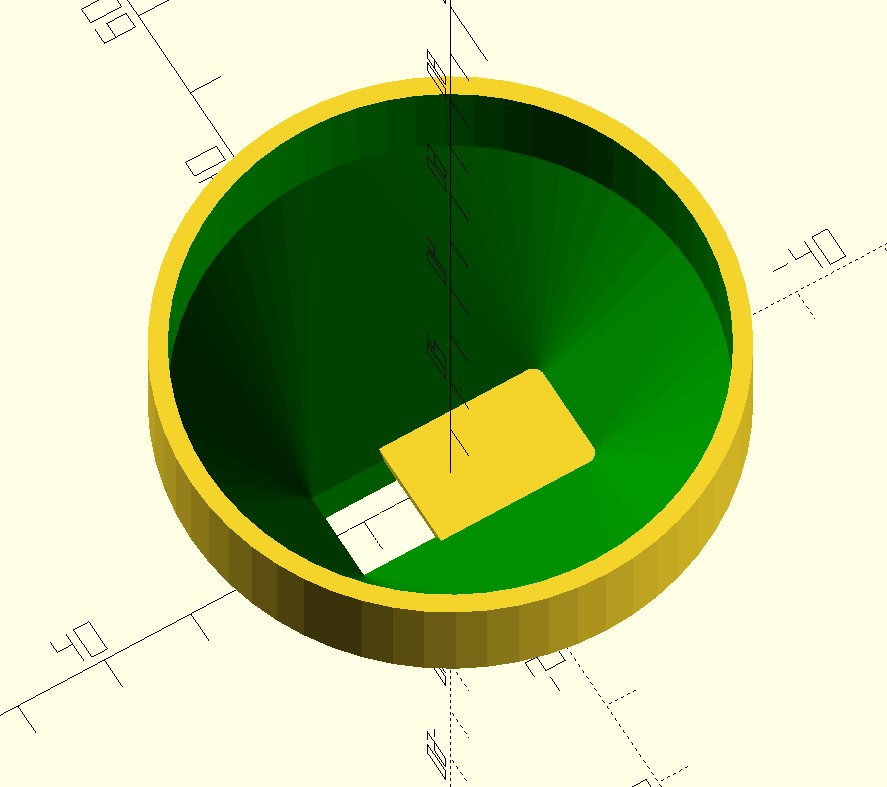
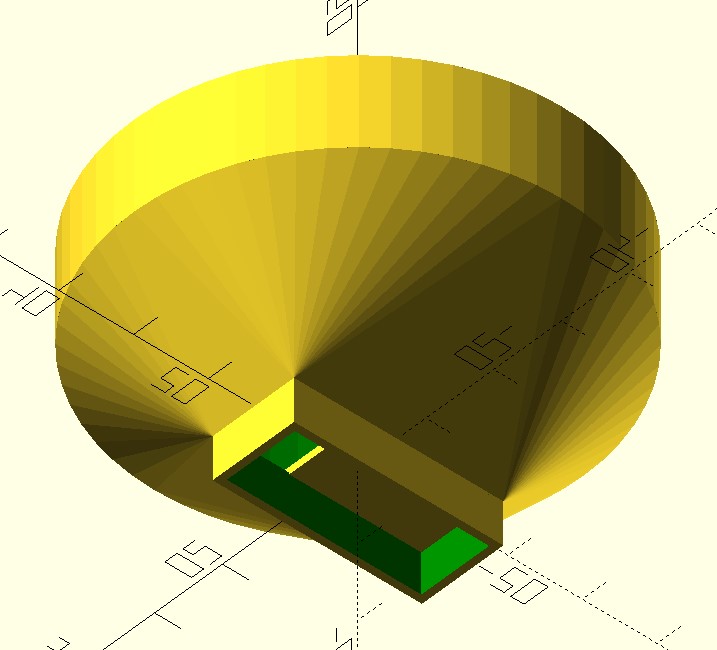
The cylindrical shape at the top just accepts a 56mm diameter bottle cap. The above model was converted to an STL file and then imported into TinkerCad, where it was mated with the dispensing drawer. Then the entire thing was printed in one go using my Prusa MK3S 3D printer, as shown below:
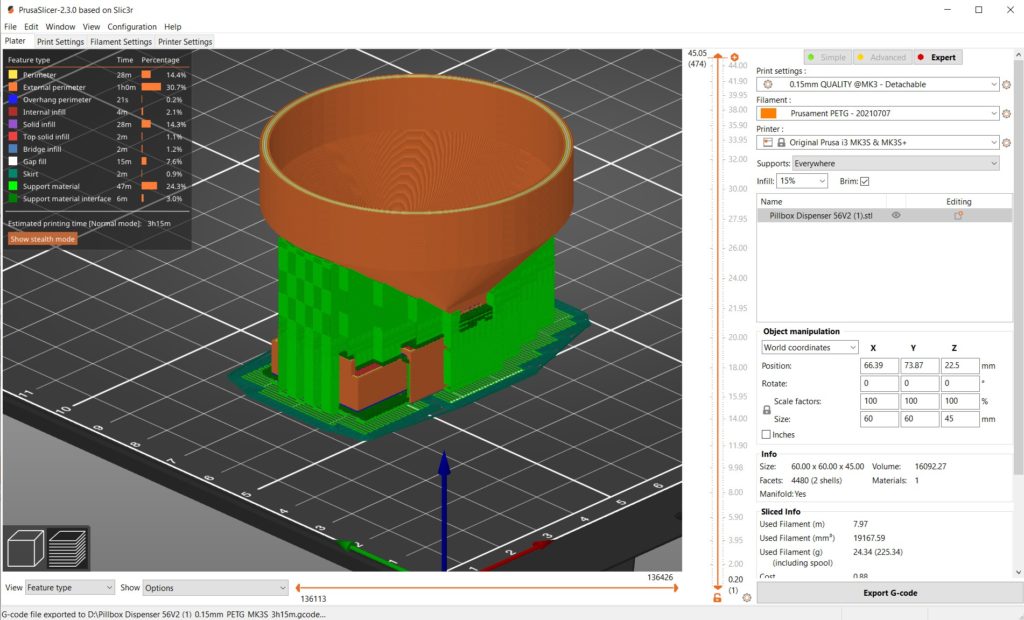
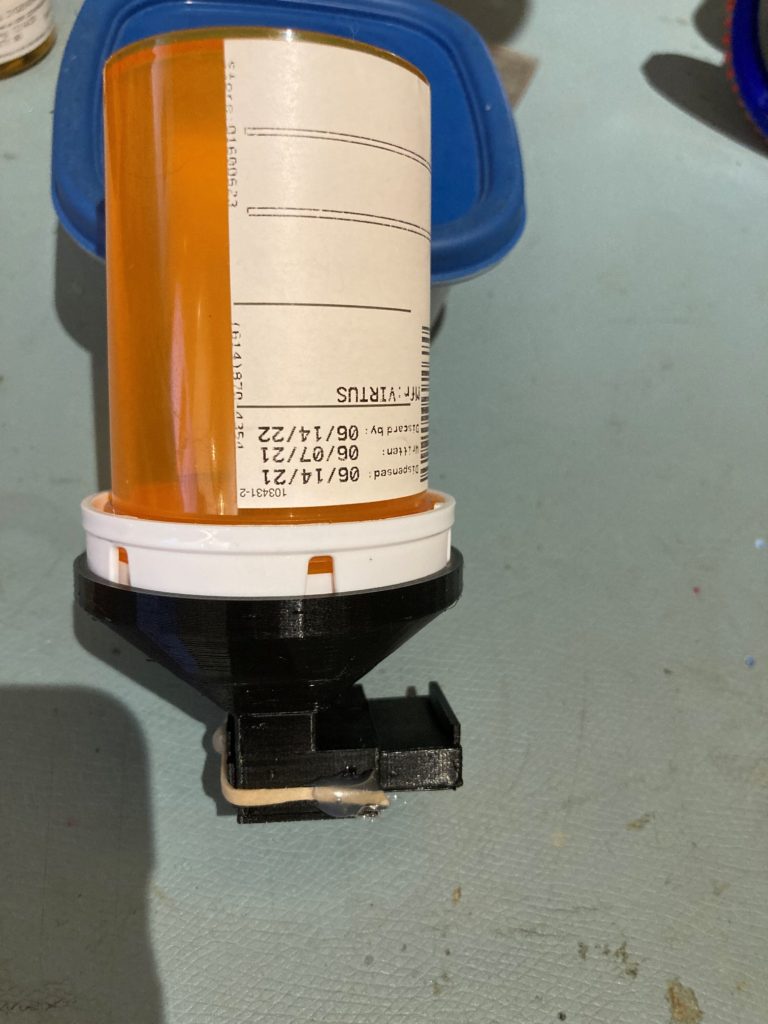
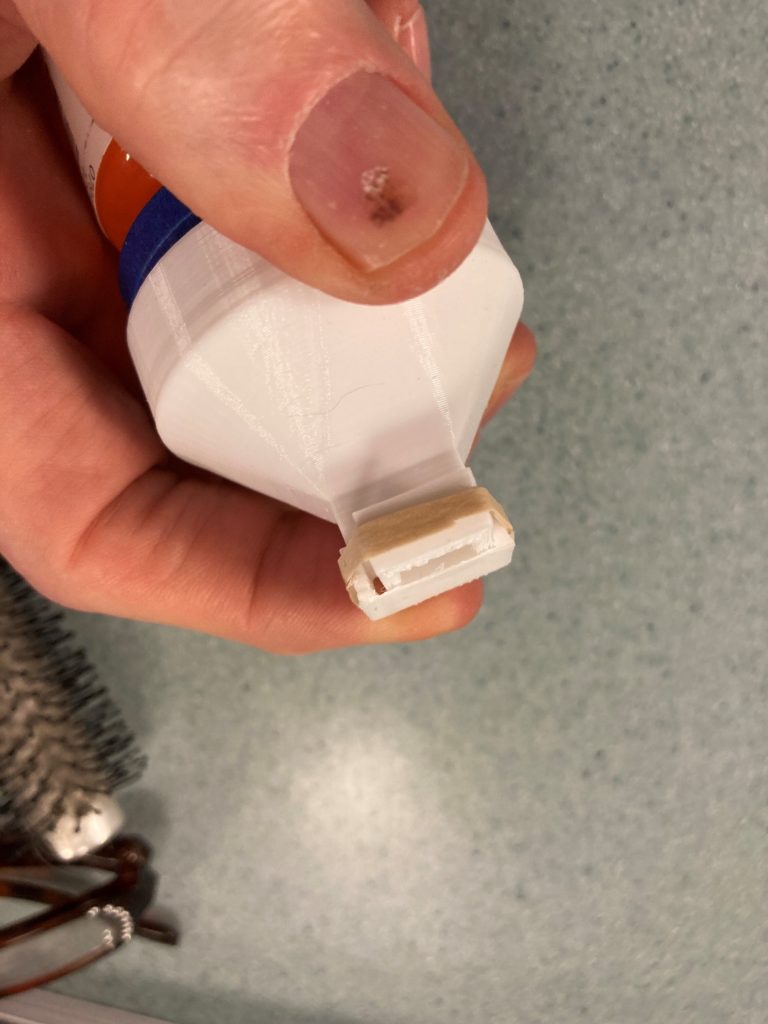
After the print finishes, the support material between the drawer collar and the drawer itself has to be removed manually with an Exacto knife. This is a bit of a PITA, but worth it to have the entire thing printed as a single piece. The photo below shows the finished product.
30 August 2021 Update:
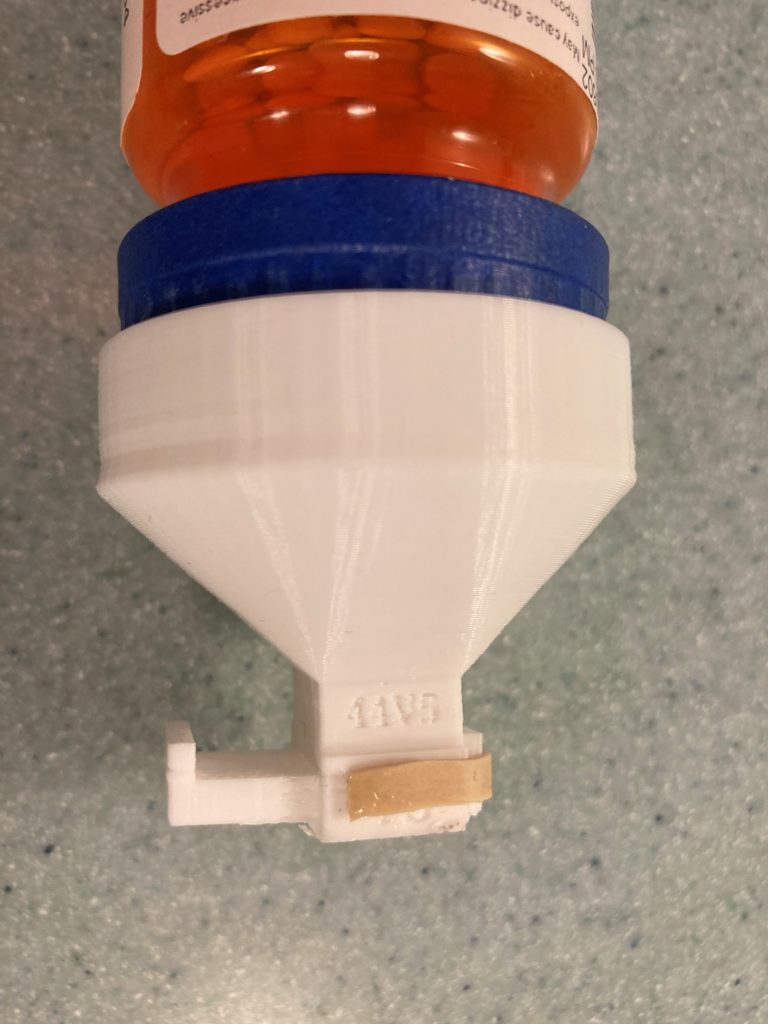
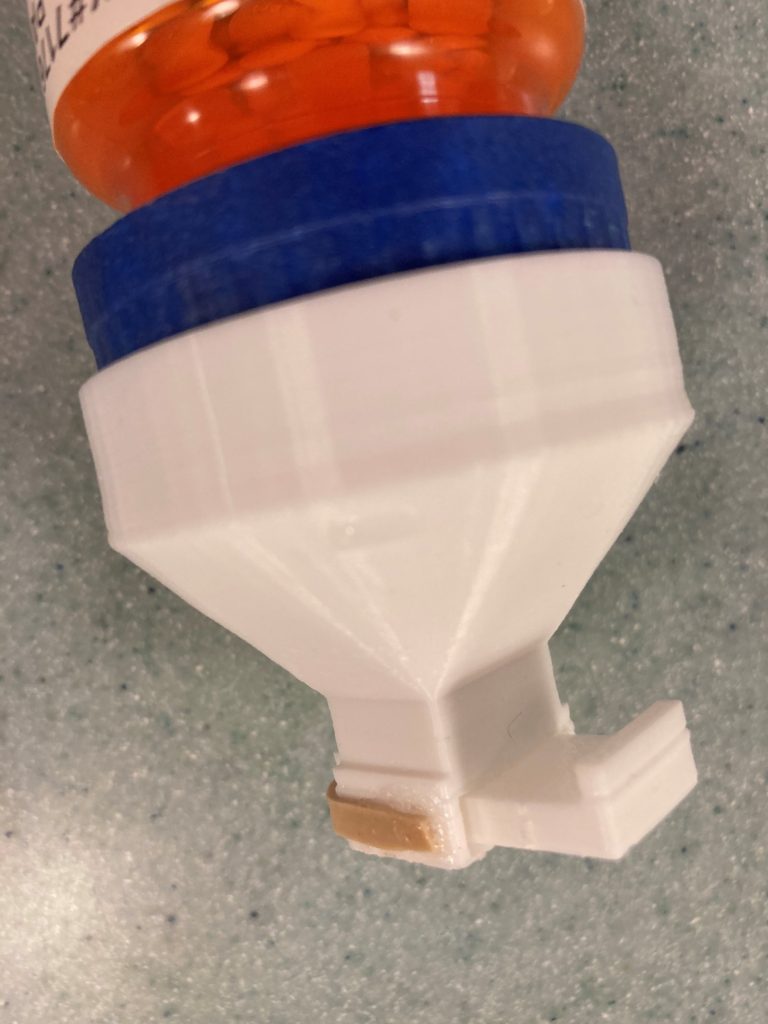
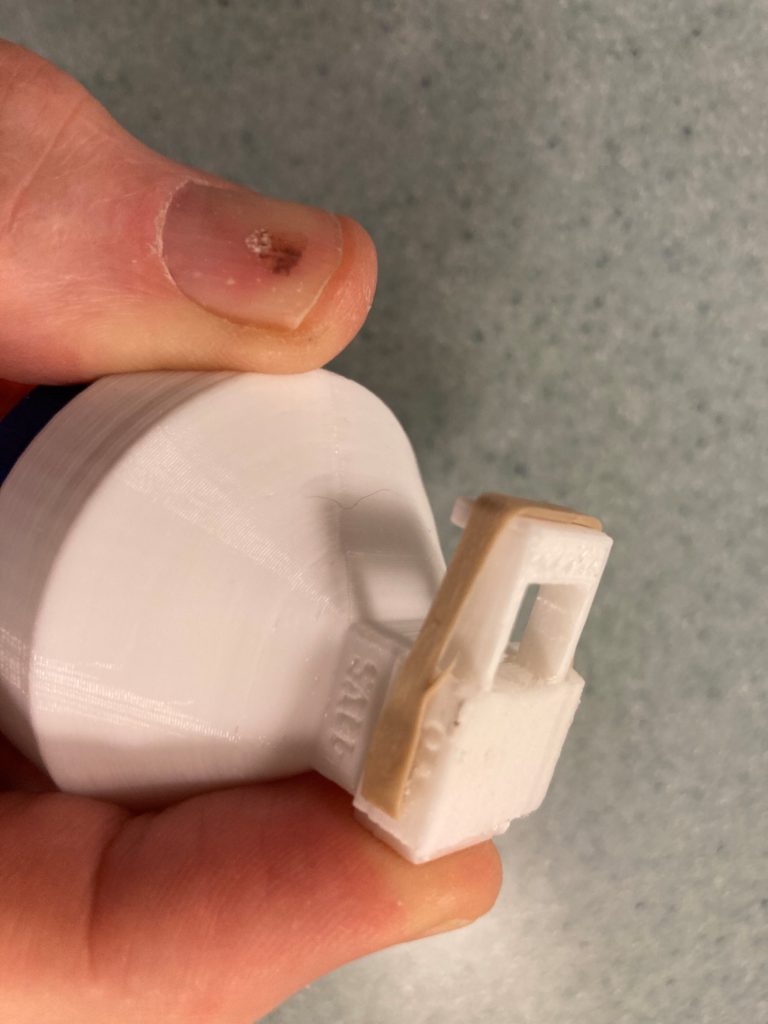
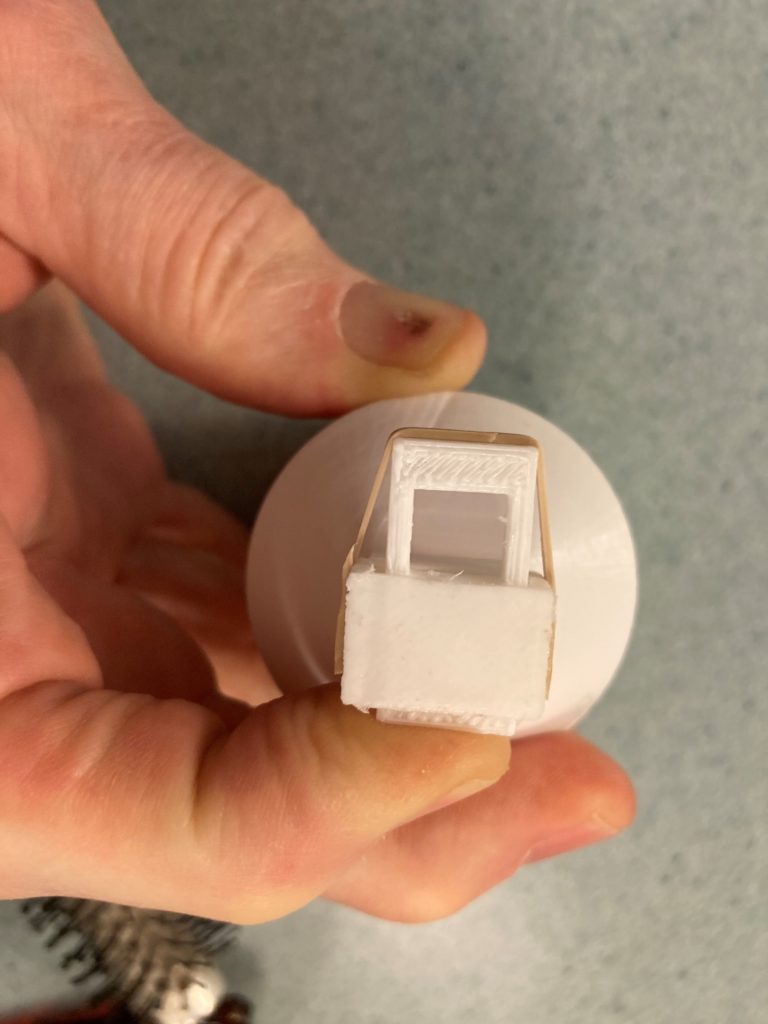
I just recently acquired a Flashforge Creator Pro 2 dual-independent extruder printer to replace the MakerGear M3-ID I sold on eBay for about a third of what I paid for it. Even after a year and a half of diligent work, I could NOT get the M3-ID to print with dissolvable filament worth a damn. I tried everything, including a brand-new roll of PVA filament and adding a BuilTak removable build plate system (see this post). I even ordered the 3D upFitters enclosure for the M3-ID, but came to my senses before I assembled and installed it. After some more web research, I came across the FlashForge Creator Pro 2 IDEX (FFCP2) system, available for about 1/4 the price of the M3-ID, and this printer came with glowing YouTube recommendations from many reputable 3D printer enthusiasts. After receiving my FFCP2 and setting it up, I was able to print the above pill/caplet dispenser design using PLA for the structure and PVA dissolvable filament for the support material. The result was a very high-quality build and the support material dissolved out after just a few hours in warm water – YAY!
Stay tuned,
Frank