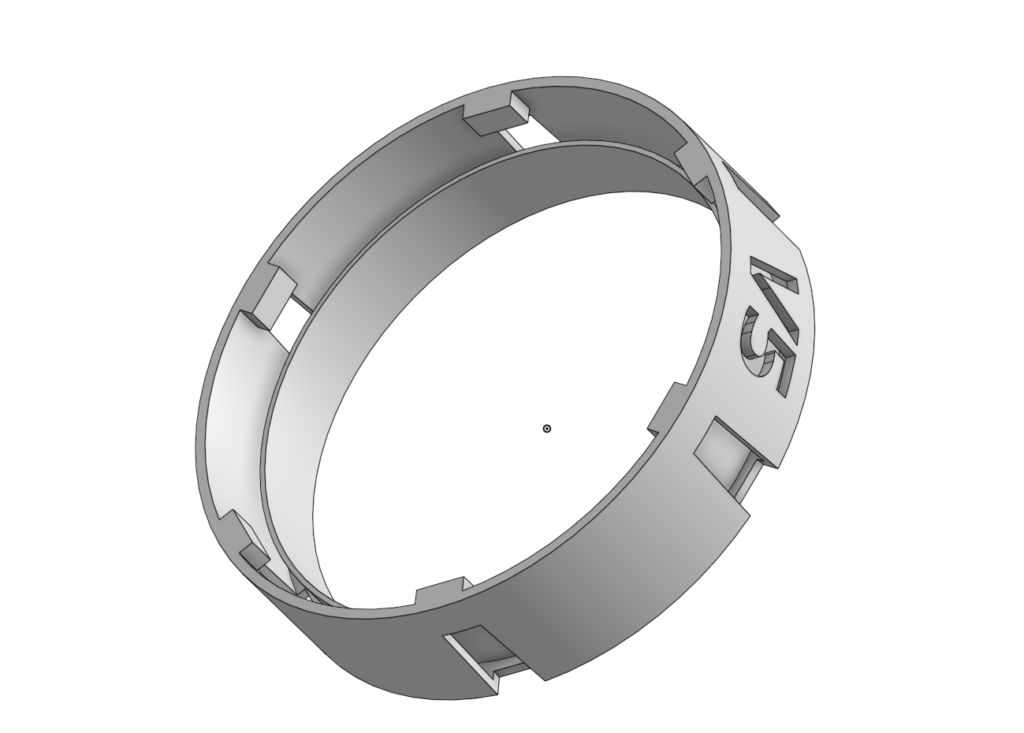
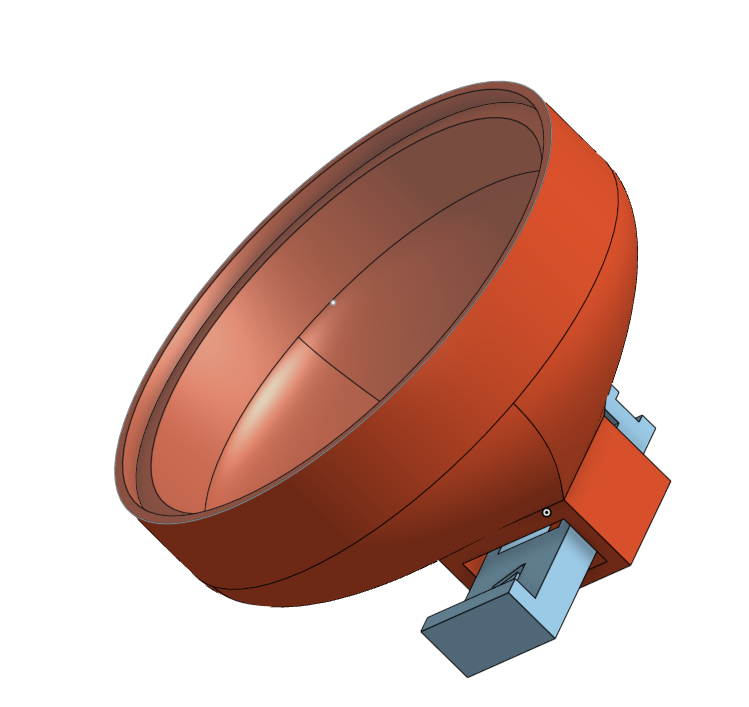
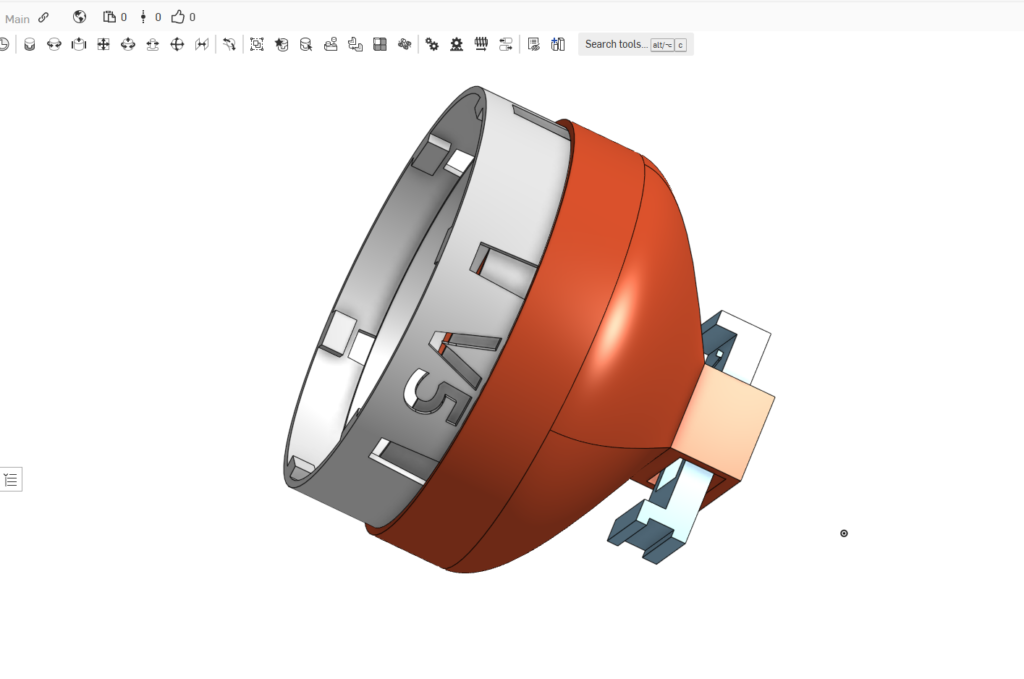
Almost three years ago I designed and fabricated some pill/caplet dispensers for the half-dozen or so prescription meds I have managed to accumulate over the last decade or so. A while ago, one of my prescriptions changed its tablet to a much smaller size, so I decided to update my design while fabricating a replacement dispenser.
Between the last project and this one I’ve been playing with OnShape, a web-based 3D CAD package, so I thought I would use it to see if I could do better than last time. I really like OnShape because it uses a 2D ‘sketch’ based design philosophy, which makes tweaks and/or modifications much easier – change a few 2D sketches, and the entire design changes along with it.
The previous design implemented a smooth collar that was a press-fit for the pill bottle cap which turned out to be kind of clunky. This time I thought I might try implementing internal threads on the collar so instead of a press fit it would simply screw on like the original cap, and I discovered that a ‘ThreadCreator’ extension existed for OnShape – neat!
So, I worked my way through the process, and came up with the following design, available to anyone with a free OnShape account
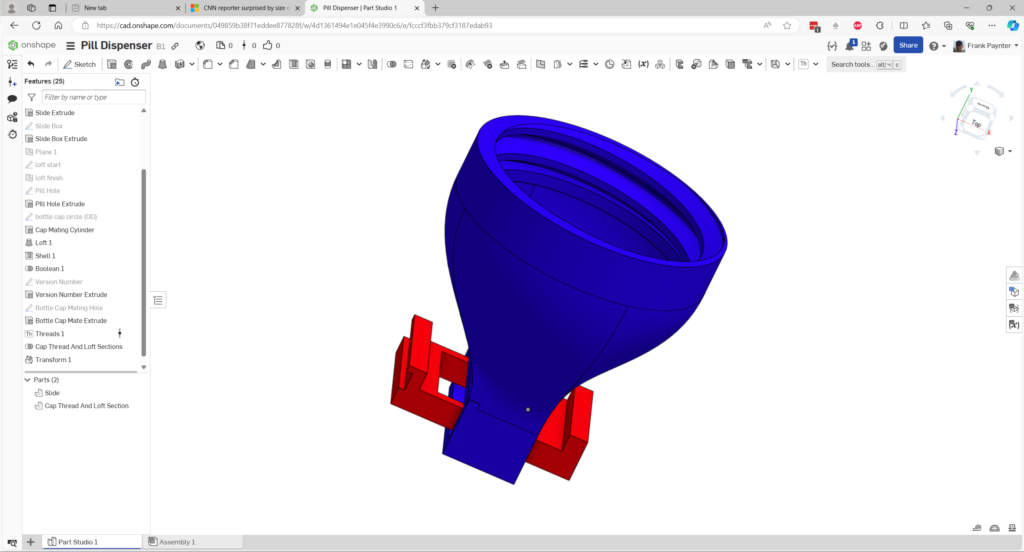
This design has internal threads for a 37mm cap with the standard 4.7mm thread pitch, so it will screw directly onto the pill bottle, ‘eliminating the middleman’. Here are some photos of the finished product:
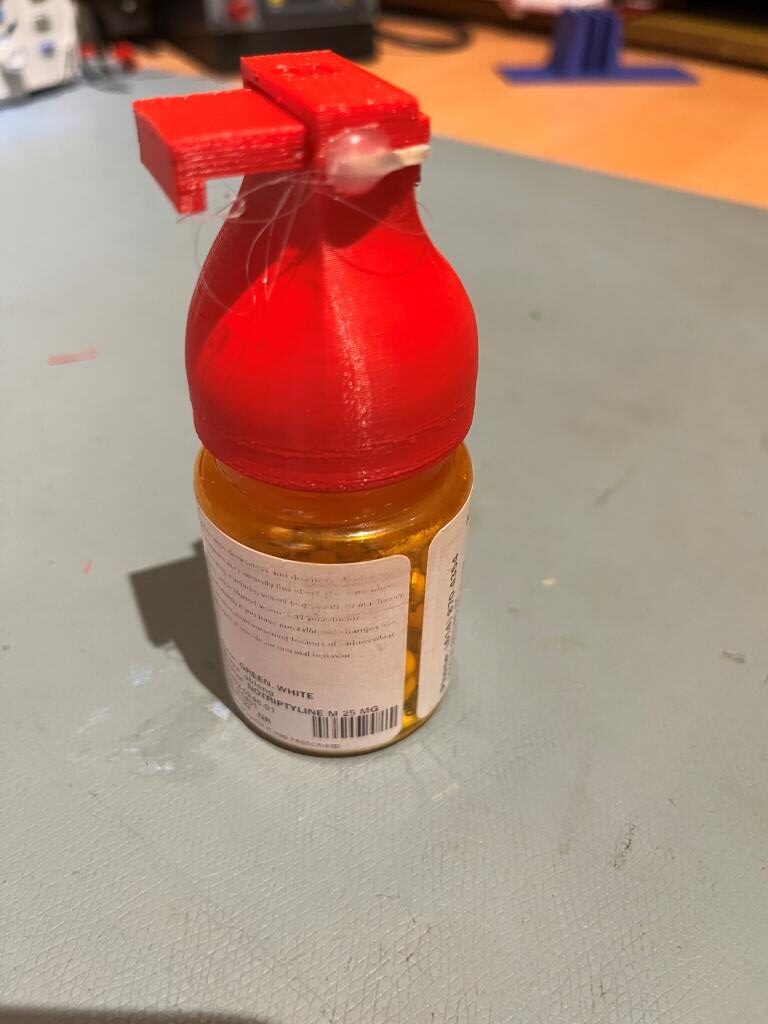
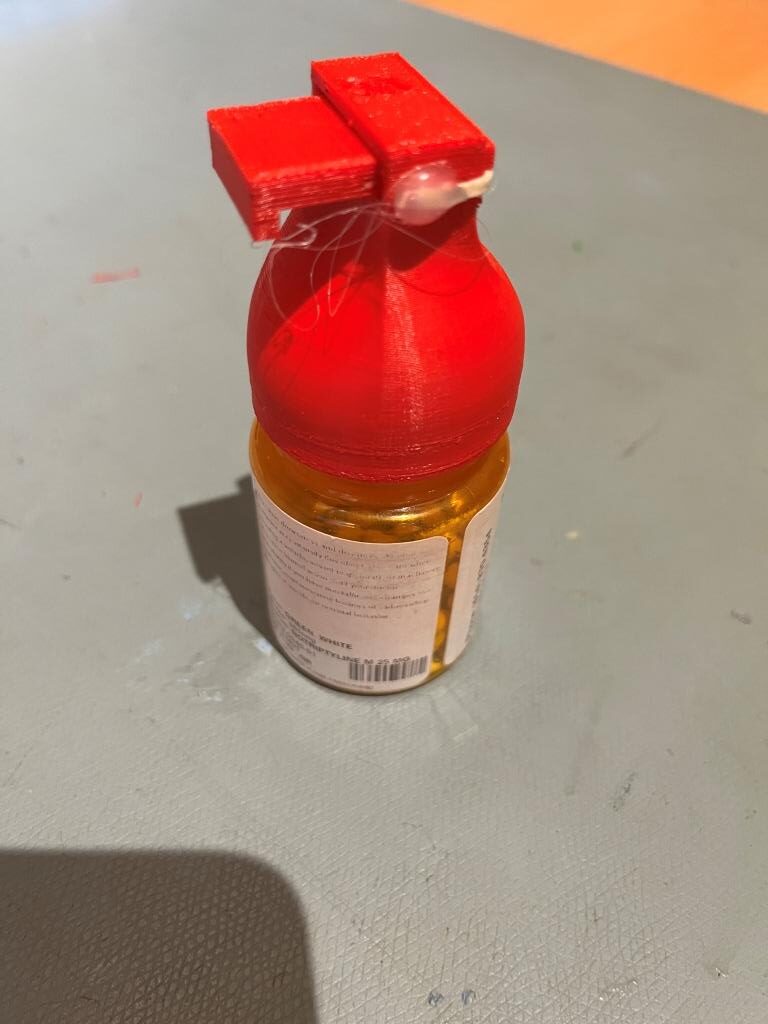
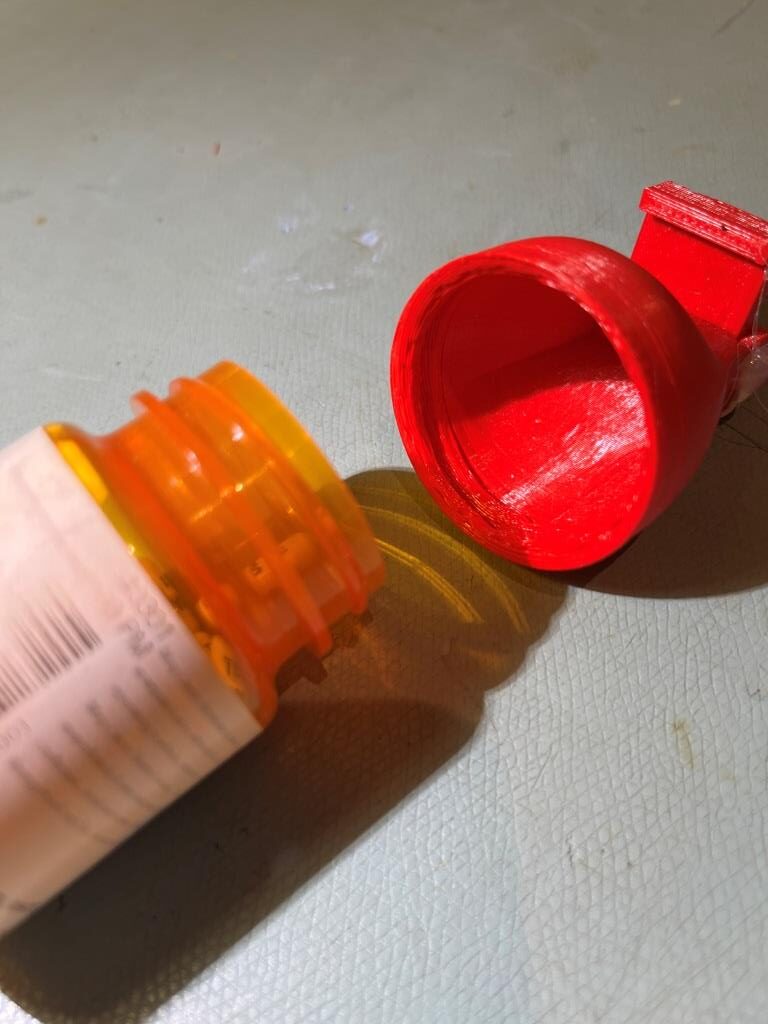
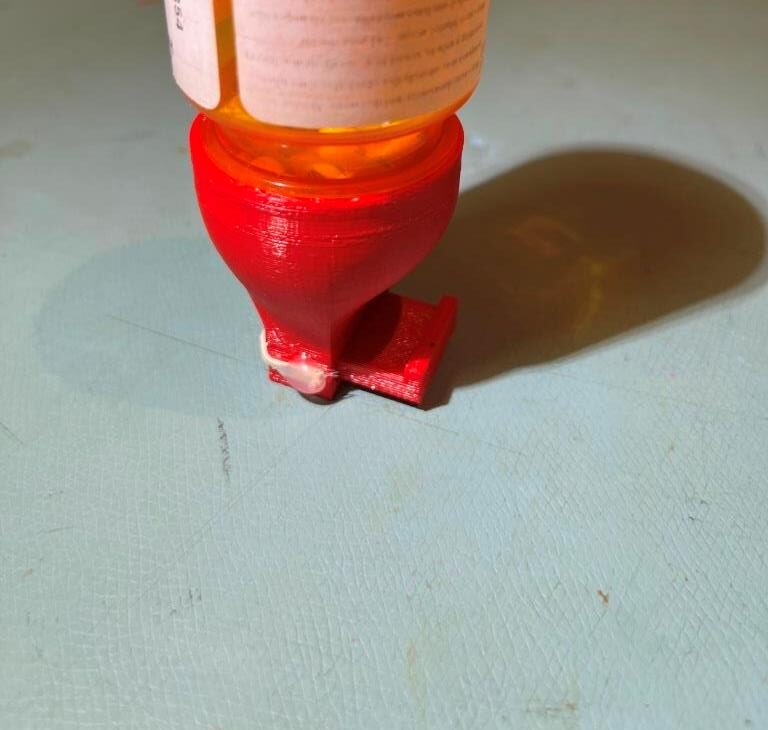
And here is a short video showing the dispenser in action:
10 June 2024 Update:
Last night I attempted run two more prints of this model, as I have two additional pill bottles of the same diameter with older pill dispensers, but the prints failed catastrophically – bummer! I rounded up the usual suspects (bed temp, model arrangement, Z-axis tuning, etc, and finally managed to get another print going, at least through the raft and first few layers. After bitching and moaning about this for a while, it occurred to me that if I had documented the layout and settings more aggressively from the first print, I wouldn’t have wasted all those hours last night and today. So, once I’m sure I have a consistent print configuration, I will document it here.
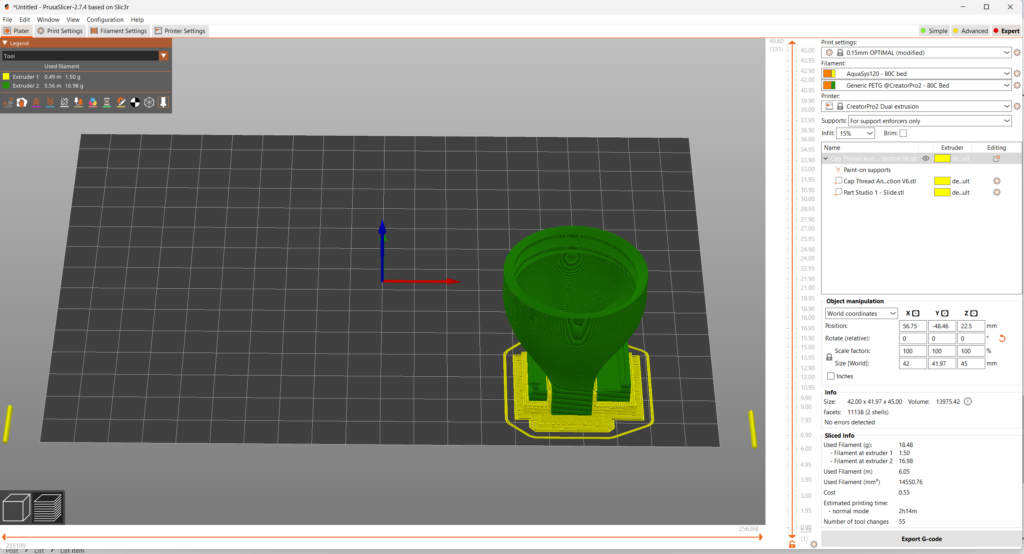
I got a good print with the following settings:
- Flashforge Creator PRO II ID
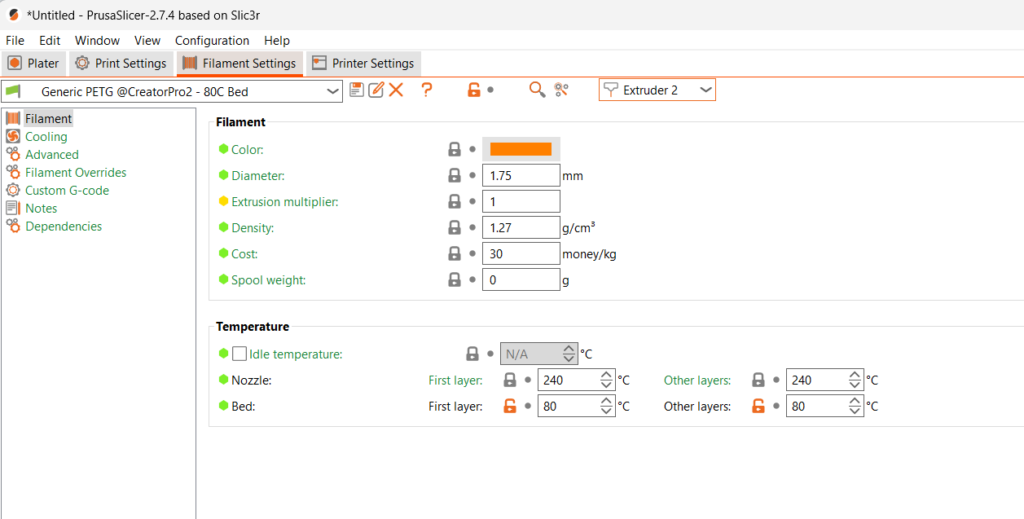
- Left Extruder – Red PETG, 240C, 80C Bed
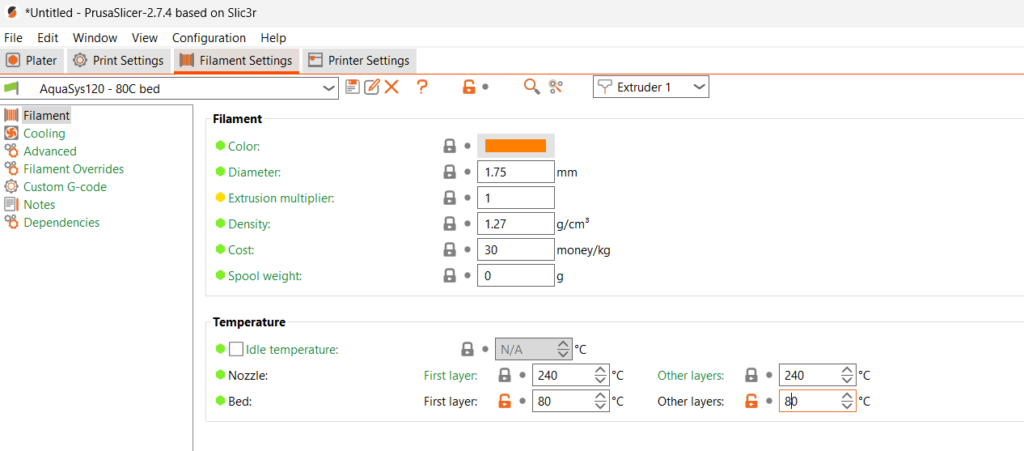
- Right Extruder AquaSys120 240C, 80C Bed
- 2-layer raft using support filament (AquaSys120)
See the following images for the full setup:

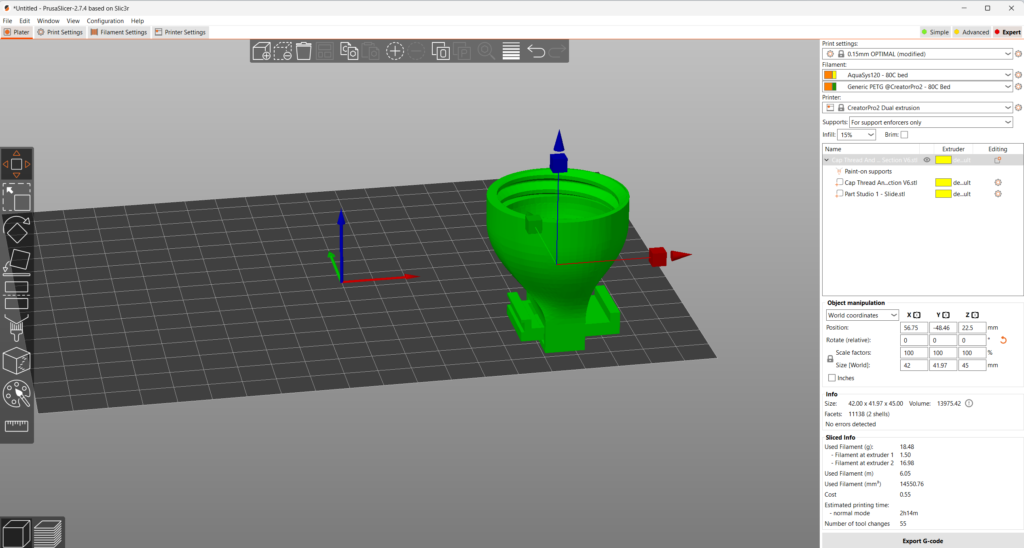
After a 3-hour side-trip into the guts of the Flashforge to clear an extruder jam, I was able to get the second print underway. As I write this it is about 6% finished, but all the way through all the support material parts (so it should finish OK).
17 June 2024 Update:
Not so fast! I realized that the threaded portion of the dispenser cap, while functional, was very poorly printed due to the lack of supports (and, as I found out later, also due to the resolution setting). In addition, the side walls of the V7 slide box were too thin and broke apart easily. After modifying the design, I attempted another print using the above settings, but the PVA dissolvable filament simply refused to stick to the print bed – arrrrrgggggghhhhh!
After going through the whole extruder & bed temperature search routine again yesterday, including replacing the heated bet PEI layer and even putting down blue painter’s tape with no success, I was perusing google-space for clues and kept running across reports where dehumidifying the PVA filament worked. I didn’t see how that would help me, as we control the relative humidity in our house to about 50% +/-, but hey, what did I have to lose at this point?
So, before going to bed I dug out my filament dehumidifier rig and left my filament in it overnight (and until about noon the next day for a little over 12 hours). Then I tried some prints and although not successful at first, the results were encouraging. I finally got two really good prints with the following setup:
- Slicer resolution: ‘0.15m OPTIMAL’ setting in Prusa Slicer
- Right (PVA) extruder: 220C
- Left (PETG) extruder: 240C (this was constant throughout)
- Bed: 40C
- Layer of blue painter’s tape on top of the PEI substrate
So, I think the big takeaway from this episode is: PVA must be explicitly dehumidified BEFORE each print session. Otherwise the PVA will not stick to the print bed, no matter what you do.
Stay tuned,
Frank
07 July 2024 Update:
After getting the threaded pill bottle dispenser cap working, I decided to try my luck with my two 57mm twist-lock pill bottles. The twist-lock cap geometry was considerably harder to design. Rather than trying to design and print everything as one piece, I decided to separate the dispenser piece from the cap mating piece, as shown below:
