03/22/2015
As I write this, my grandson Danny and his family are walking out the door to go back home to St. Louis (Danny’s sister has a soccer game late this afternoon), and Danny is taking a brand-new, finished and functional Ender’s Game Flash Gun with him (not to mention a ‘Tower of Pi’ pencil holder, one of my old-but-still-very-functional laptops, and a lot of experience (good and bad) with 3D printing.
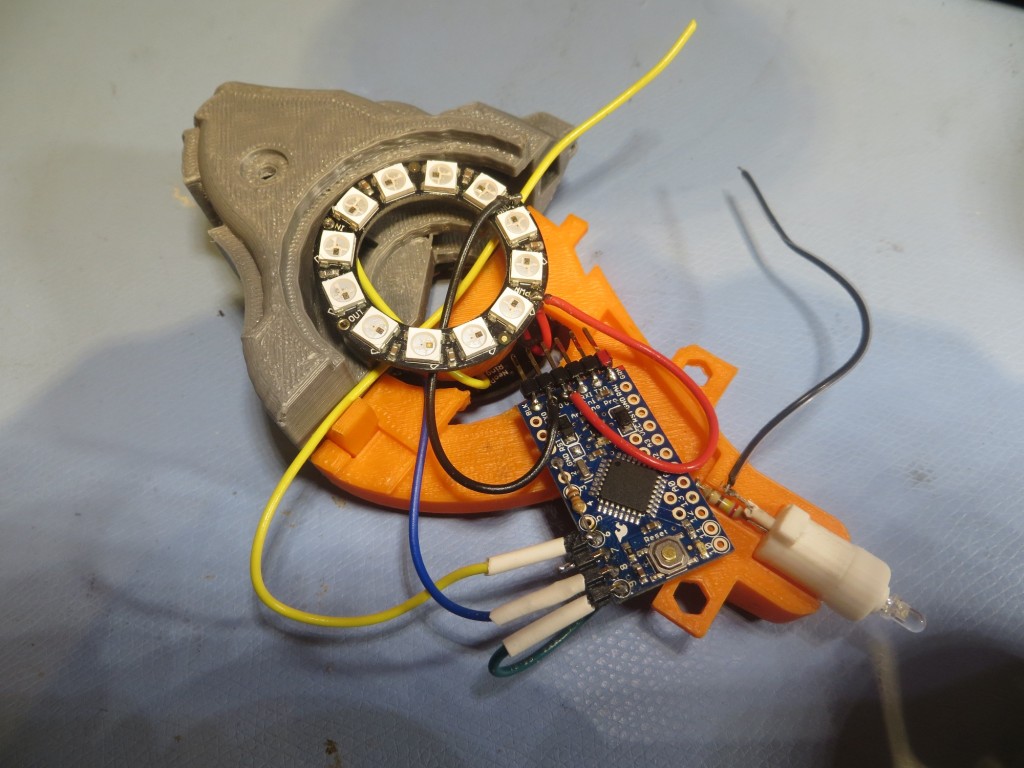
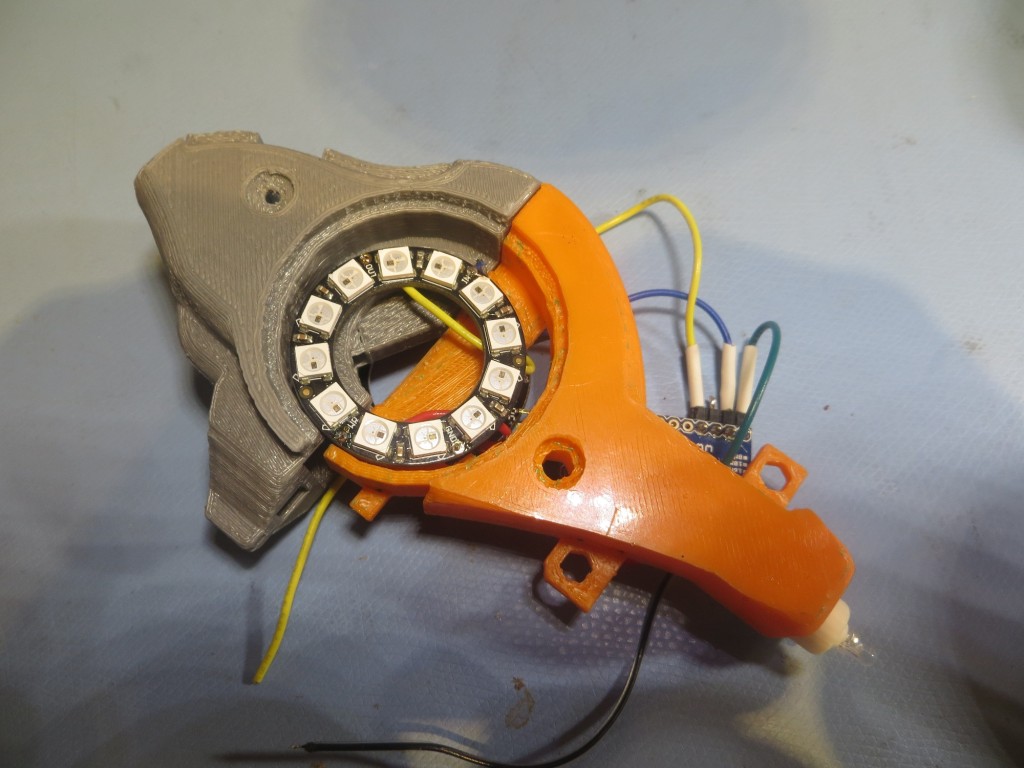
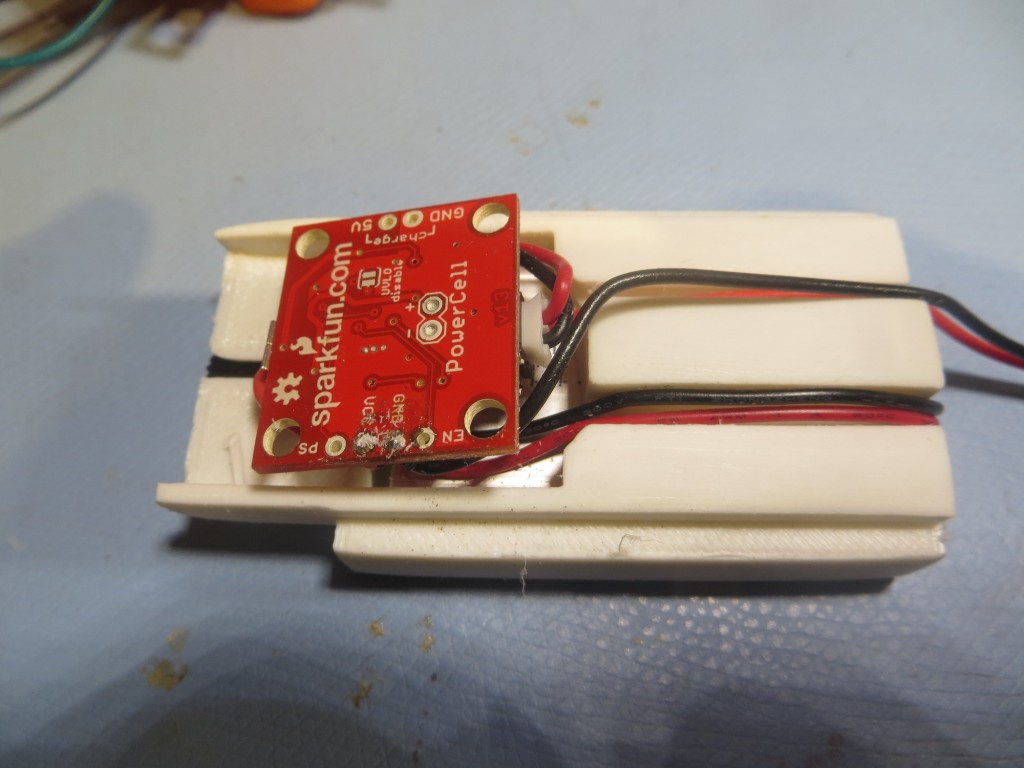
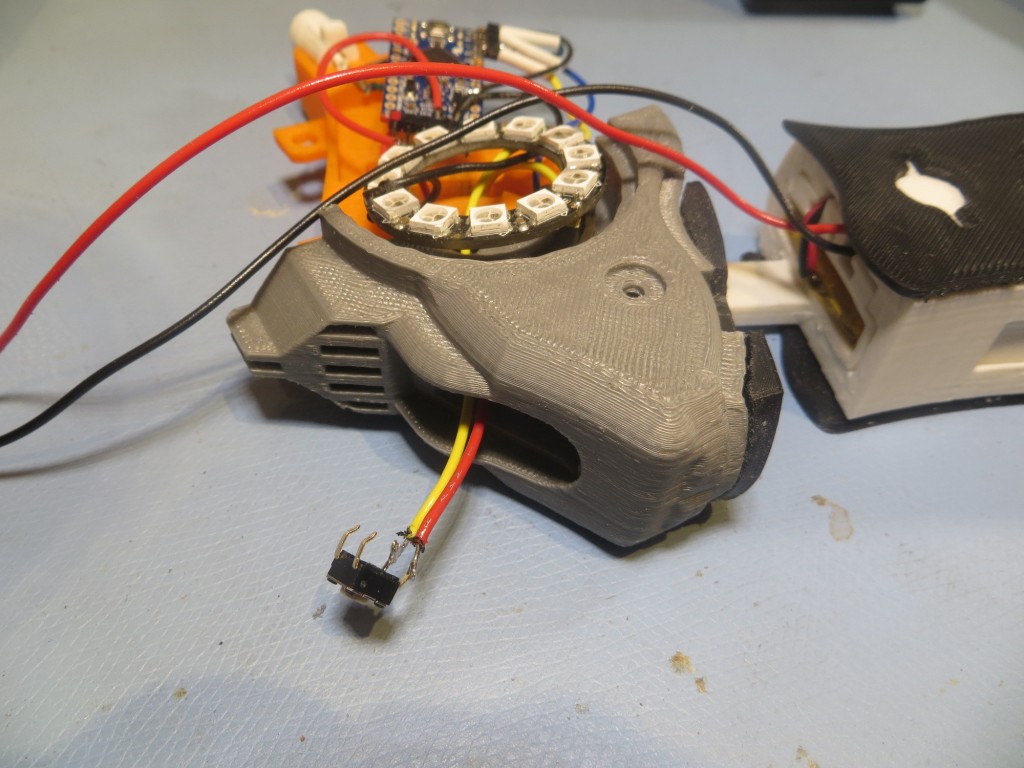
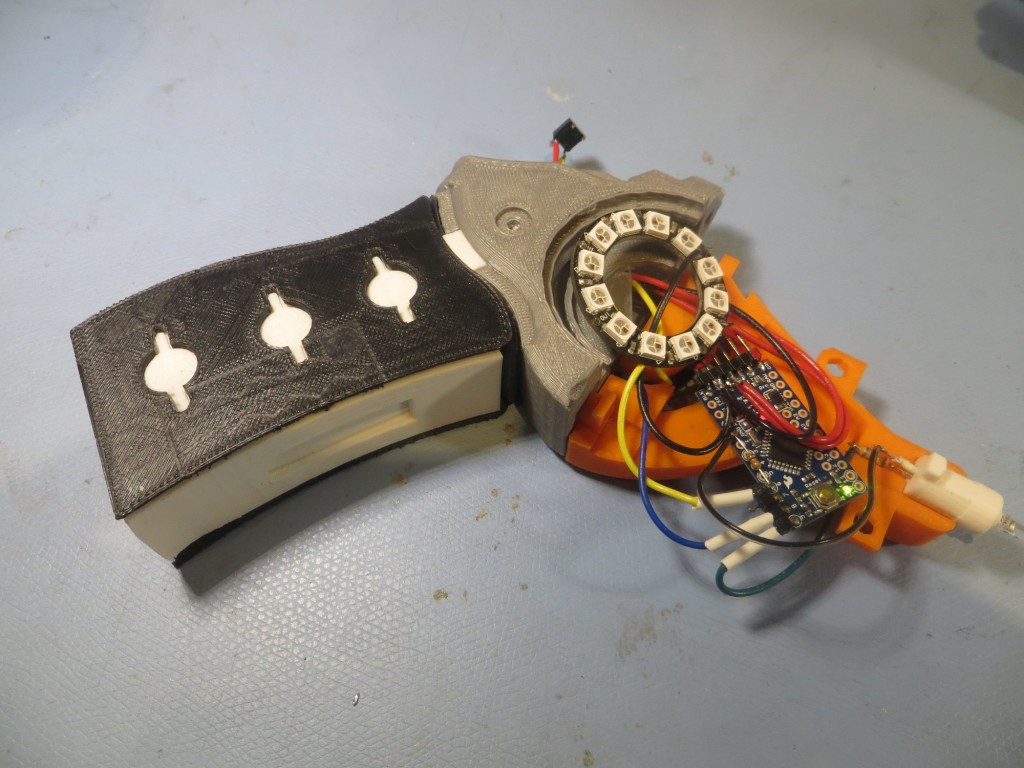
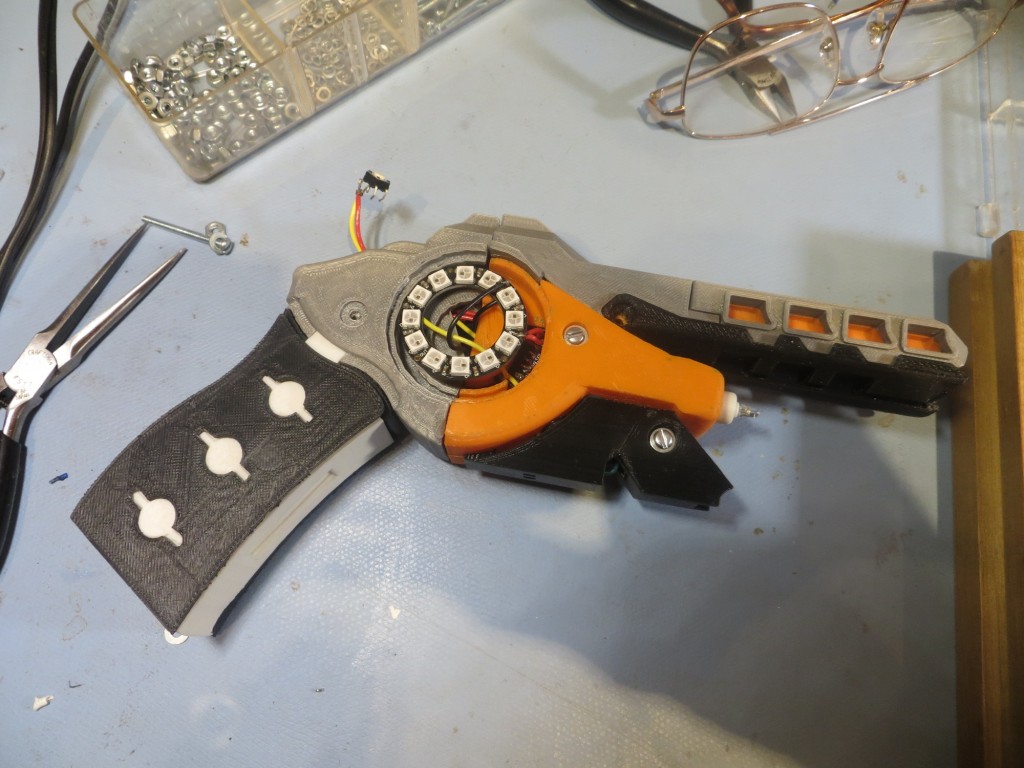
Here is a series of photos of the build process, and a video at the end showing the end result.
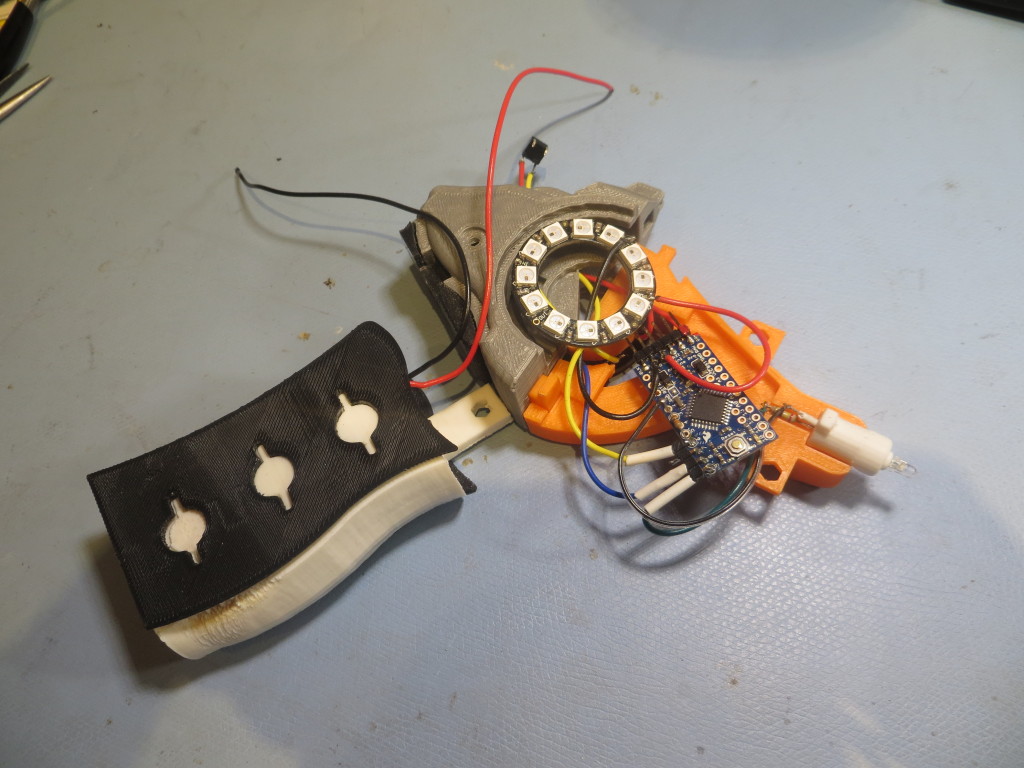
Adding the handle with battery sled already wired up. Also note the push button ‘trigger’ has been wired in
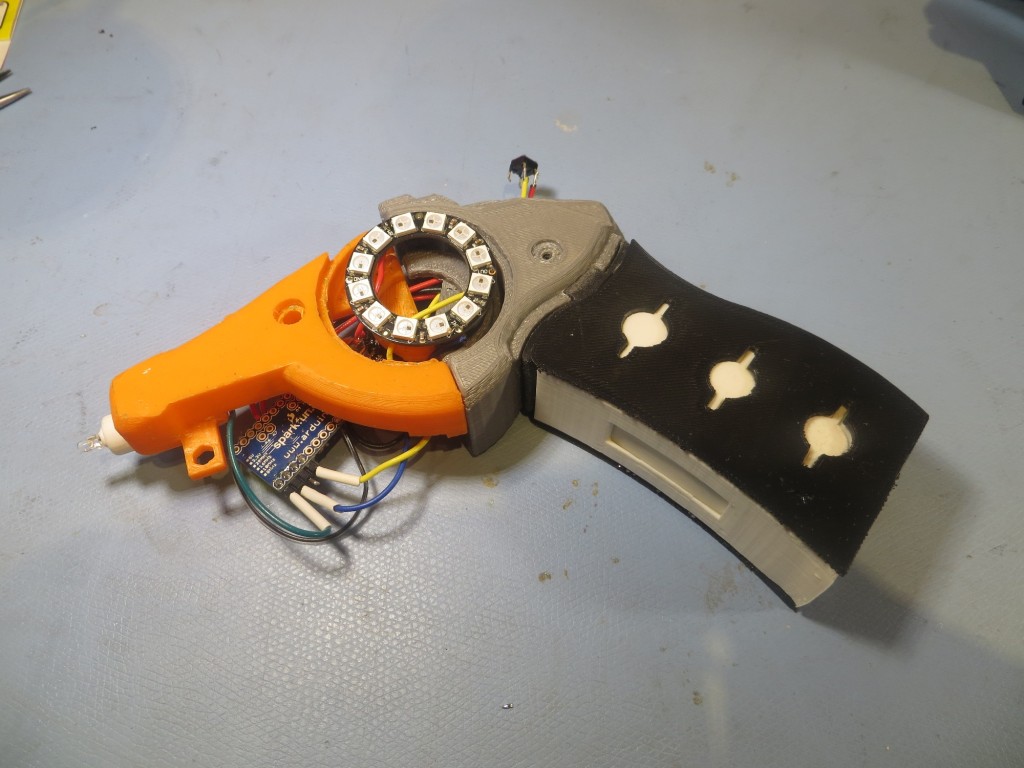
Left side. Note the white heatshrink tubing on Arduino I/O connections had to be cut down to half length to fit
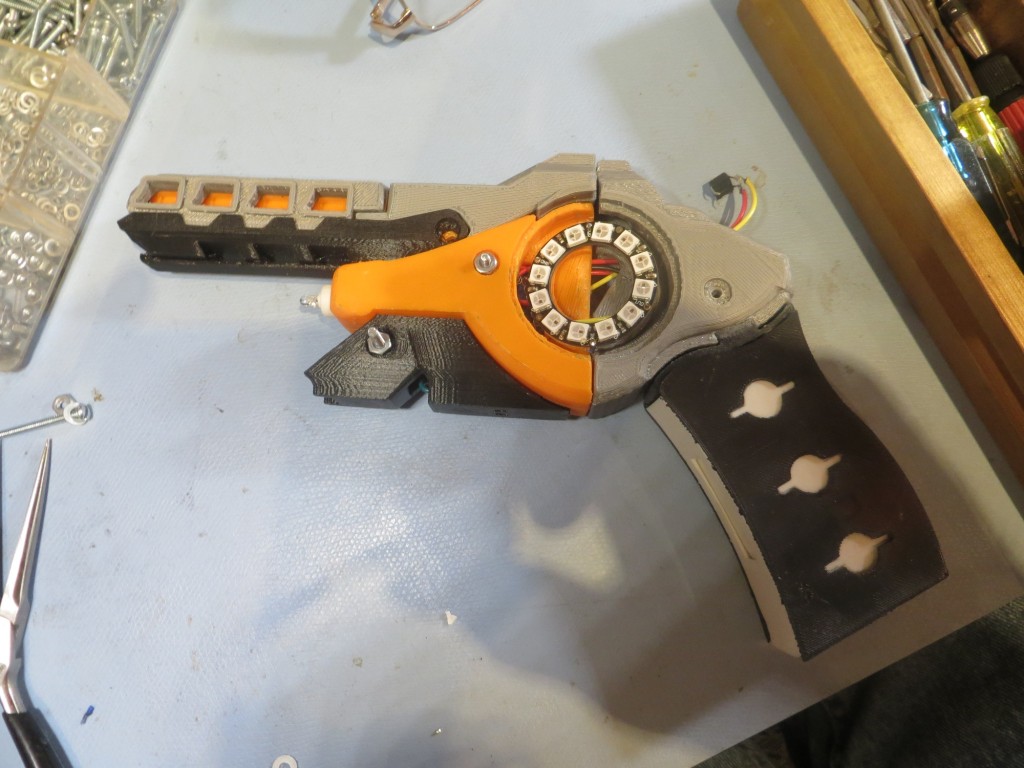
Lower focus rail added. This part has an extension of the body cavity to give more room for the arduino board (and it is needed!)
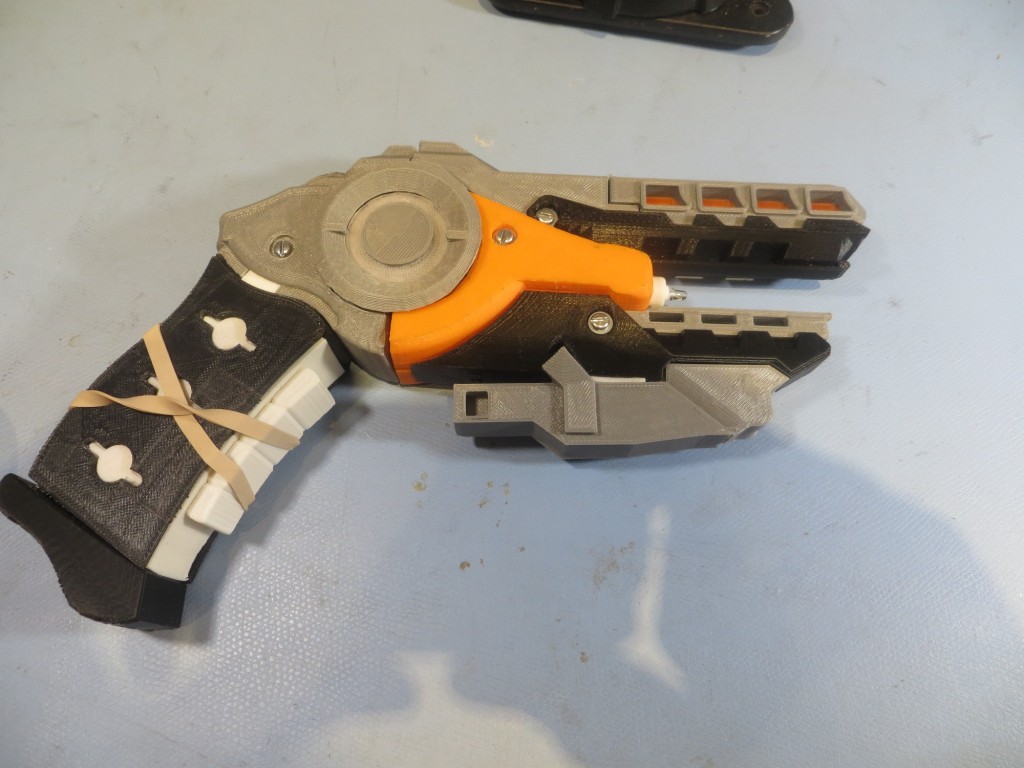
Handle button glued in place. Super-glue won’t work here as there isn’t enough intimate surface contact. Used ‘Gorilla Glue’ instead. Note also the lower grey focus rail would not stay on (just a press fit), so I used a small strip of double-sided foam tape.
If you are interested in trying this for yourself, I plan to post the above images along with more detailed build comments on Thingiverse as a ‘Make’ for the Ender’s Flash Gun
Frank
