Posted 05 May 2024
My daily carry pistol is the M&P Bodyguard 380 in a ‘Sticky’ brand Holster, as shown below:
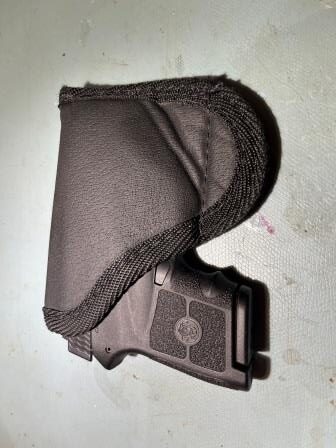
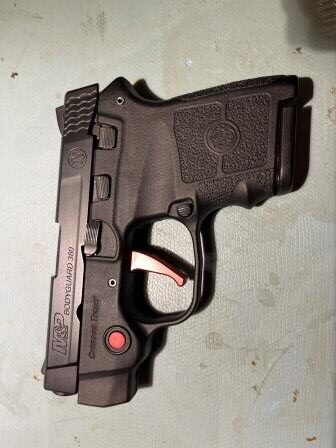
I carry this in my jeans front pocket, and it works great. I regularly practice smoothly drawing the pistol, activating the Crimson Trace laser, and getting the gun on target. Unfortunately after a year or so of use I started seeing occurrences where the laser wouldn’t activate, and investigation showed that the laser battery was dead. The first time this happened I just wrote it off to the normal battery life, but the second and third times were definitely too close together to be a battery life issue. I finally figured out that the laser was being inadvertently activated in the holster – clearly not a good solution. The good news is, it made me more determined than ever to not count on the laser. Now I practice with and without the laser (although I much prefer the ‘with’ scenario).
Thinking about the problem, I inferred that the ‘Sticky’ holster, when new, comparatively stiffer when new than after hundreds of cycles of inserting and removing it from my jeans pocket, and of course hundreds of dry-fire draw and shoot repetitions. Eventually the holster gets pliable enough so the normal inward pressure from my jeans pocket is enough to activate the laser at some point (and once is enough, as once activated it will probably stay ON until battery exhaustion). As you might imagine, replacing the battery in the laser module is a major PITA, as the pistol itself must be disassembled, and then the laser module removed to access the battery. Then the procedure must be run in reverse to re-assemble everything, and now the laser alignment must be checked and adjusted as necessary (another major PITA).
Thinking about solutions, I contemplated 3D-printing a holster insert that would replace the original holster stiffness (and I might still do this). However, I was struck by the idea that the real solution to the holster material pressing in on the laser activation button is to remove the holster material around the button; then the holster material thickness becomes an additional guard around the button. Instead of being the culprit, it now becomes the solution – cool! Here’s another photo showing the ‘Sticky’ holster with a (unfortunately crude) hold around the pistol’s laser button:
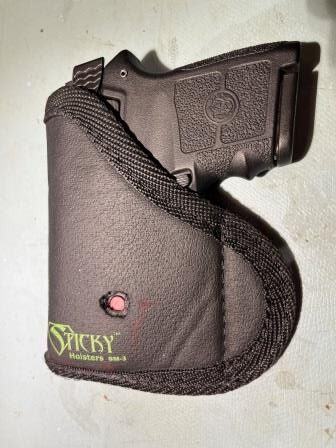
‘Sticky’ holster with material over laser activation button removed
After – once again – replacing the laser battery, I plan to run with this setup for a while and see how long the laser batteries last this time.
17 July 2024 Upate:
From May of this year until now I had no problem with laser battery life, but yesterday I found the batteries low/dead again. This indicated I was still getting inadvertent laser activation even with the laser button cutouts shown above. So, I decided to see if I could improve on the design a bit.
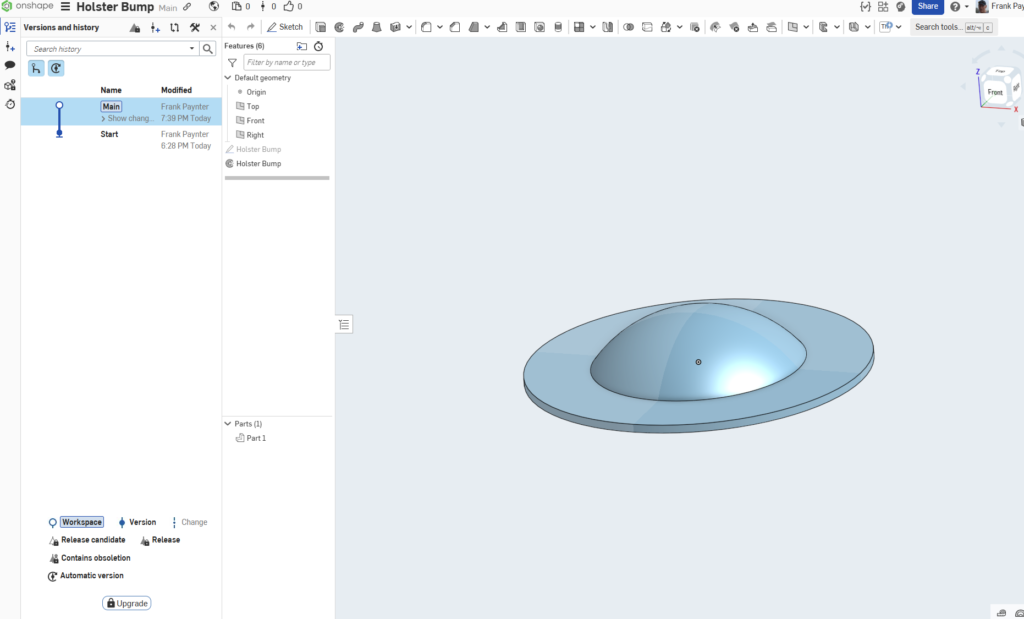
I went into OnShape, my 3D design tool of choice, and designed a hollow ‘holster bump’ as shown in the screenshot below:
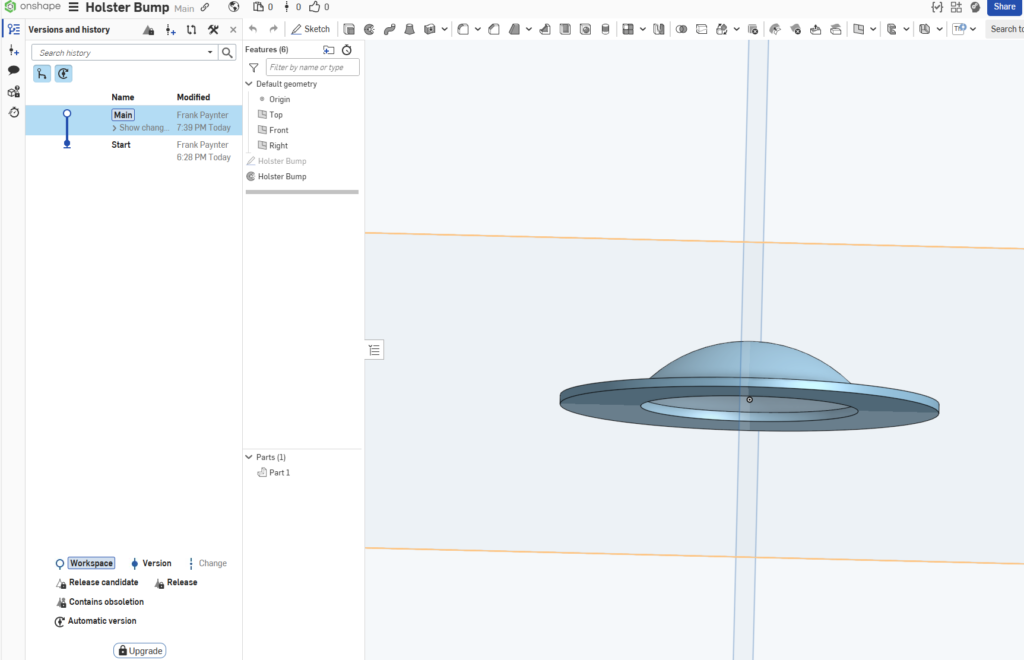
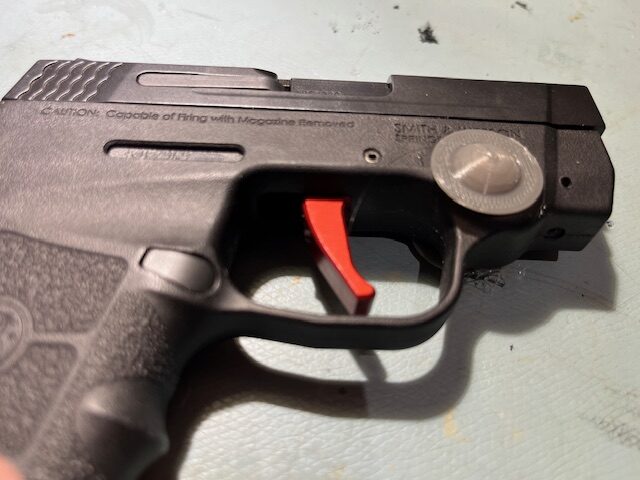
The idea, as shown below, is to protect the laser activation button on each side of the gun, so it can’t be activated when in the holster
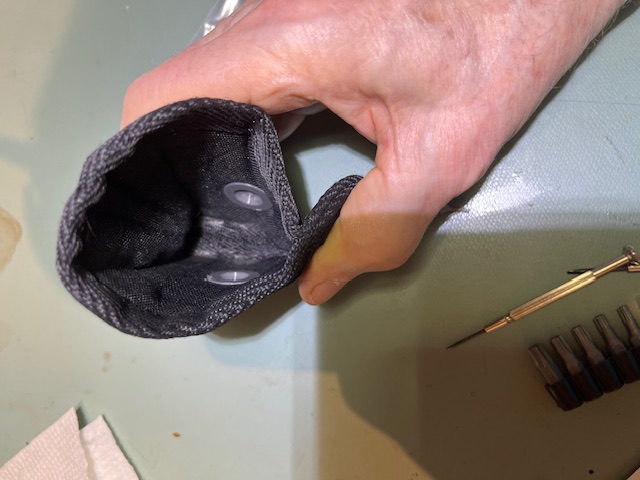
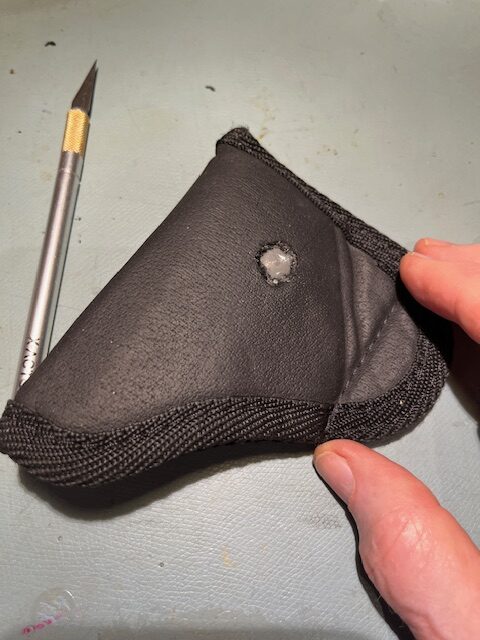
I then used hot glue to affix them temporarily to the gun to confirm their positions coincided with the holes I had previously mad in the holster. After this, I glued the bumps into the holes with superglue. We’ll see how this works.
Stay tuned,
Frank