My wife got me this really cool Dewalt DWS713 miter saw for Christmas this year, and I have been having fun pimping it out a bit. In a previous post I described how I added a cut shadow line LED light and control box, and this post describes how I added a 3D-printed coupler from the saw’s sawdust exhaust port to a small vacuum I keep in the shop for small cleanup jobs.
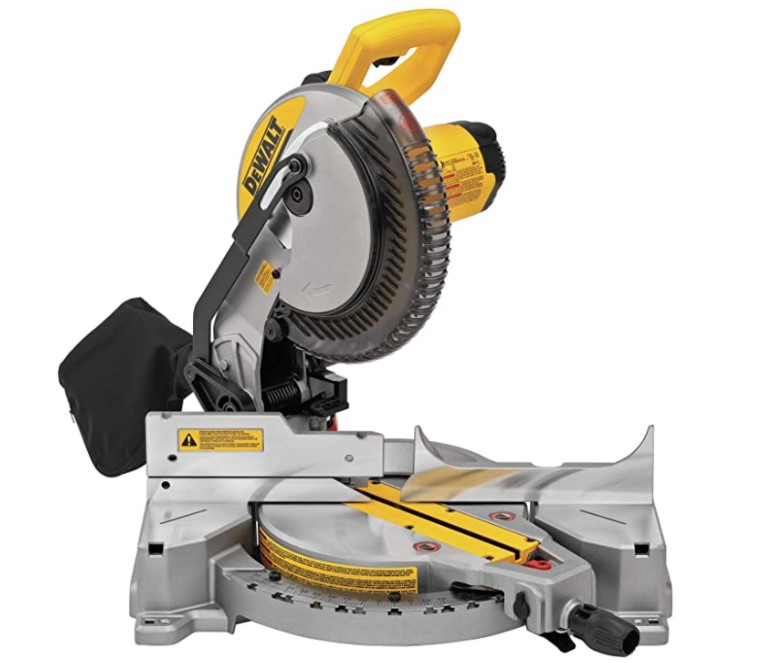
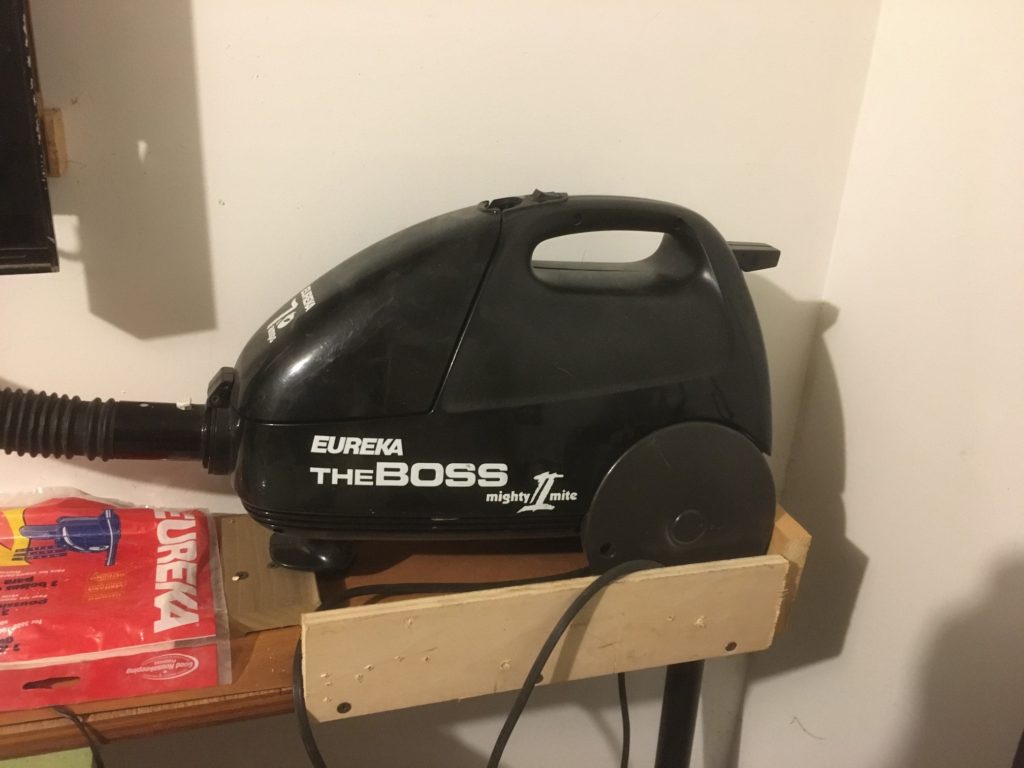
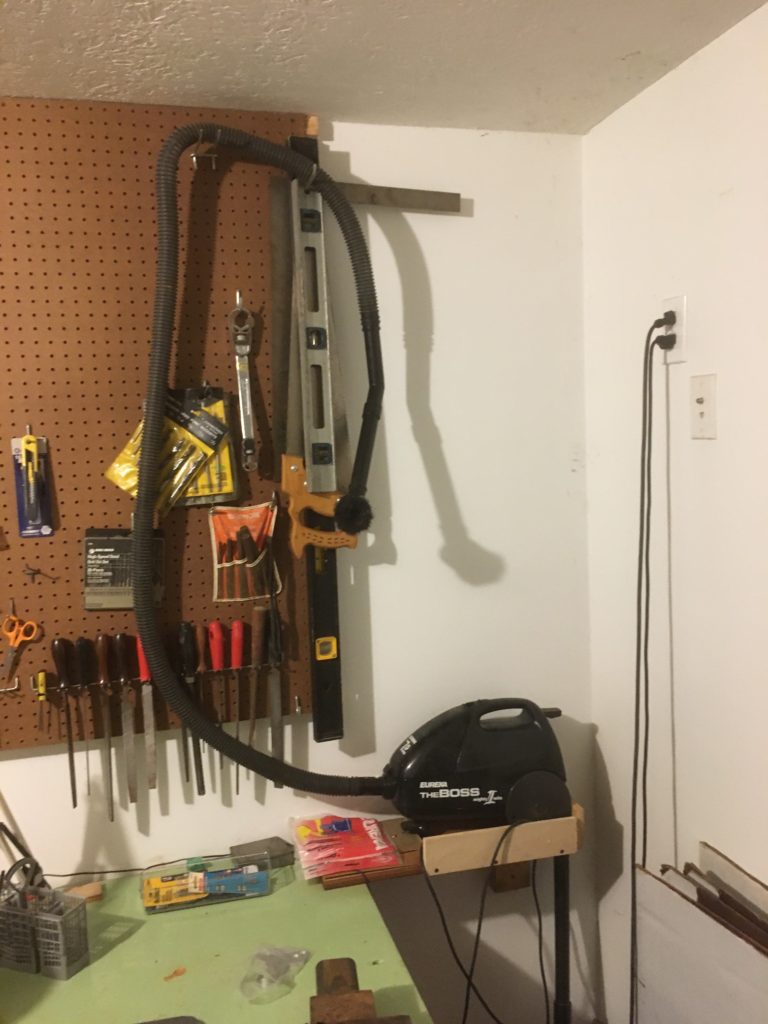
My first attempt at a coupler was a straight piece that connected on one side to the exhaust port, and on the other side to the rigid end of the vacuum hose, as shown below:
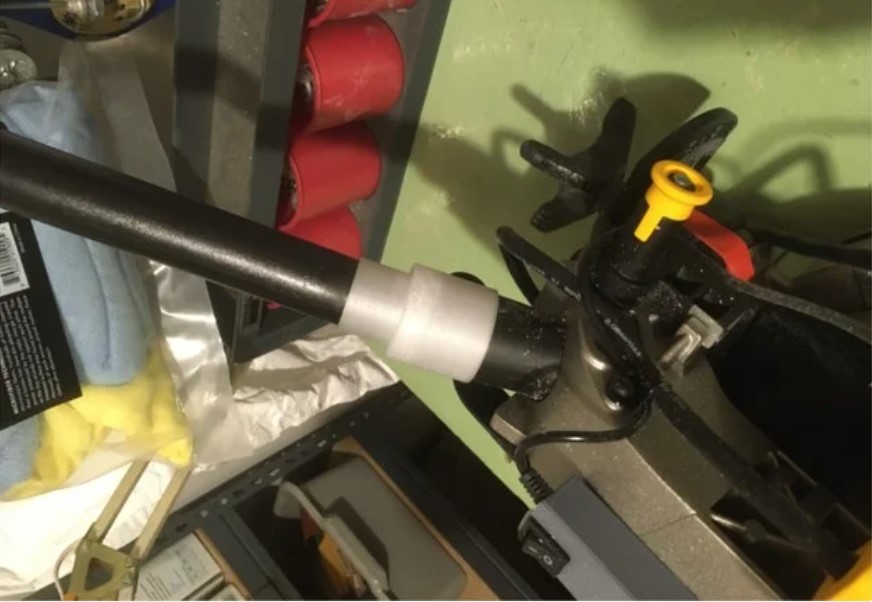
Unfortunately, I had neglected to consider what was going to happen when I actually tried to use the saw. As soon as I released the downlock and raised the saw, the coupler snapped when the rigid part of the vacuum hose ran up against items on my bench behind the saw – oops!
So, I started over again. I found the TinkerCad ‘bent pipe’ shape generator, and made a few versions that incorporated 45-60 deg bends into the rigid portion of the vacuum hose, but all of these suffered from the same problem with physical interference and cracking when the saw was raised. After some more head-scratching, I discovered I could remove the rigid end of the vacuum hose, leaving just the flexible part. As shown below, this particular vacuum has a detachable end piece that fits inside the flexible hose
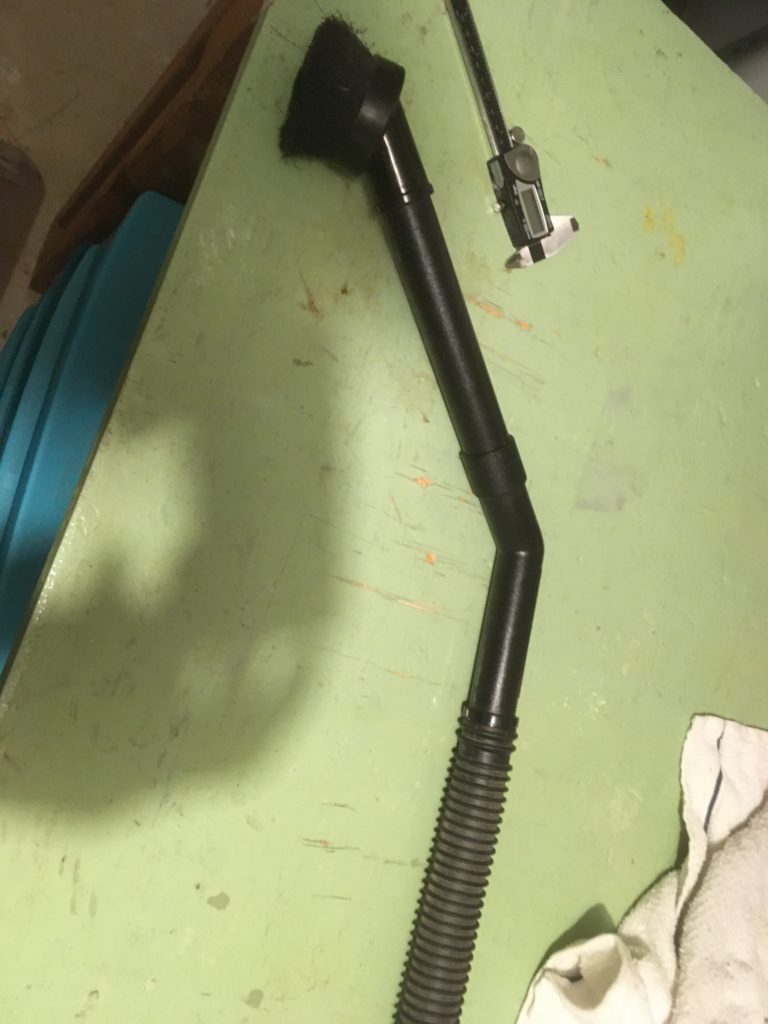
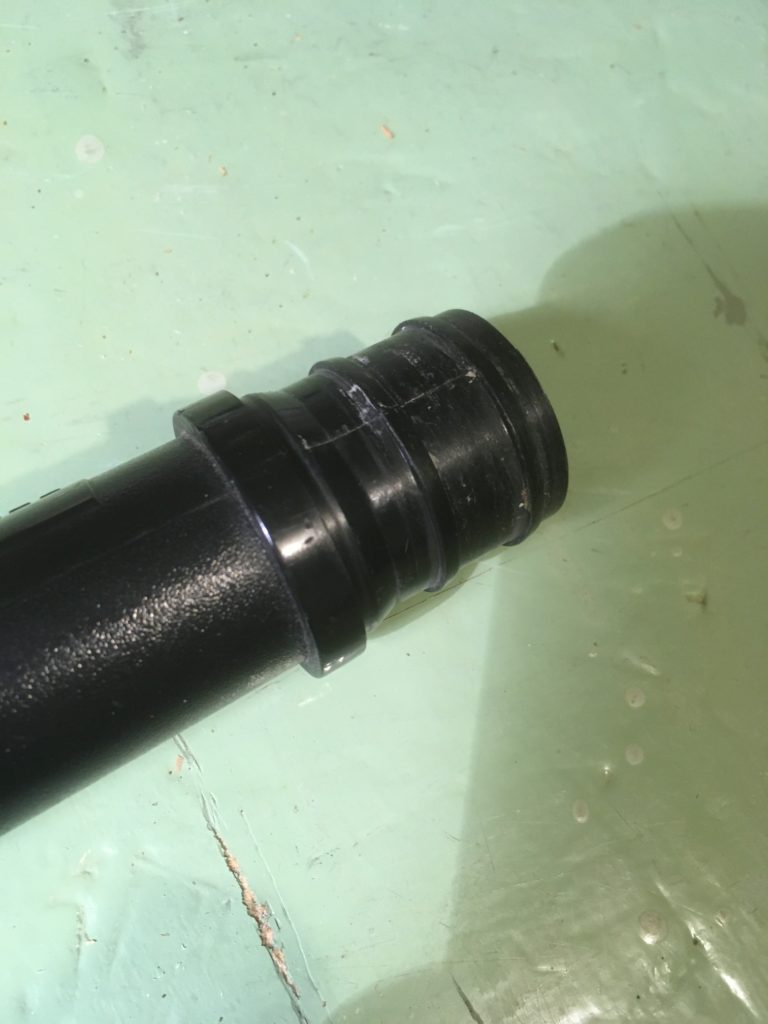
So, I decided that I could replace the rigid piece from the end of the vacuum hose with a short coupling piece to connect the sawdust exhaust port directly to the flexible hose. As I normally do with complex projects, I started by printing a test piece – just the portion that couples to the flexible vacuum hose, as shown below:
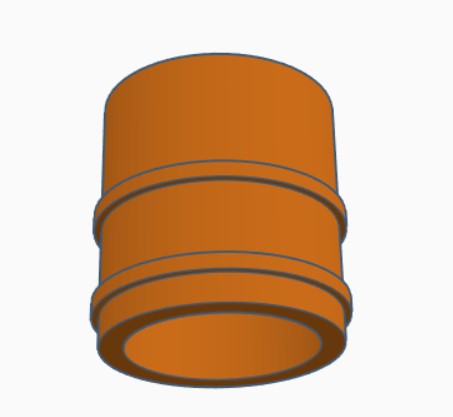
Once I had the flexible hose coupling geometry nailed, I did the same thing with the other end, and then connected the two coupling ends with a ‘curved pipe’ shape from TinkerCad, resulting (after a number of revisions) in the piece shown below:
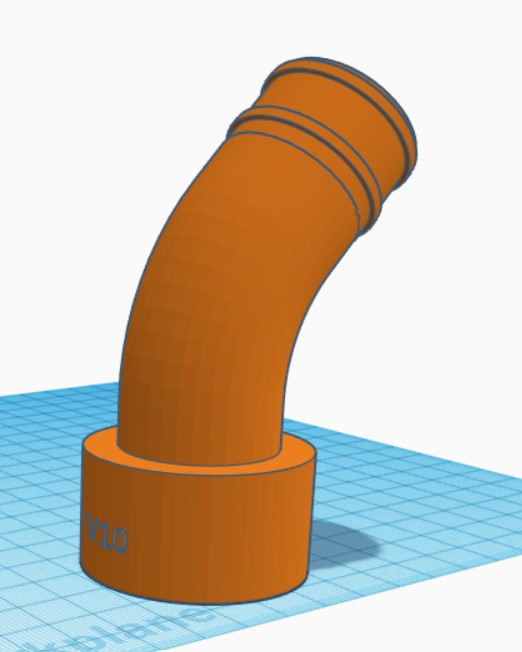
As can be seen in the above screenshot, the final working version was version 10. One of the more wonderful things about 3D printing is the ability to make and discard multiple revisions – all it costs is a little time and a bit of very cheap filament. No need to hyperventilate over mistakes – just throw it away and try again!
The next few photos show the finished coupler installed on the miter saw.
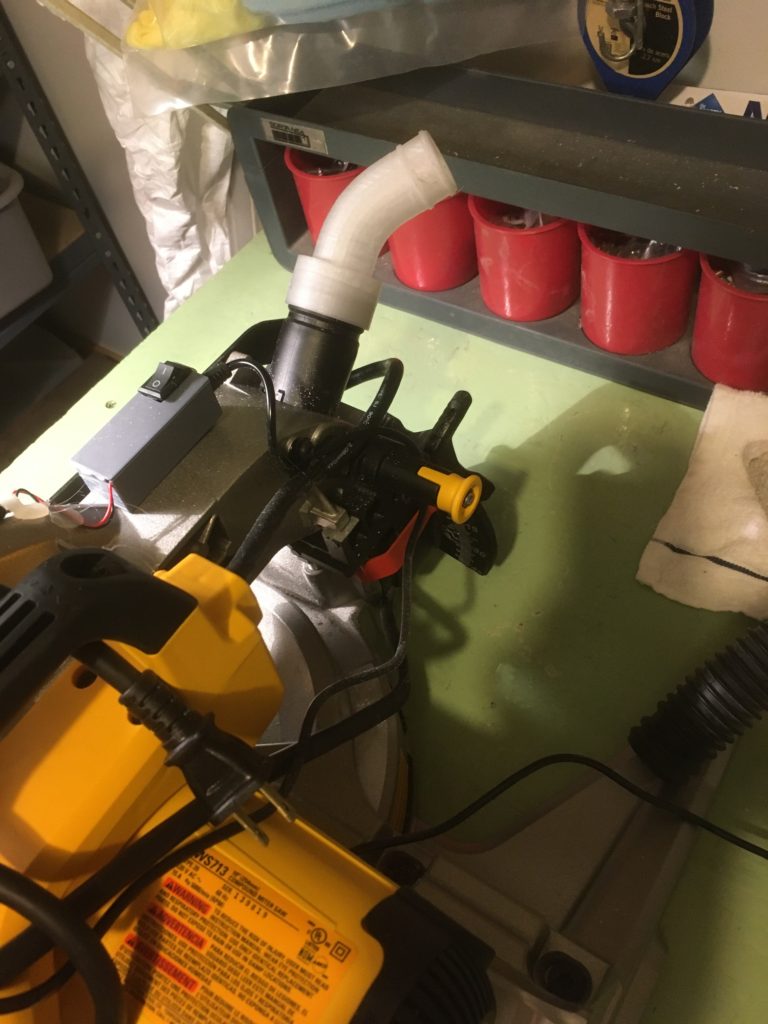
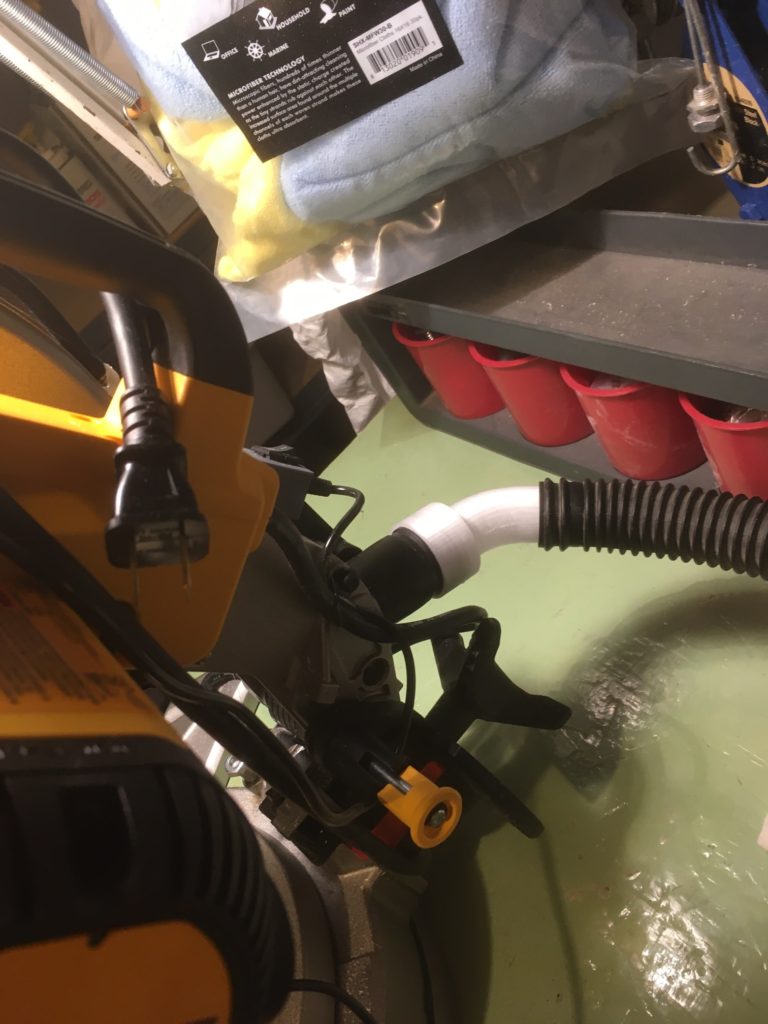
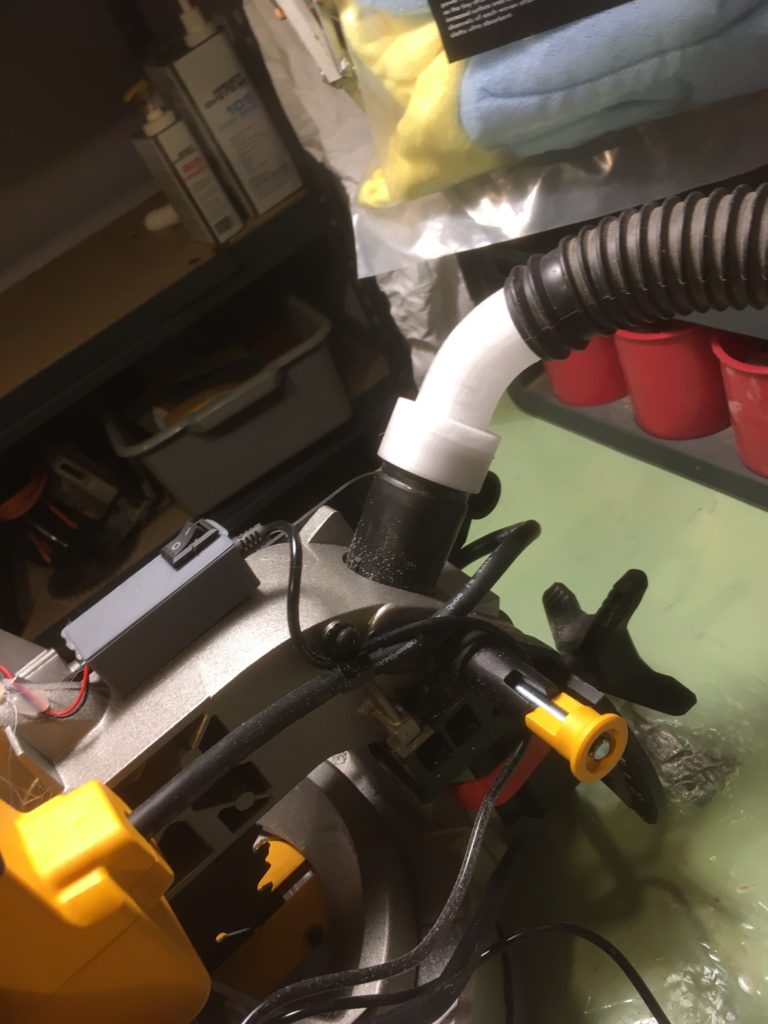
I had uploaded the previous straight-line coupler to Thingiverse here, and I edited it to provide the new design as well
Stay tuned!
Frank
Hi Frank, I have the same saw. This is a great project, and if I ever get a 3D printer, this is going to be one of the first things I use it for
Alex,
Glad to see this might encourage you to experiment with 3D printing. I have been doing this now for many years, and I have found lots of uses for 3D printed parts. If you get a printer and want to try printing this part, here’s the Thingiverse link: https://www.thingiverse.com/thing:4707601
Frank