Posted 29 October 2016
In my last post, I described the evolution of an IR ‘sunshade’ for the OSEPP IR follower board. The version 3 shade did indeed cut out most of the direct IR term from the overhead lighting, and most of the high-elevation multipath as well.
So, I set up some directional tests on my bench using an IR LED clamped in a small vise, with the OSEPP board sitting on a pad of post-it notes to achieve the proper elevation relative to the IR diode. I then wrote a short Arduino program to print out the IR detector analog values, to see if the board was directive enough for use as part of a IR homing setup.
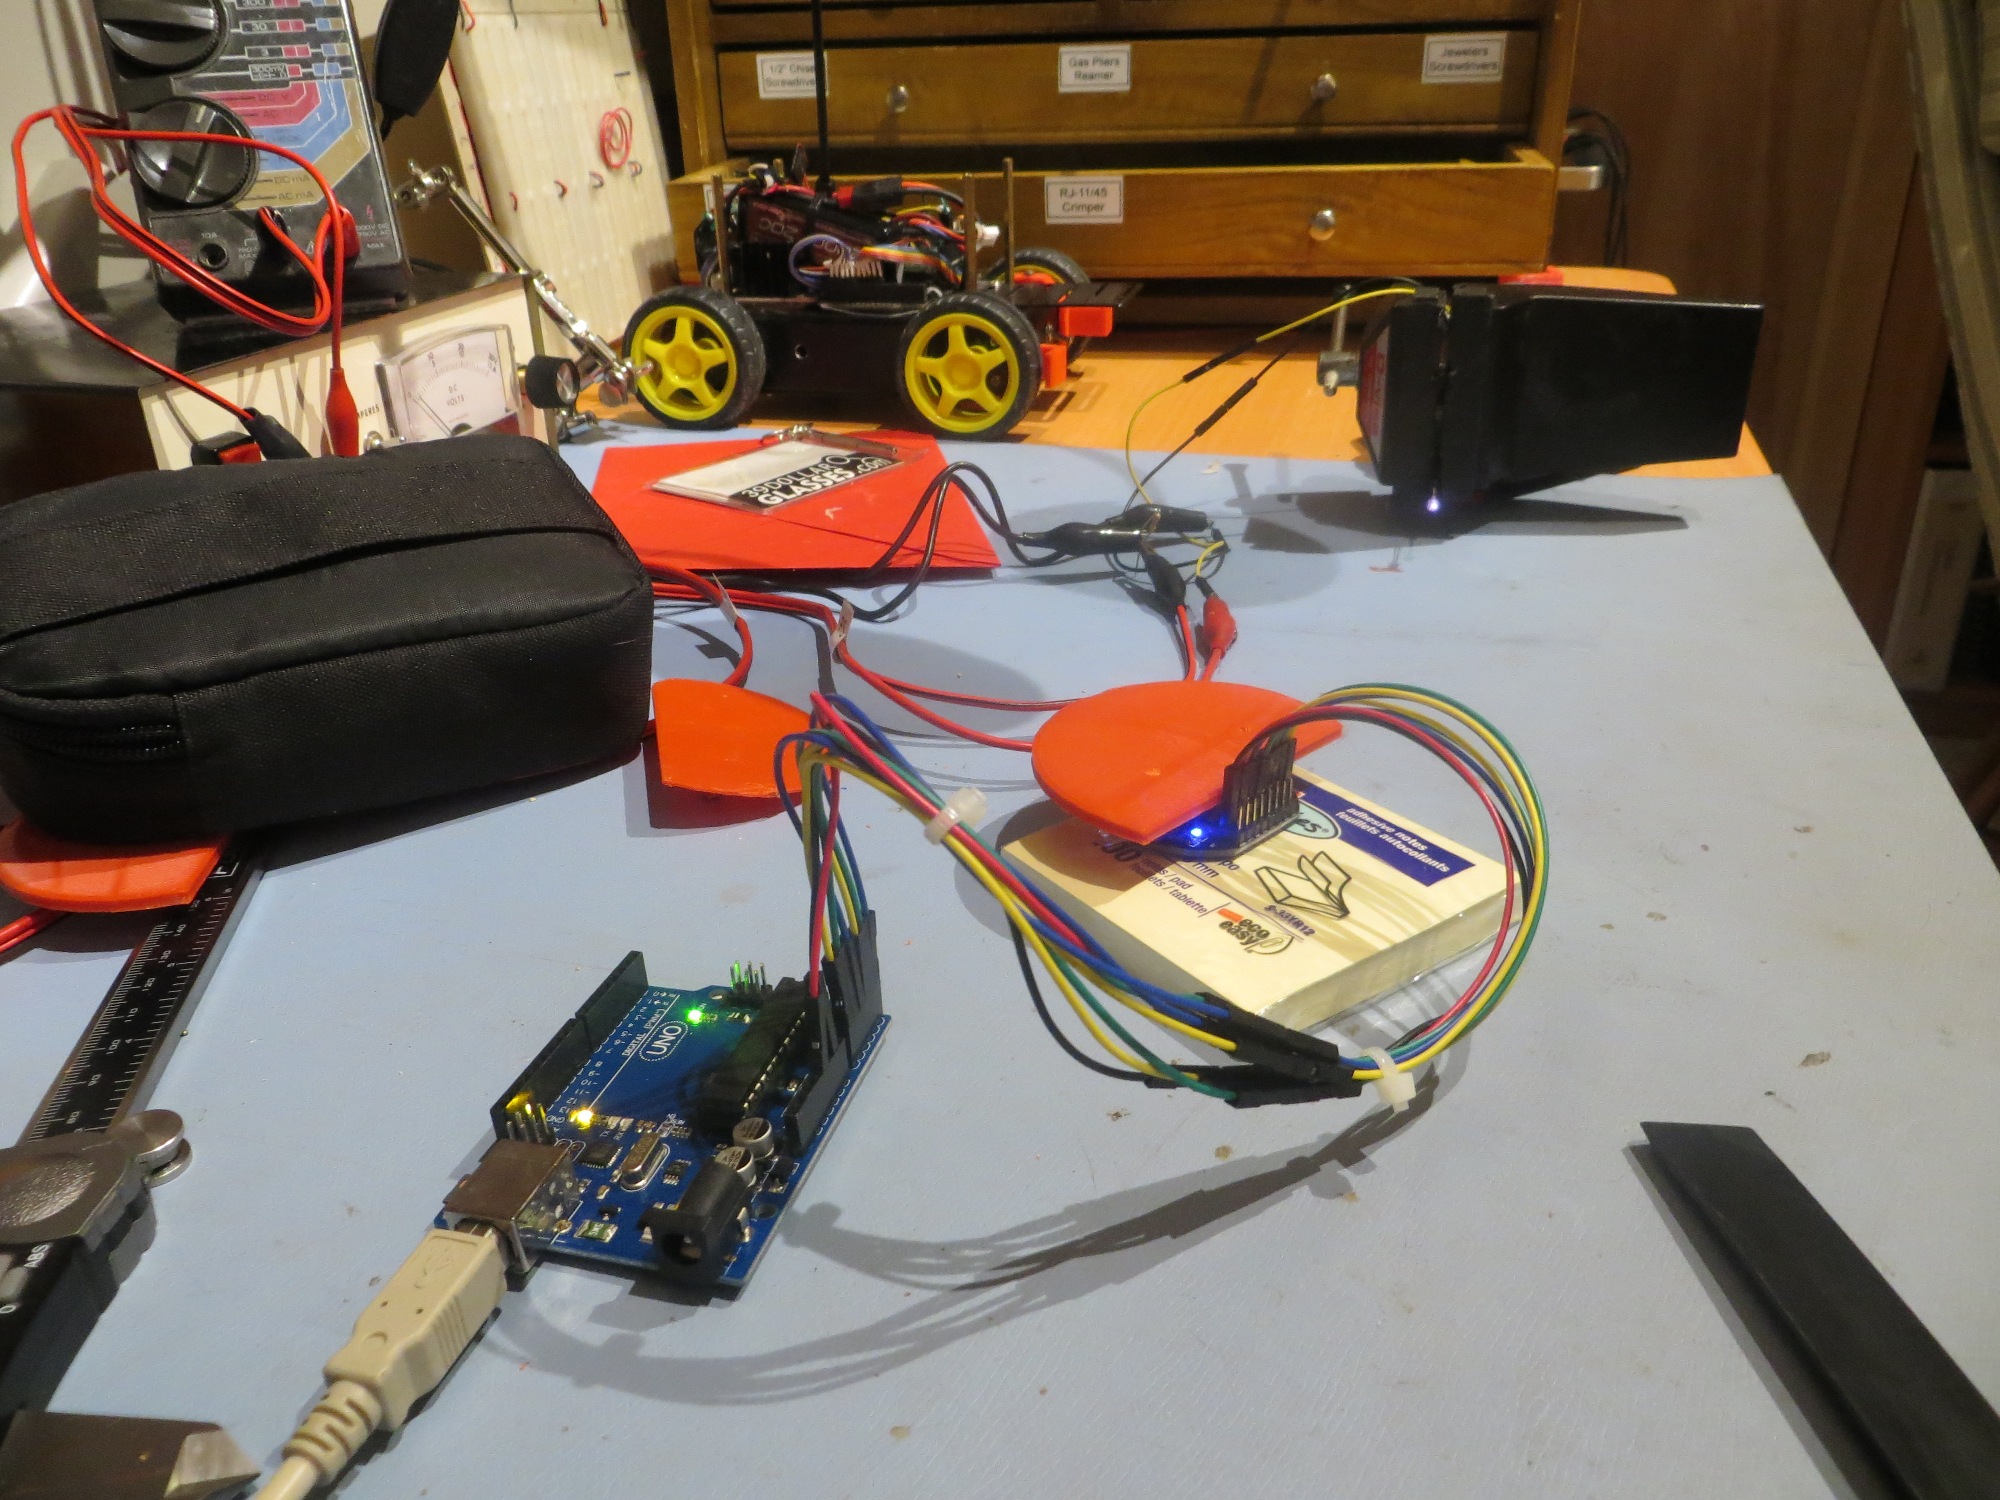
Benchtop directionality testing setup. The transmitting IR LED is visible in the background, clamped in my bench vise
Unfortunately, the initial test results were not what I hoped for. Directionality response was erratic, with LED 1 (3 O-clock using the connector strip as 6 O-clock) responding better when the board was oriented directly toward the IR led than when boresighted on the IR emitter.
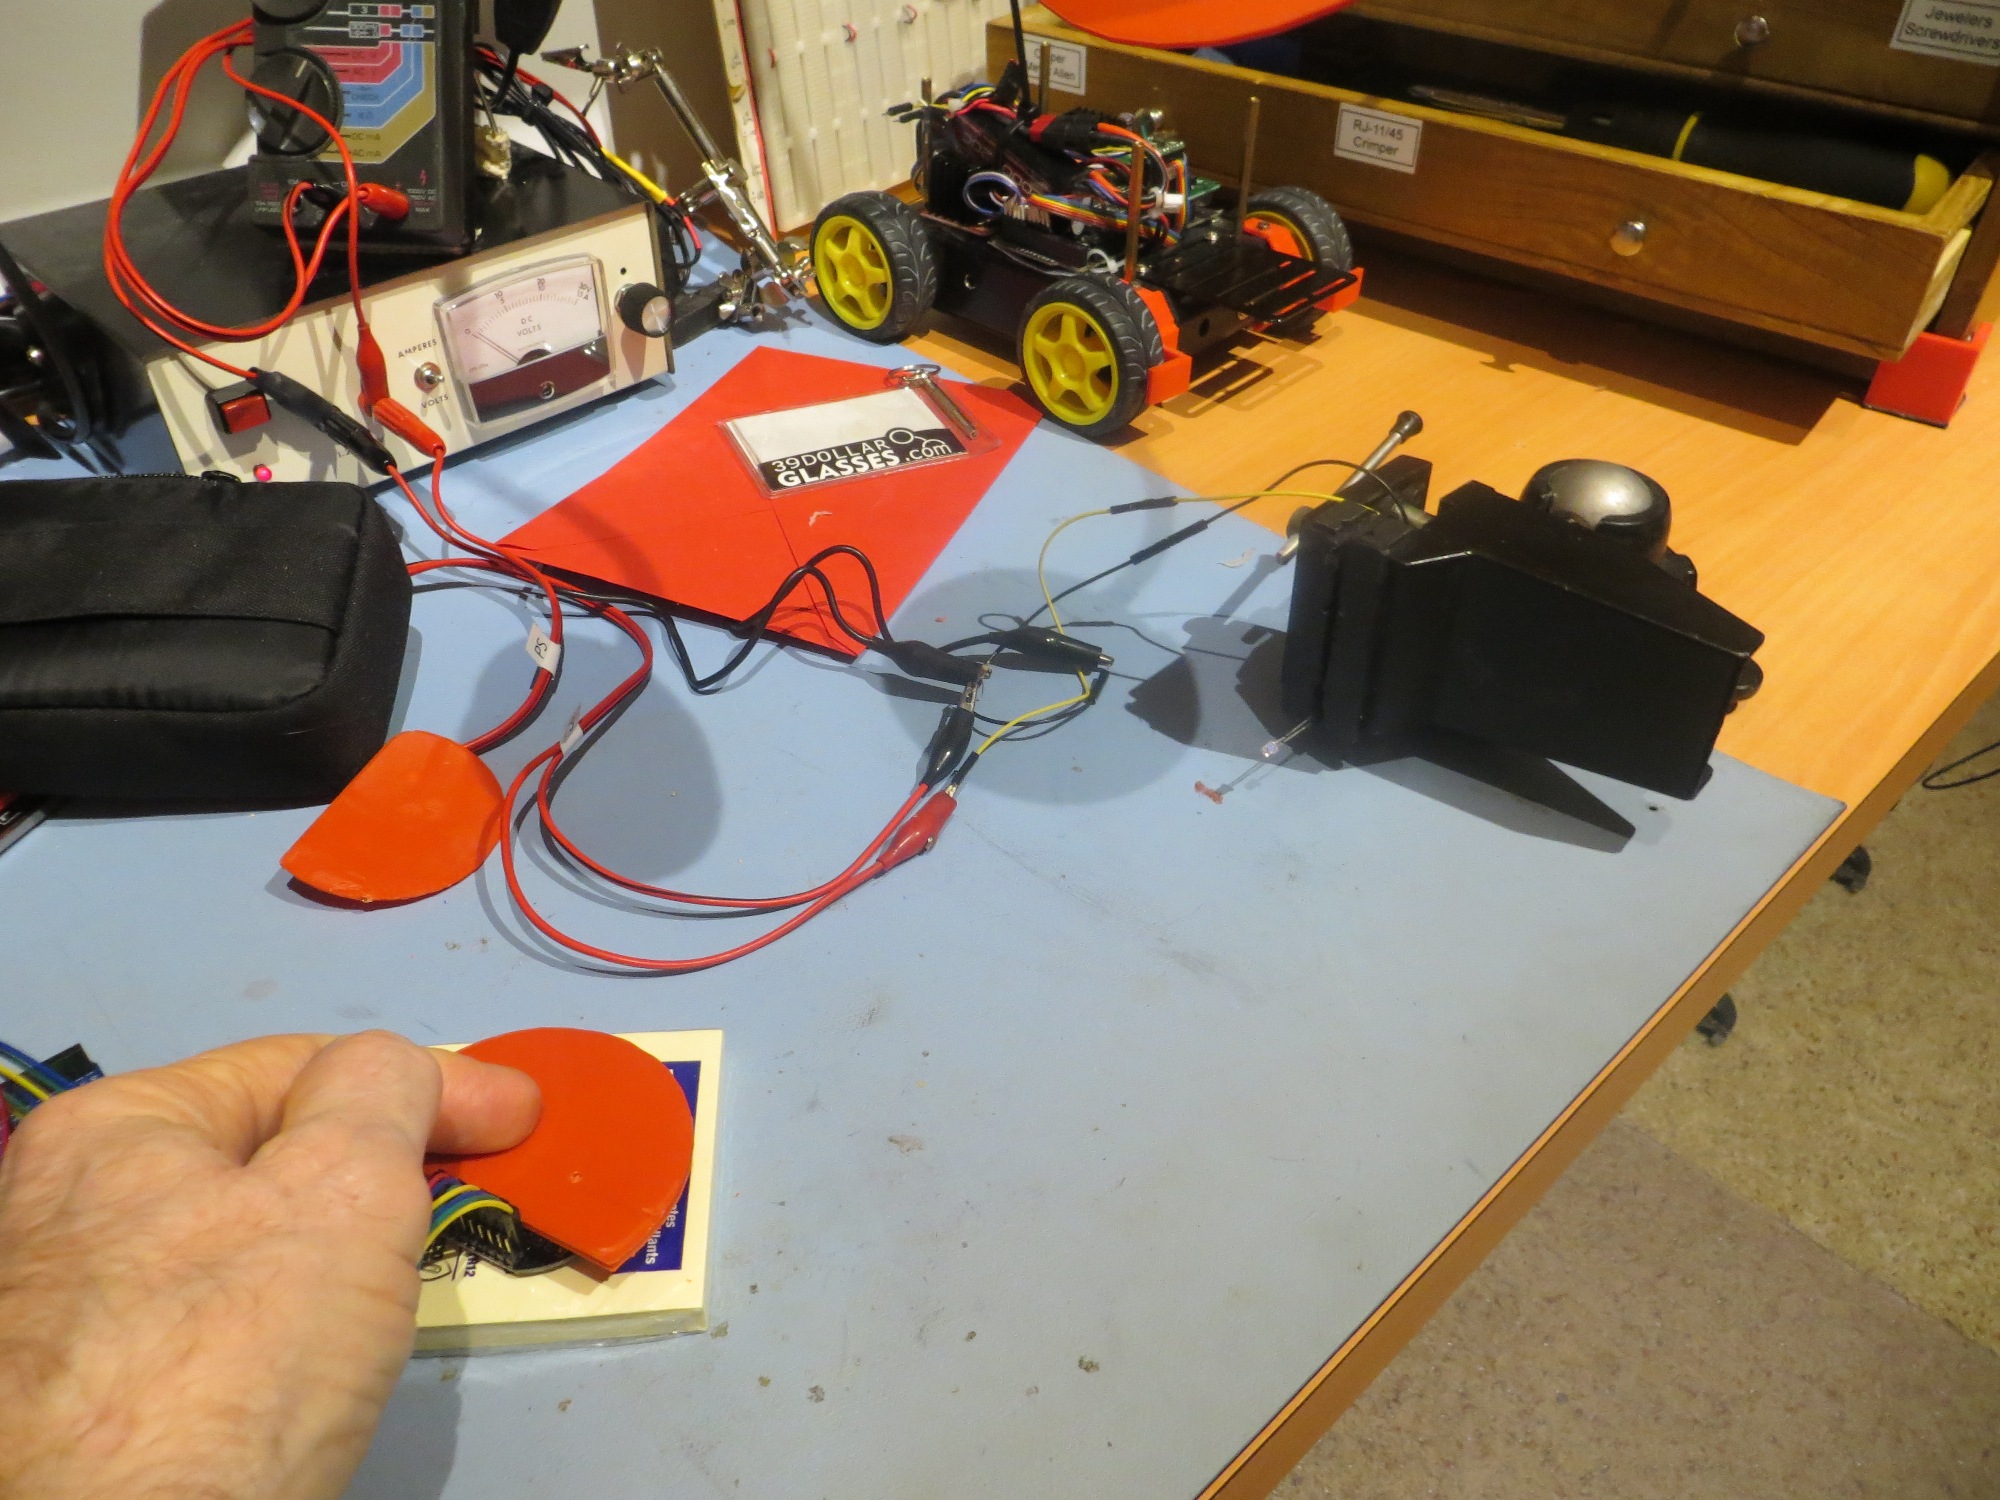
Board orientation for max response on LED1 (LED1 is oriented toward 3 O-Clock)
By moving an opaque 1/2″ mixing stick around, I was able to discern that the odd response angle It appears to be caused by IR energy being reflected from other internal structures on the board, although this doesn’t explain the lack of response on-boresight. So, I decided to add some internal isolation vanes to the sunshade in a ‘vane attempt’ (pun intended) to suppress internal reflections, as shown in the following image.
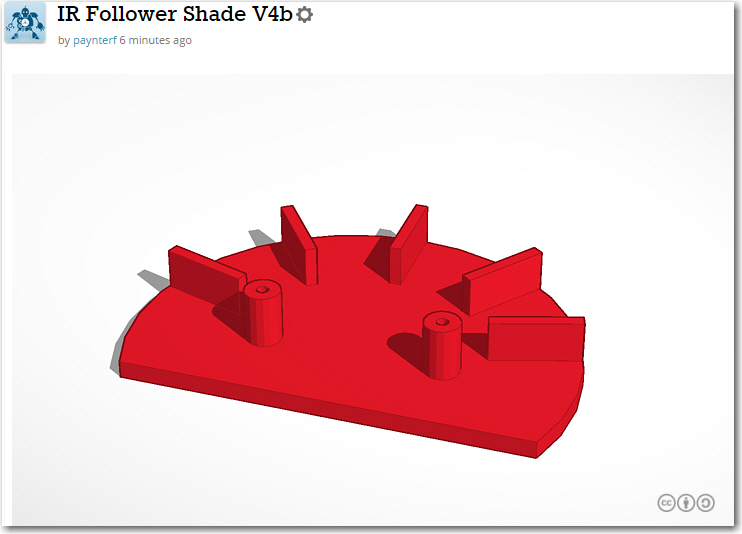
Sunshade V4, with detector isolation vanes installed
02 November 2016 Post:
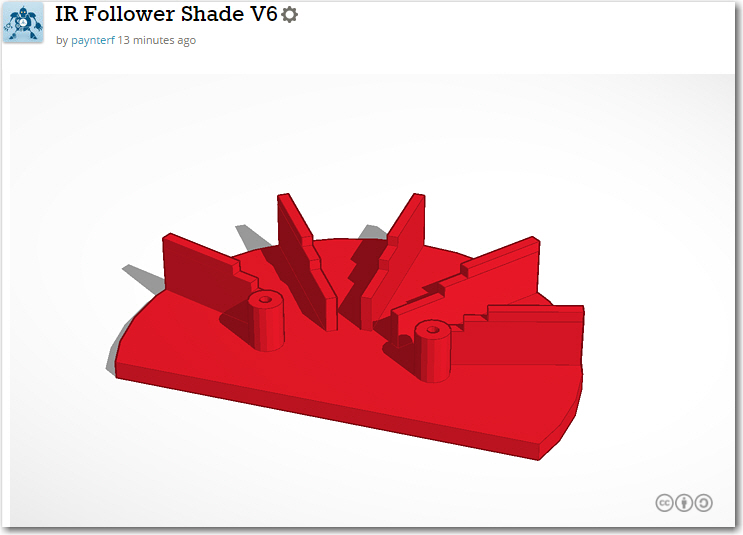
As it turned out, the above sunshade wasn’t quite big enough, so I wound up going through two more versions before arriving at one that completely blocked overhead IR sources. The final design is shown below:
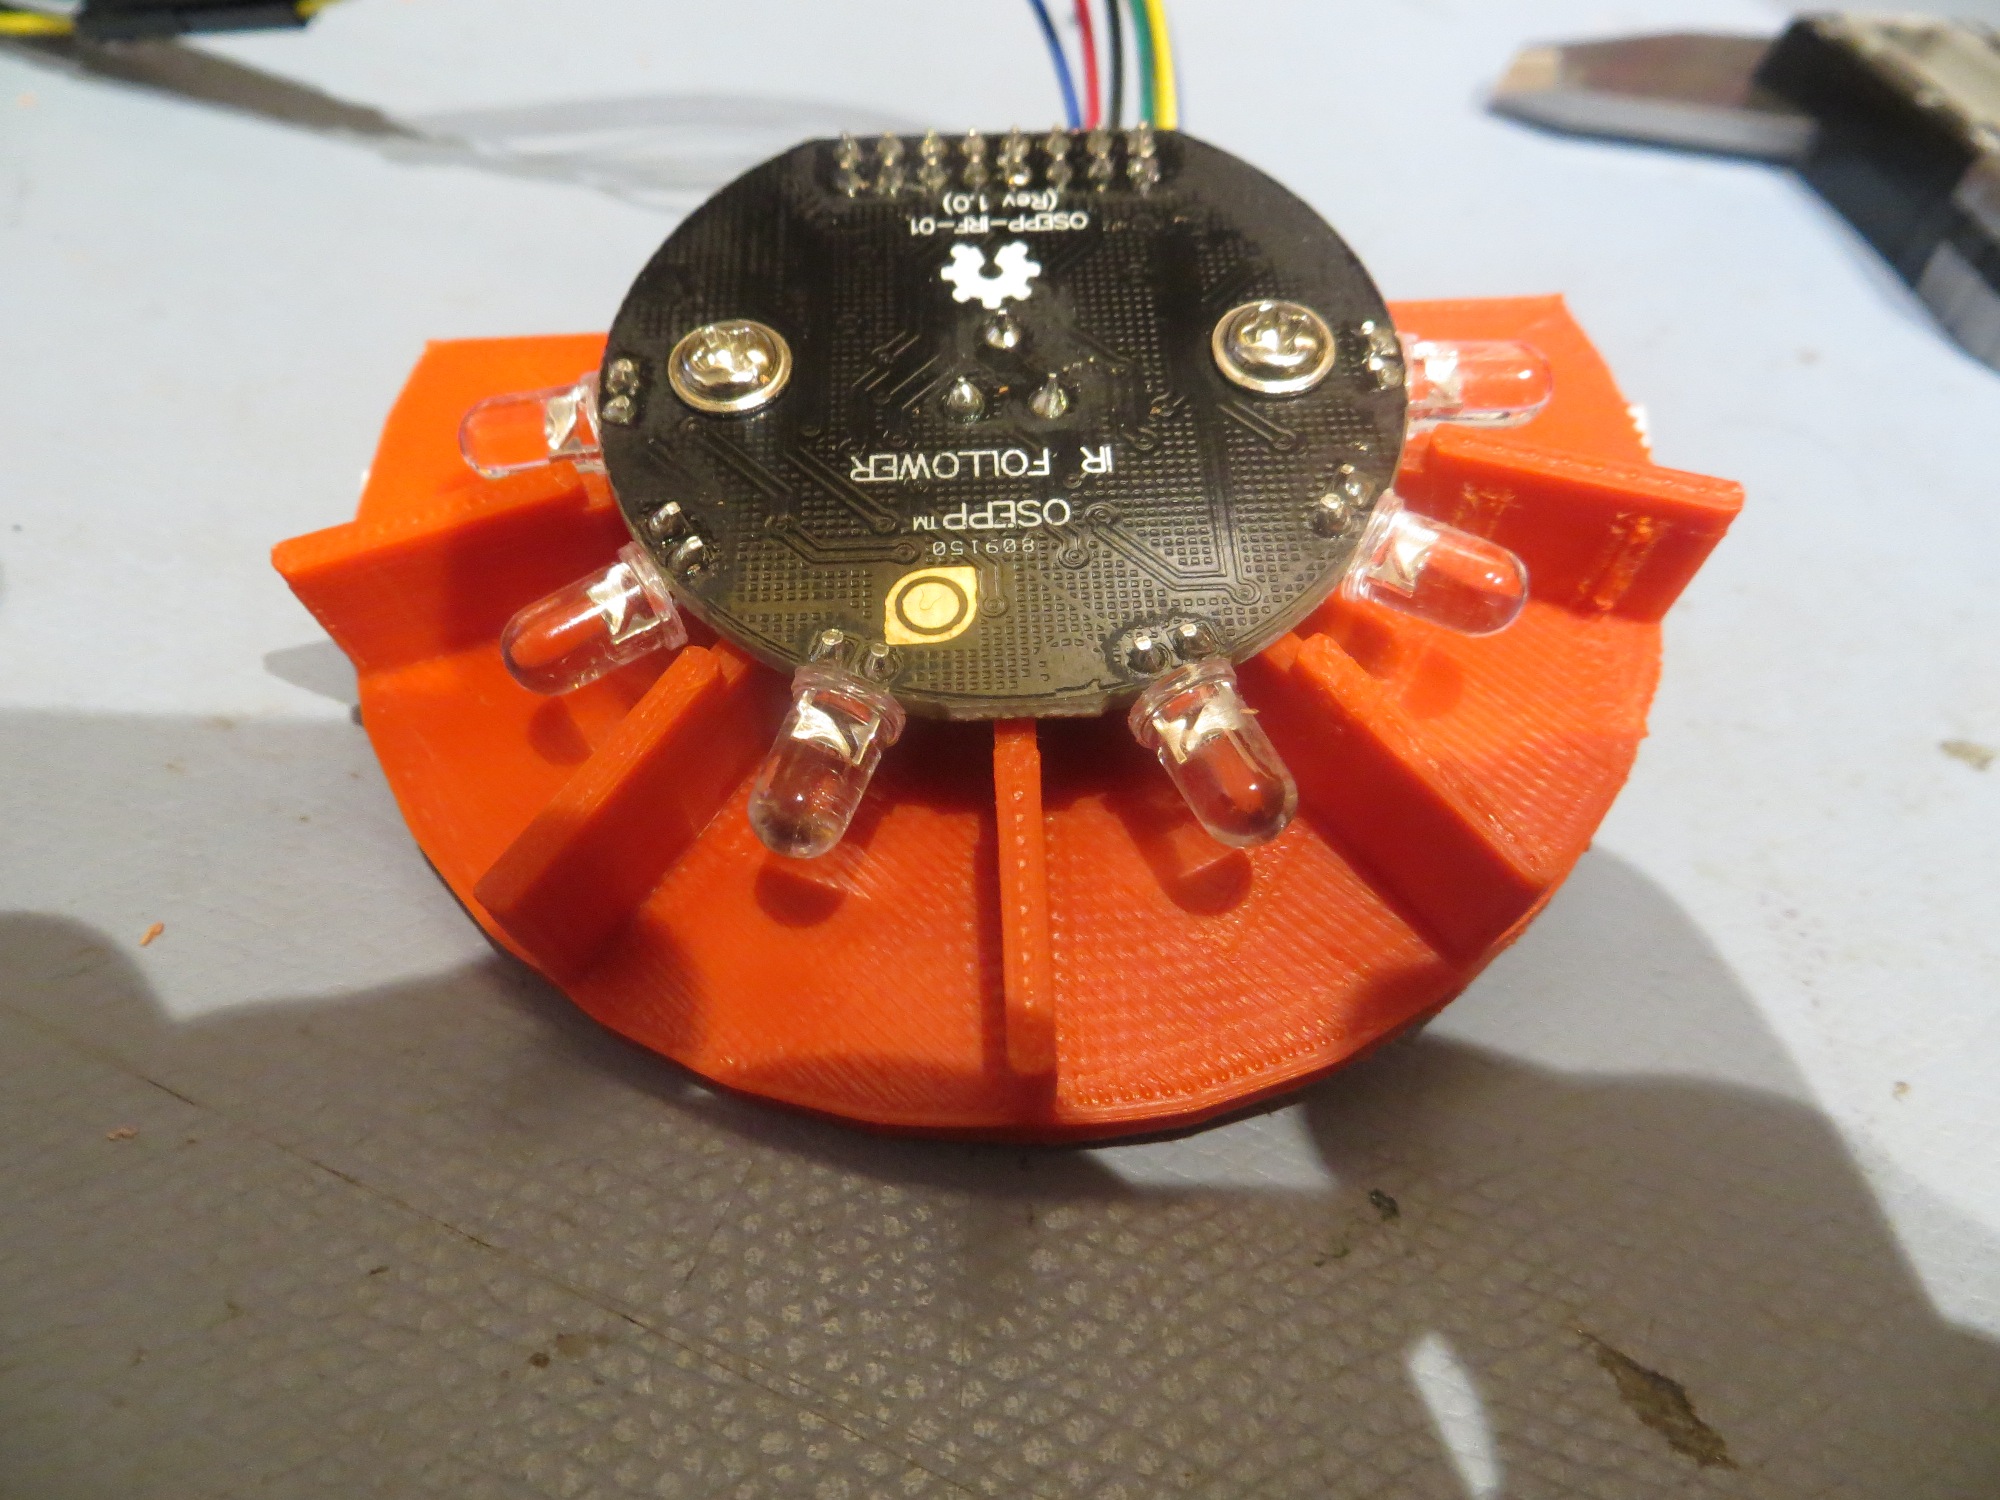
‘Final’ sunshade design
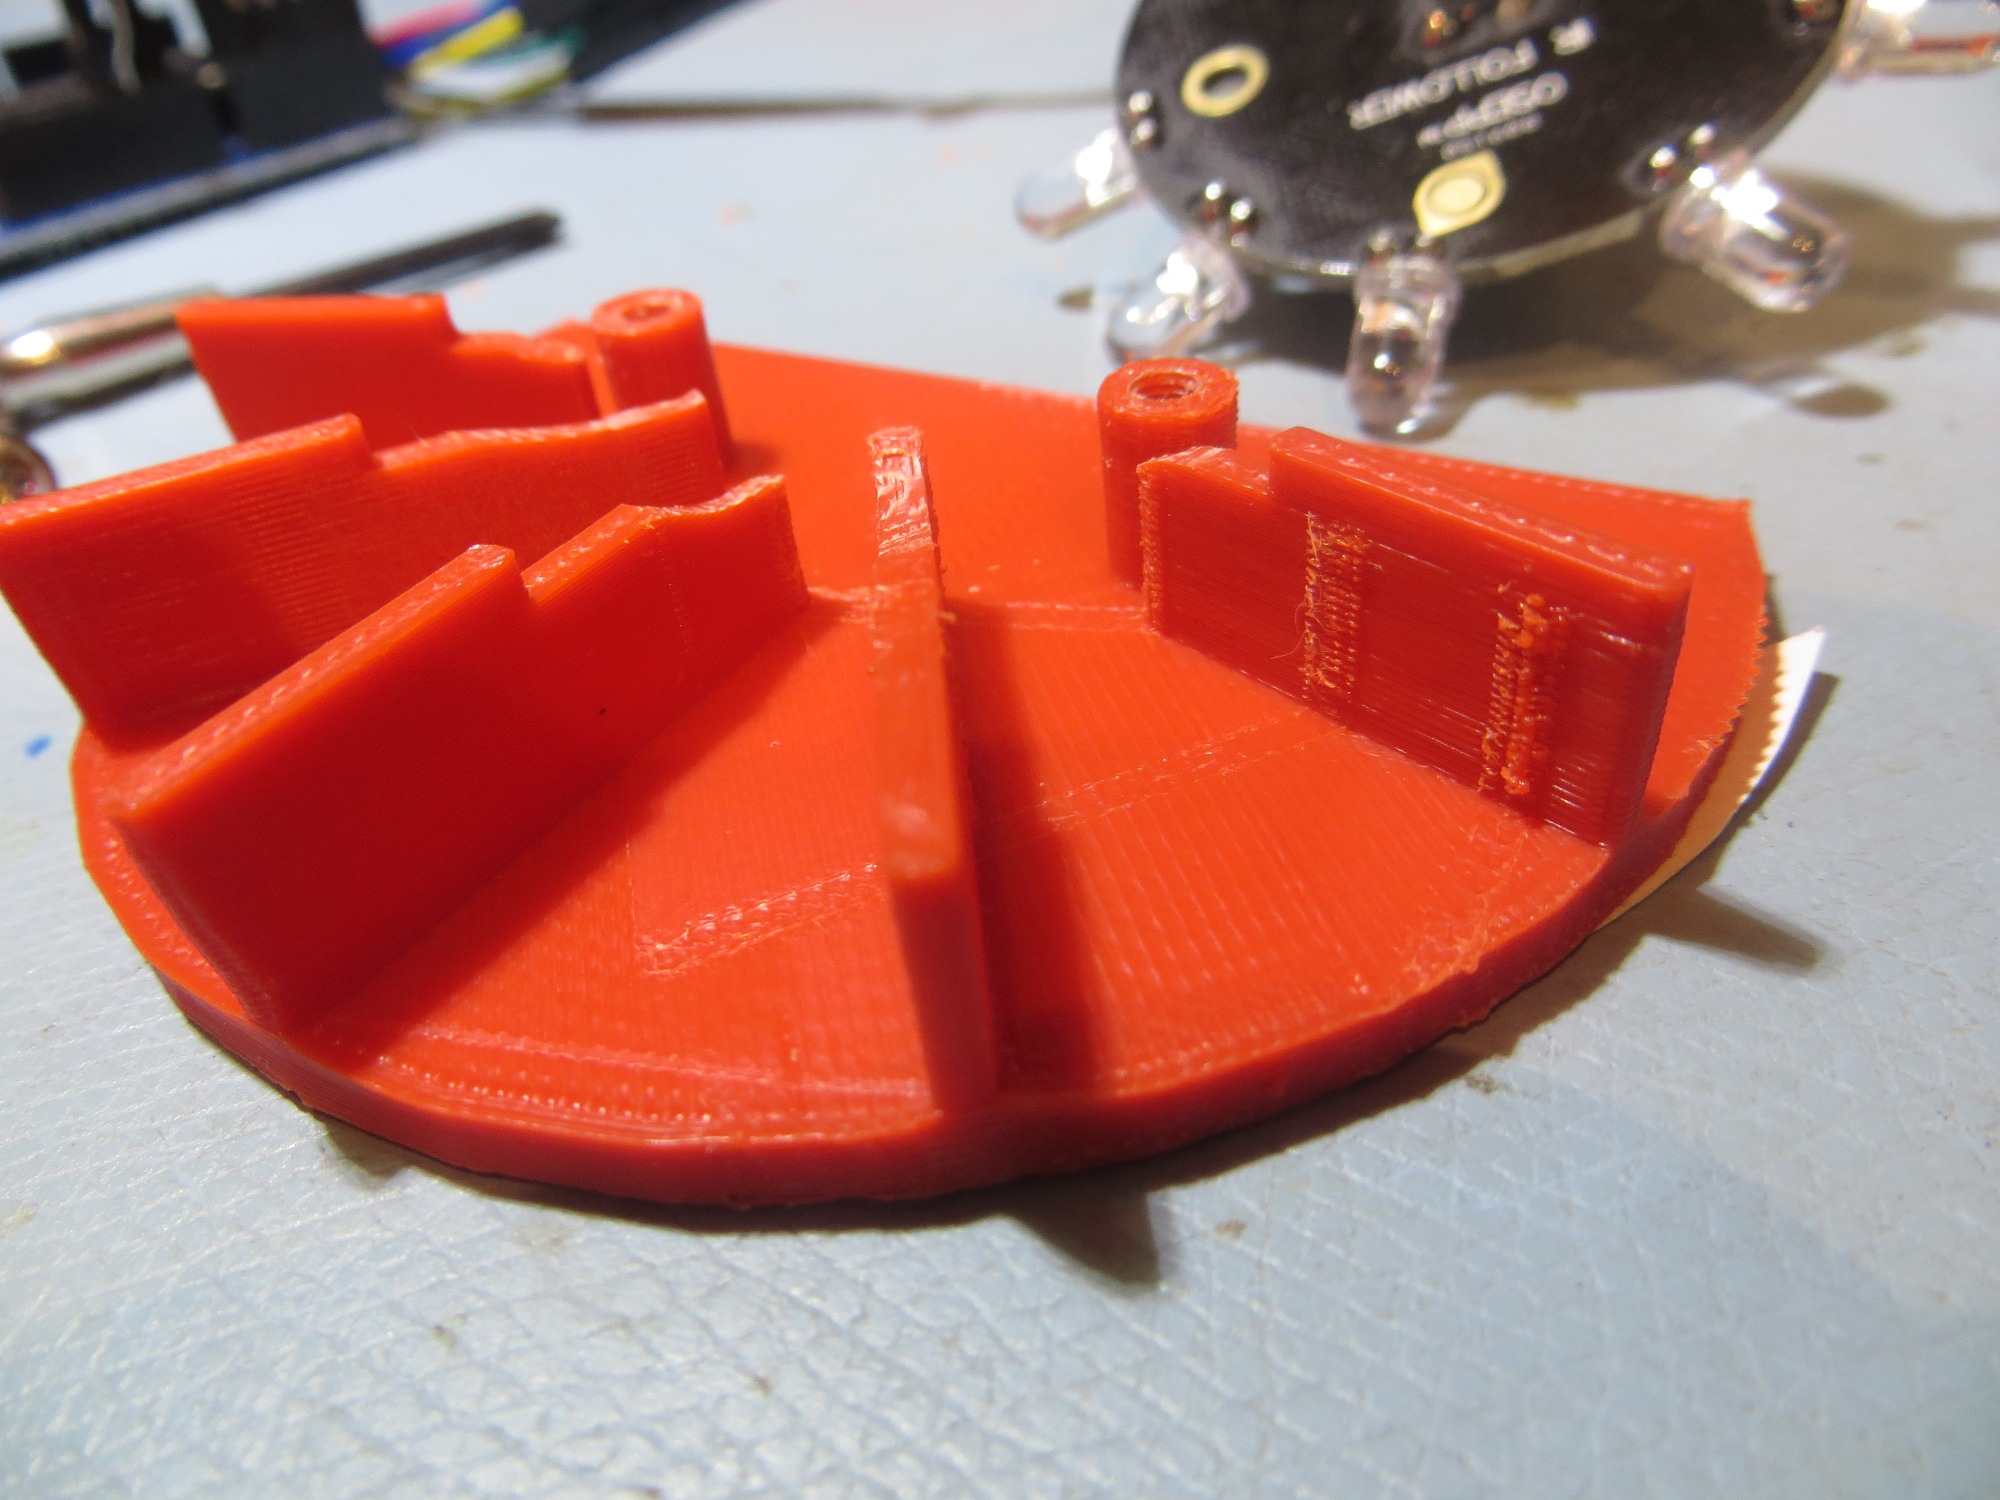
‘Final’ sunshade design. Note the manually cut away portions to clear PCB components
Final (hopefully) version of the sunshade, incorporating the PCB component clearance cutouts