3/20/2015
Some months ago, my grandson got interested in the possibilities represented by my rudimentary 3D printing capability, and decided he would like to try and make GlitchTech’s really coo Ender’s Game Flashgun, popularized in the Ender’s Game book by Orson Scott Card and the wildly popular movie. Not knowing what a HUGE adventure this was going to be, I encouraged him. Over the winter of 2014/15 Danny and I collaborated via frequent Skype sessions about the project, culminating with Danny, his parents (Electrical Engineer and Attorney), and his sister arriving on our doorstep late last Wednesday night for a 3-4 day geek fest to assemble all the 3D-printed parts and the electronics for the Flash Gun.
The Flash Gun is quite complex. It consists of over 30 separate 3D-printed parts, and contains a Li-ion battery, a Sparkfun PowerCell battery charger, 2 Adafruit NeoPixel LED rings, an Arduino Pro Mini microprocessor to run it all, and various other small parts. As an added bonus, the Pro Mini board doesn’t have any sort of programming connector, so something like an Adafruit FTDI Friend or CKDevices FDTI Pro board to connect to the Pro Mini for programming. I happened to have a CKDevices FDTI Pro hanging around from a previous project, so I hoped this would do.
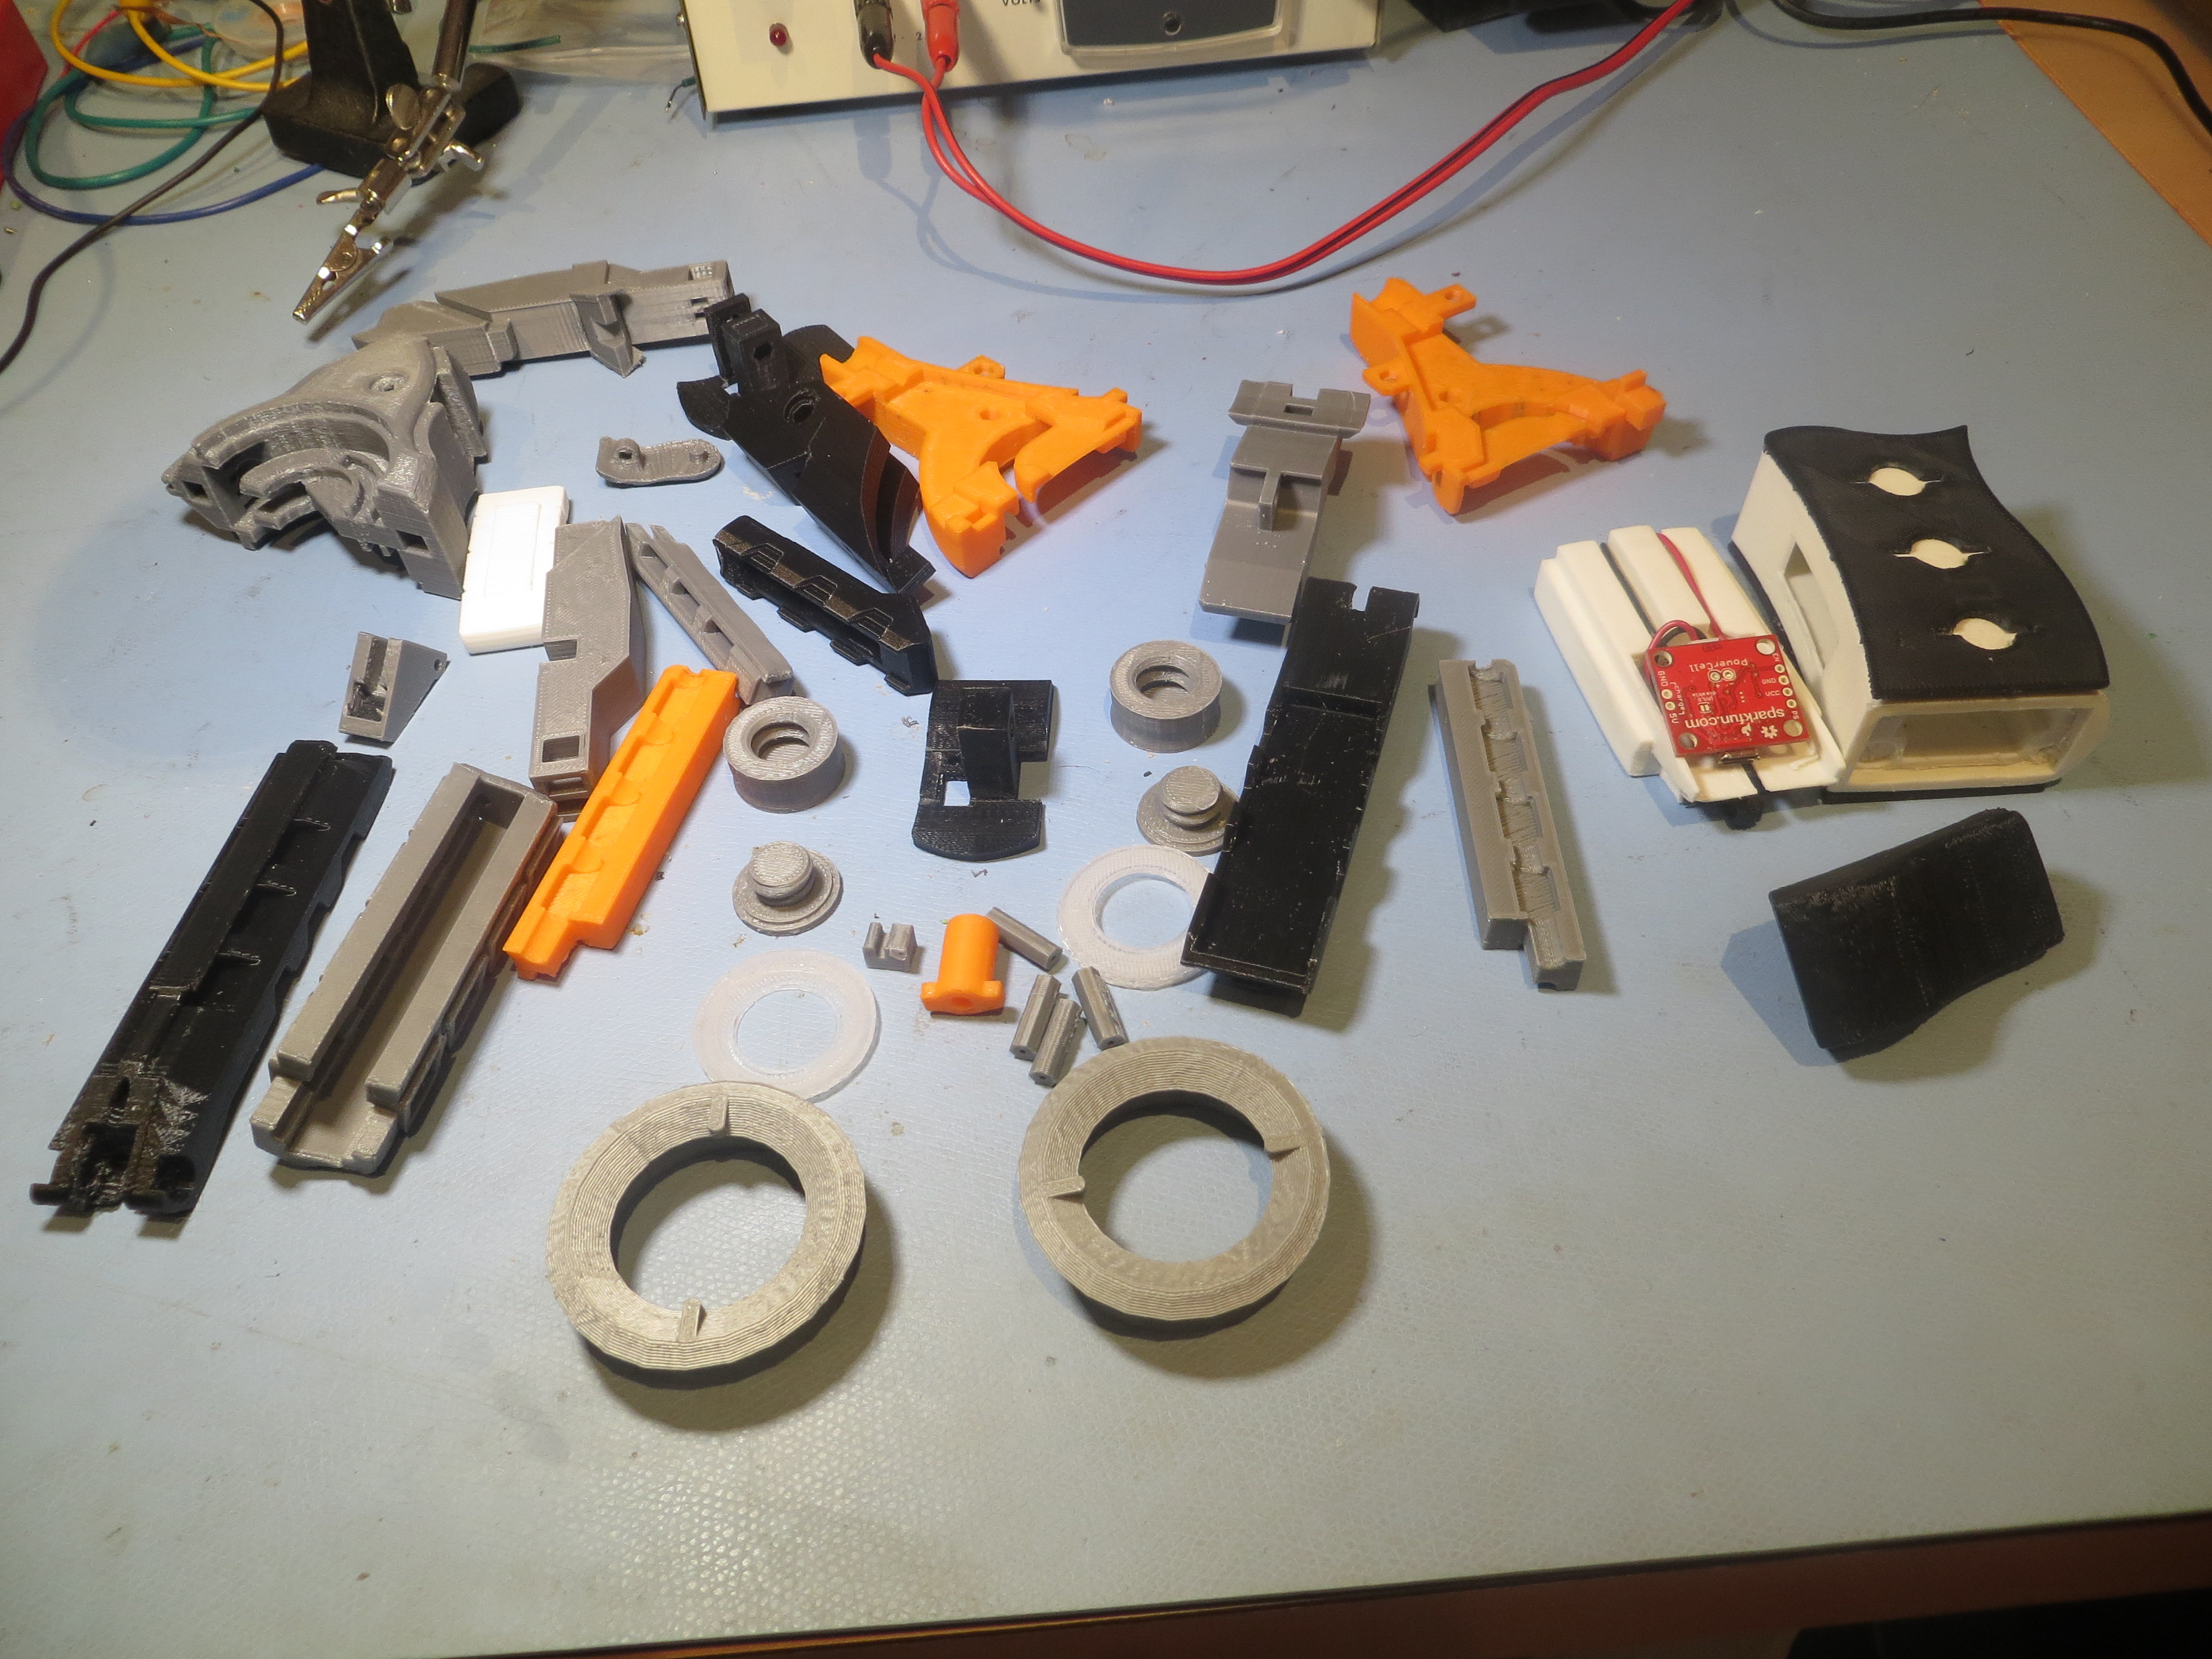
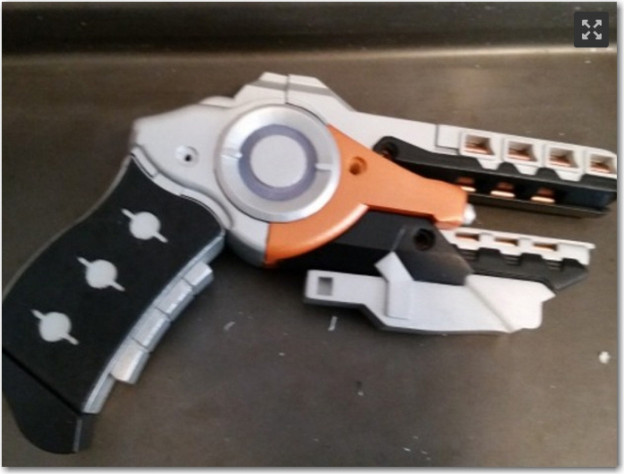
There’s a Flash Gun in there somewhere, I’m sure!
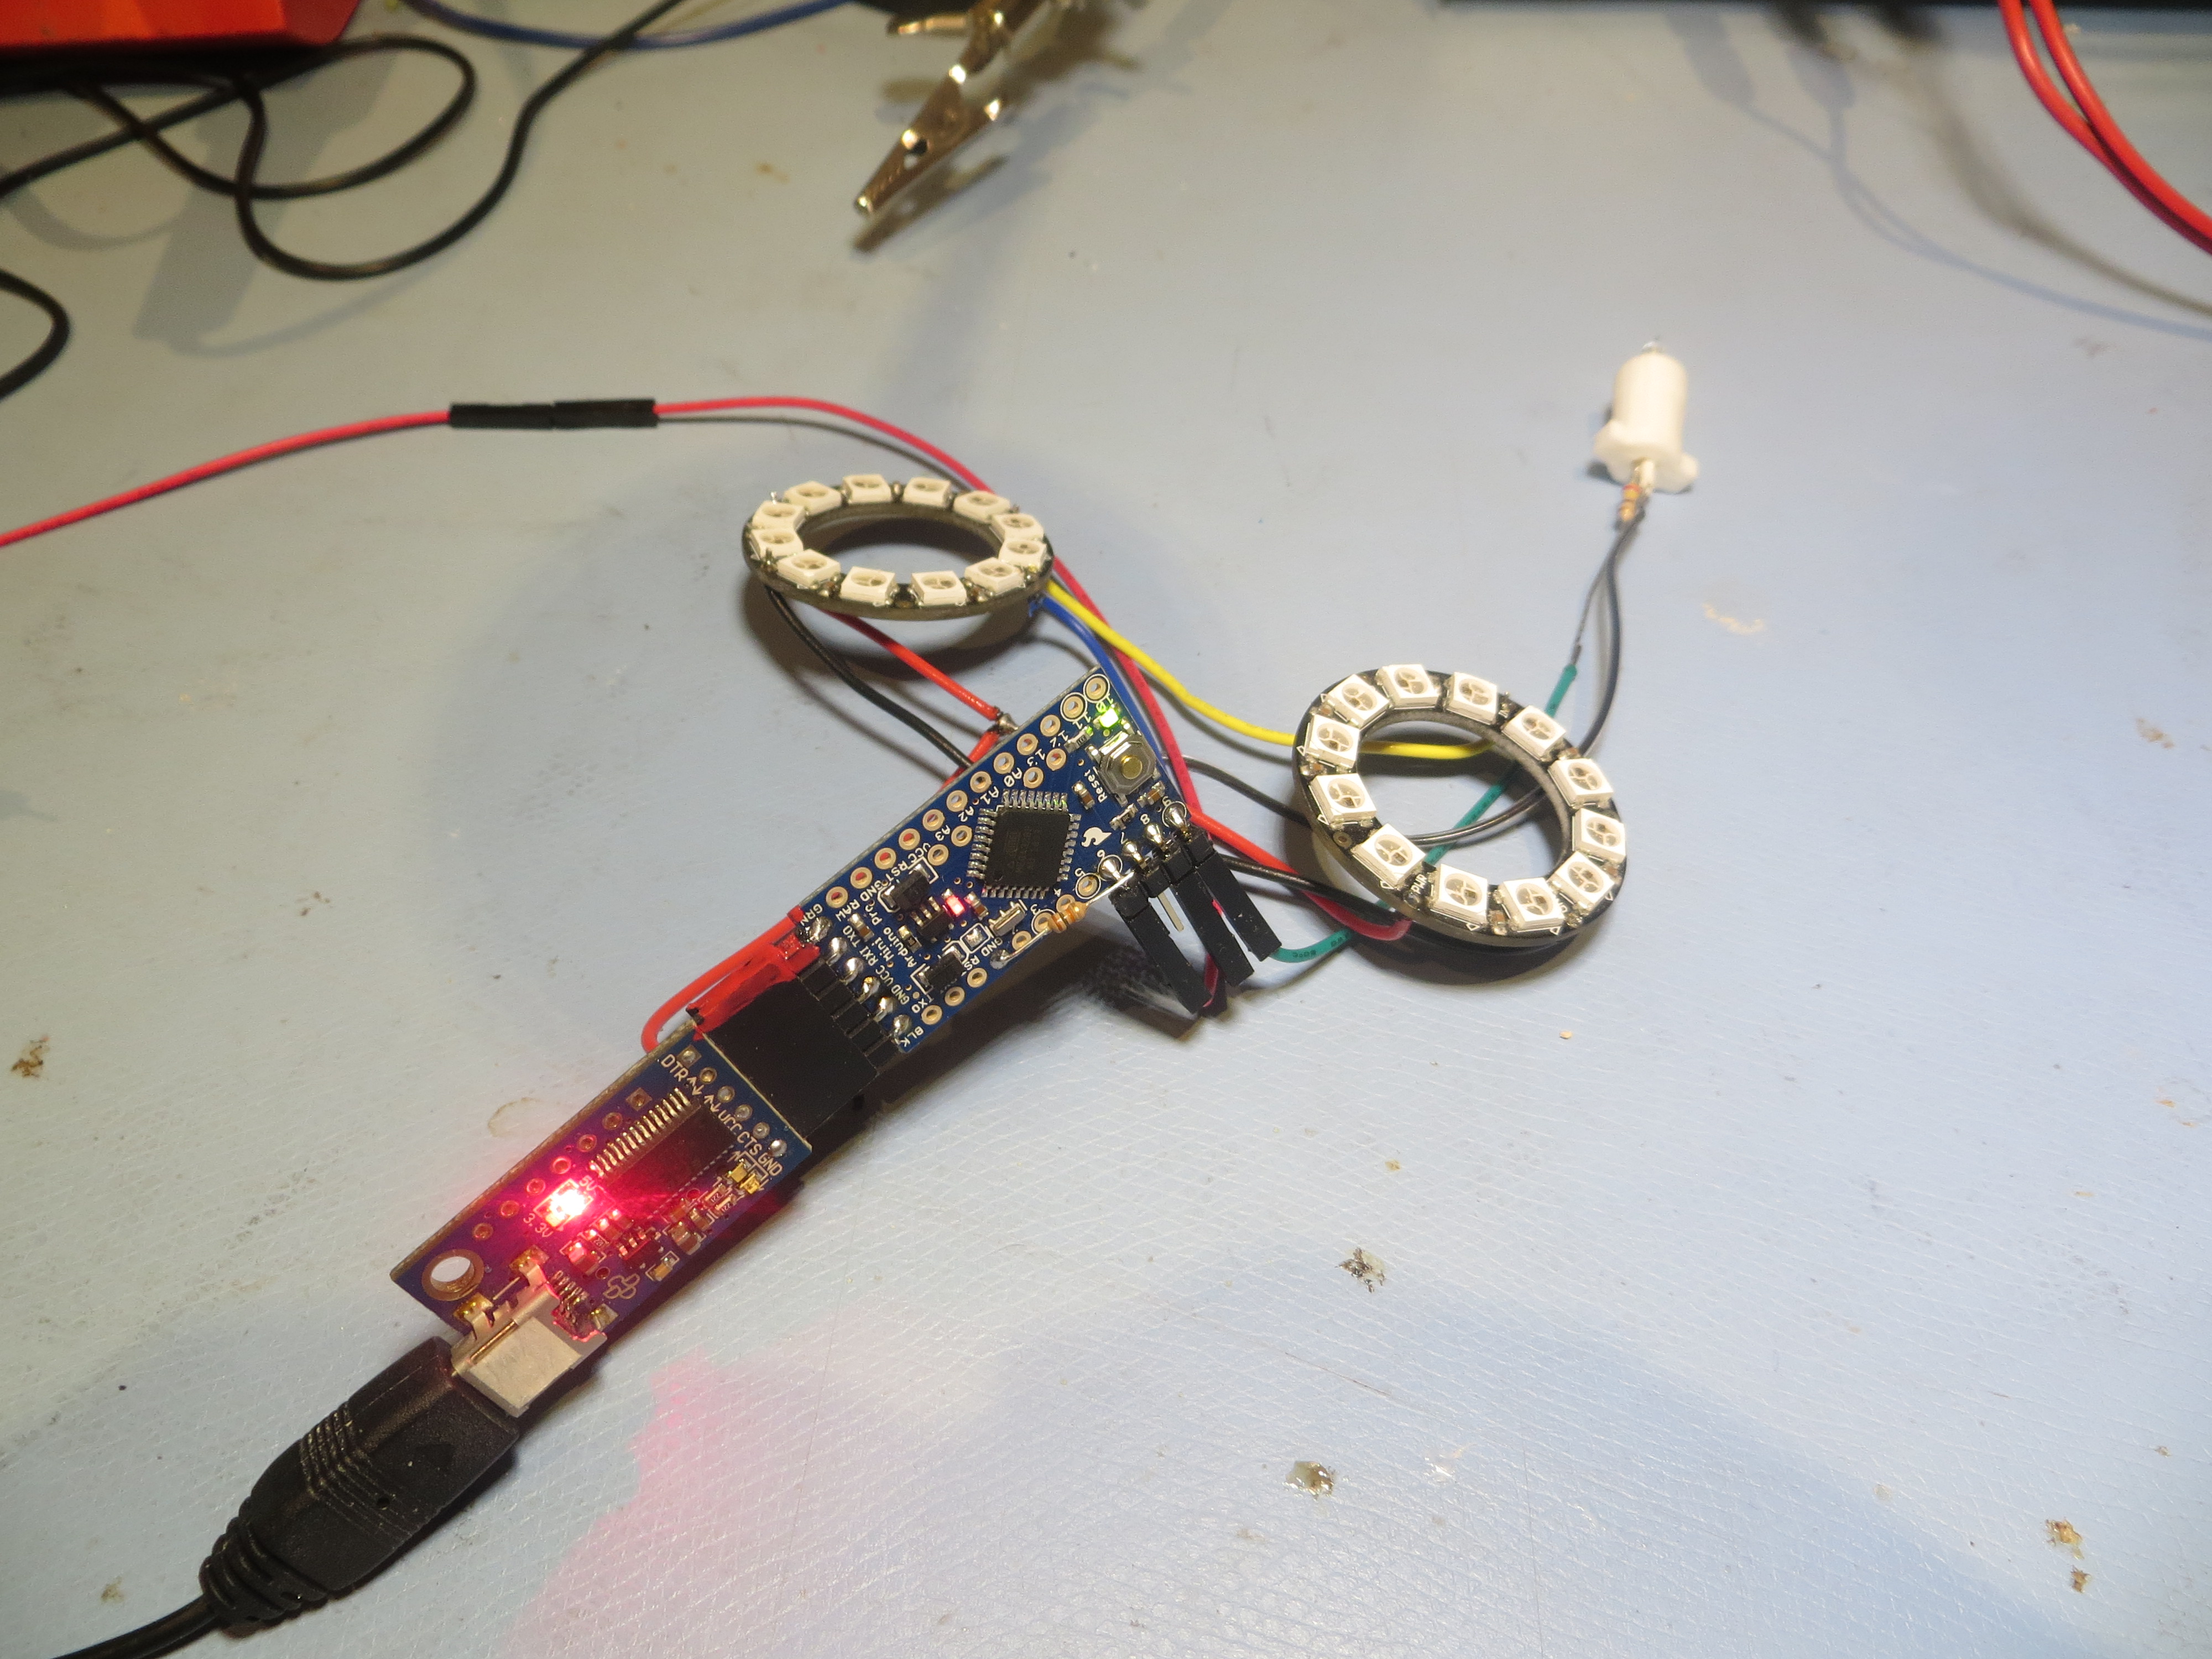
The Adafruit Neo Pixel rings, the ‘Beam LED’ and the Arduino Pro Mini
There were three main threads in the Flash Gun project. The first and most time-consuming was 3-D printing all the parts – there were a lot of them, and many had quite complex internal structures. It became apparent rather rapidly that my little old PrintrBot Simple Metal printer wasn’t up to the task, so Christmas brought me a MicroCenter PowerSpec 3D PRO dual-extruder printer. With the dual-extruder setup, I could now use HIPS dissolvable filament for the required support structures, then dissolve them away using Liminonene.
As the winter went by and I continued to push out Flash Gun parts, Danny and I also worked on other projects. We have a Wall-following robot powered by an Arduino UNO, and we also did a jointed robot (pose-able figurine) project.
The original designer of the Flash Gun provided a very complete and elegant Arduino program to run the NeoPixel rings, but it still has to be uploaded into the Arduino, and then the whole thing tested. Also, as we approached this point, it became apparent that the code documentation, while quite robust, still left a few things as ‘exercises for the student’. In particular, the Arduino Pro Mini I/O pin assignments in the code did not match the photo of the Arduino Pro Mini in the Thingiverse post (http://www.thingiverse.com/thing:417286/#files, fifth picture from the left). It was at this point that Danny’s father Ken, also an EE with a lot of hands-on experience was invaluable in acting as a second set of eyes and a second brain to keep me from doing anything too stupid. In particular it was Ken that figured out the pin assignments for the Arduino Mini – Thanks Ken!
As a pre final assembly test, I wired up the Arduino, the two NeoPixel LED rings, the front-facing ‘beam’ LED, and the 10K pull-down resistor on the pushbutton ‘trigger’ pin. After uploading what I hoped was the final Flash Gun program, and using power from the FTDI pro board, I tried my luck at ‘triggering’ the Flash Gun. To my surprise and delight – it worked the very first time – no debugging required (see the video below)
After running the test a few more times for all the assembled multitudes (well, the family anyway), we moved on to more mundane aspect of the electrical wiring. I connected the Sparkfun VCC output through the ON/OFF switch and then on to the main VCC connection point, and connected the Sparkfun GND pin to the main GND connection point. Now I was able to ‘trigger’ the LED rings using just the Flash Gun’s internal battery – cool!
So, a very good day by any measure. It’s Friday night as I write this, and we have one more full day to get everything done. All that’s left on the electrical side is to wire the ‘trigger’ pushbutton into the circuit, so that shouldn’t take long. Then comes the task of putting all the mechanical parts together, and of course shoe-horning the Arduino into the not-so-large cavity designed for it. Hopefully by the time we break to watch the Ender’s Game movie Saturday night, Danny will have a real live Ender’s Game Flash Gun to fire at appropriate places in the movie! ;-).
Frank