Posted 25 January 2018
Over the last few days I have been struggling with a project to 3D print a small adaptor to allow me to mount some 80mm wheels I bought some time ago to my Wall-E2 autonomous wall-following 4-wheel drive robot.
The original robot came with 56mm wheels and this gave Wall-E2 very little ground clearance. I found some 80mm wheels that I thought would do the trick nicely, but when I tried them, it quickly became apparent that the shaft receptacle on the wheel was significantly larger than the motor shaft, leading to a very bad wobble and catastrophic wheel departures – oops!
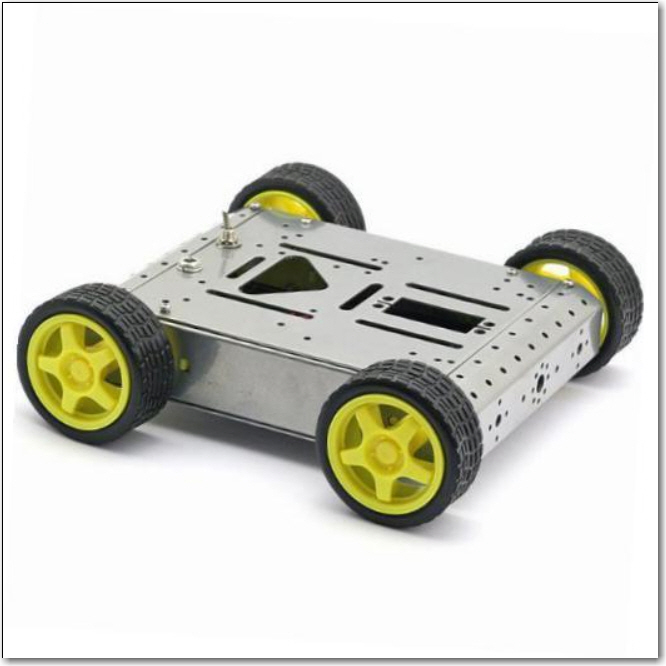
Lightweight 4WD Drive Aluminum Mobile Dolly Car Robot Platform for Arduino
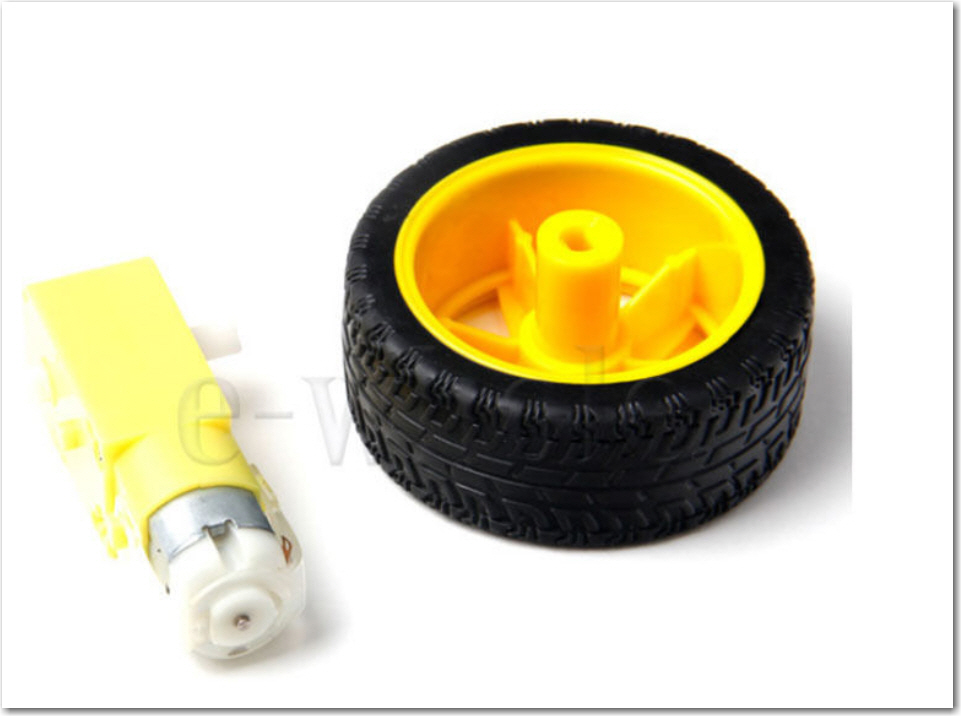
original 56mm wheel and companion motor
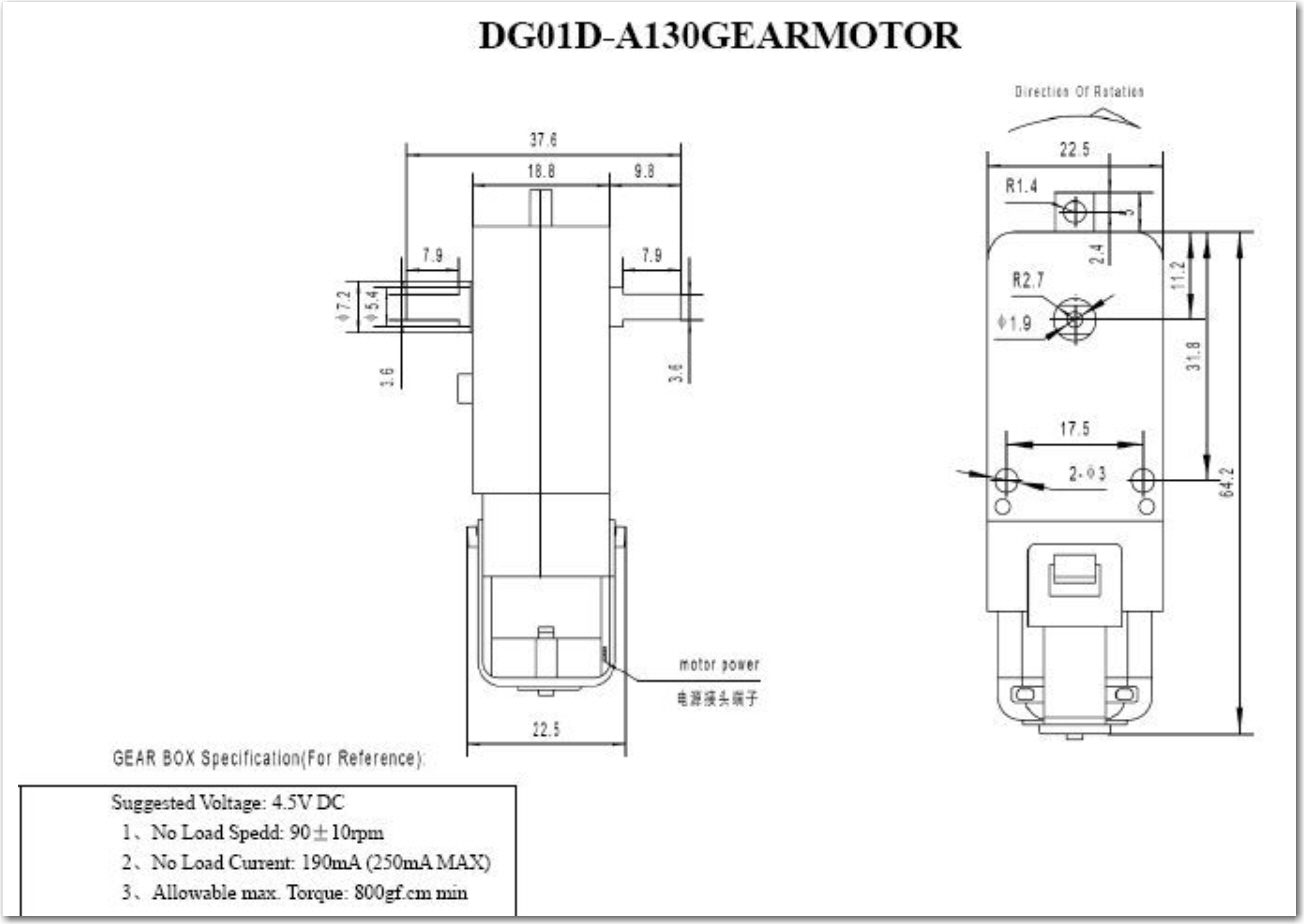
Ebay ‘Arduino Robot’ motor dimensions
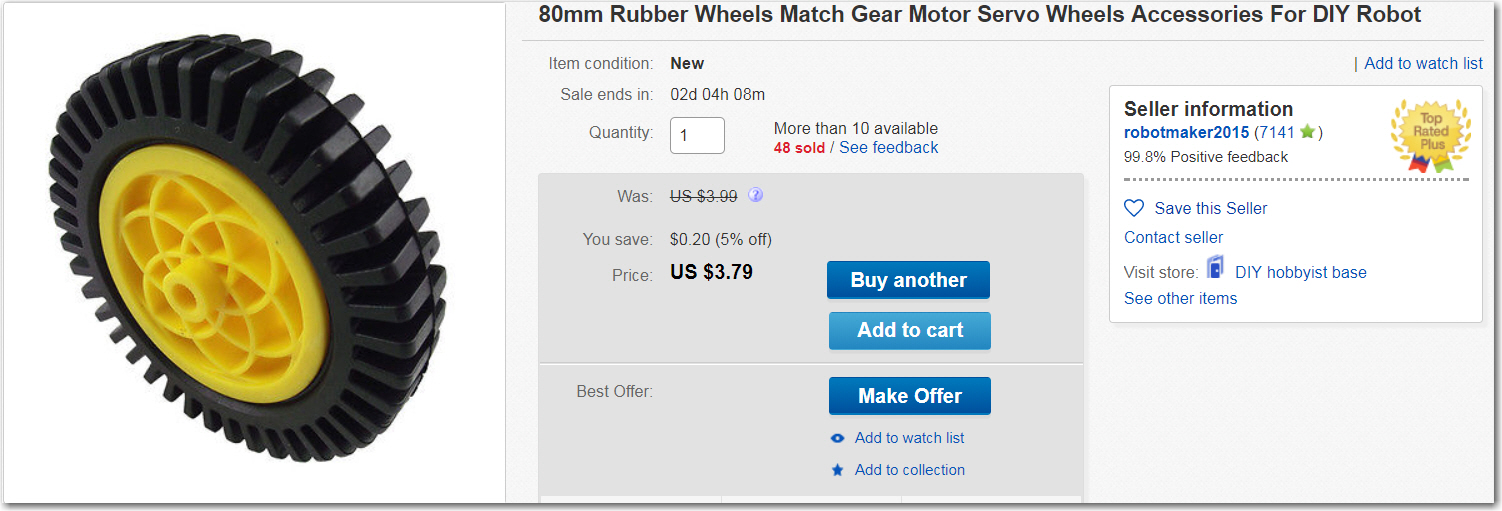
80mm wheel
After some troubleshooting, I discovered that the new 80mm wheels have a shaft receptacle that measures 5.9mm long and 3.6mm wide, while the motor shafts are 5.4mm long and 3.5mm wide. The width is OK, but the longer length is causing the problem.
After thinking (and cursing) a bit, I decided to try printing an adaptor. The larger diameter wheels are also considerably thinner (20mm or so vs 30mm), so there should be room for an adaptor part, as shown below
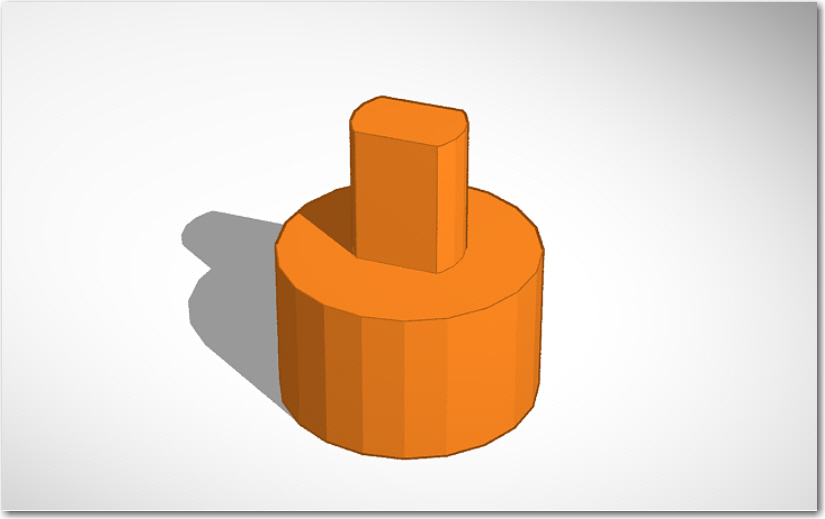
shaft adaptor for 80mm wheel
And threw it on my PowerSpec 3D PRO (Flashforge Creator Pro knockoff). After just a little fiddling, I got some nice parts, and thought I was done. A couple of days later, I noticed one of the parts was just a little loose on its shaft, so I said to myself – “I’ll just print off another one”. Unfortunately, what came off the printer was really ugly, and completely unusable, even though that same printer had produced nice parts just a few days ago – WTF!? Clearly I had forgotten what magic I had wrought the first time, so now I had to go back and recreate it – bummer. As part of my penance for this crime, I am writing this post so the next time I want to do this, I’ll have the print settings recorded.
Print Settings for ABS
The significant factors in how to get good prints with ABS on this printer appear to be
- Print speed
- Extrusion factor
The first thing I did was slow the print speed down, but this had only a minor effect on print quality. Going slower helped, but even very slow speeds (like 10mm/sec) didn’t result in clean edges on the male part of the adapter. However, the female portion was very clean, which left me a bit puzzled – why one part but not the other? I finally realized that the difference was that the female piece was perfect because the hole perimeter was the first thing laid down at each slice, then the outside perimeter, and finally the fill material was added last. This meant that the hole perimeter had a chance to cool and solidify before the fill material impinged on its outer surface, and this meant that the perimeter stayed in the same shape as originally laid down. When printing the male part, however, the outer perimeter was laid down first, and then the fill material was immediately added, before the outer perimeter had a chance to cool and solidify, even at the slower speeds. The material making up the fill was pushing the outer perimeter out of shape.
This led me to focus on the extrusion factor. Reducing the extrusion factor from 1.00 to 0.95 had a significant positive impact on the print quality of the male portion of the adaptor. Reducing it again to 0.90 resulted in an even better print, as did a further reduction to 0.85. However, at the 0.85 value, I started to see some degradation in the quality of the female portion, so I backed off to 0.90 as the final value. The following image shows the last seven prints. All were printed at either 20mm/sec or 10mm/sec, and the last three on the right were printed with 10mm/sec and extrusion factors of 0.95, 0.90, and 0.85 respectively.
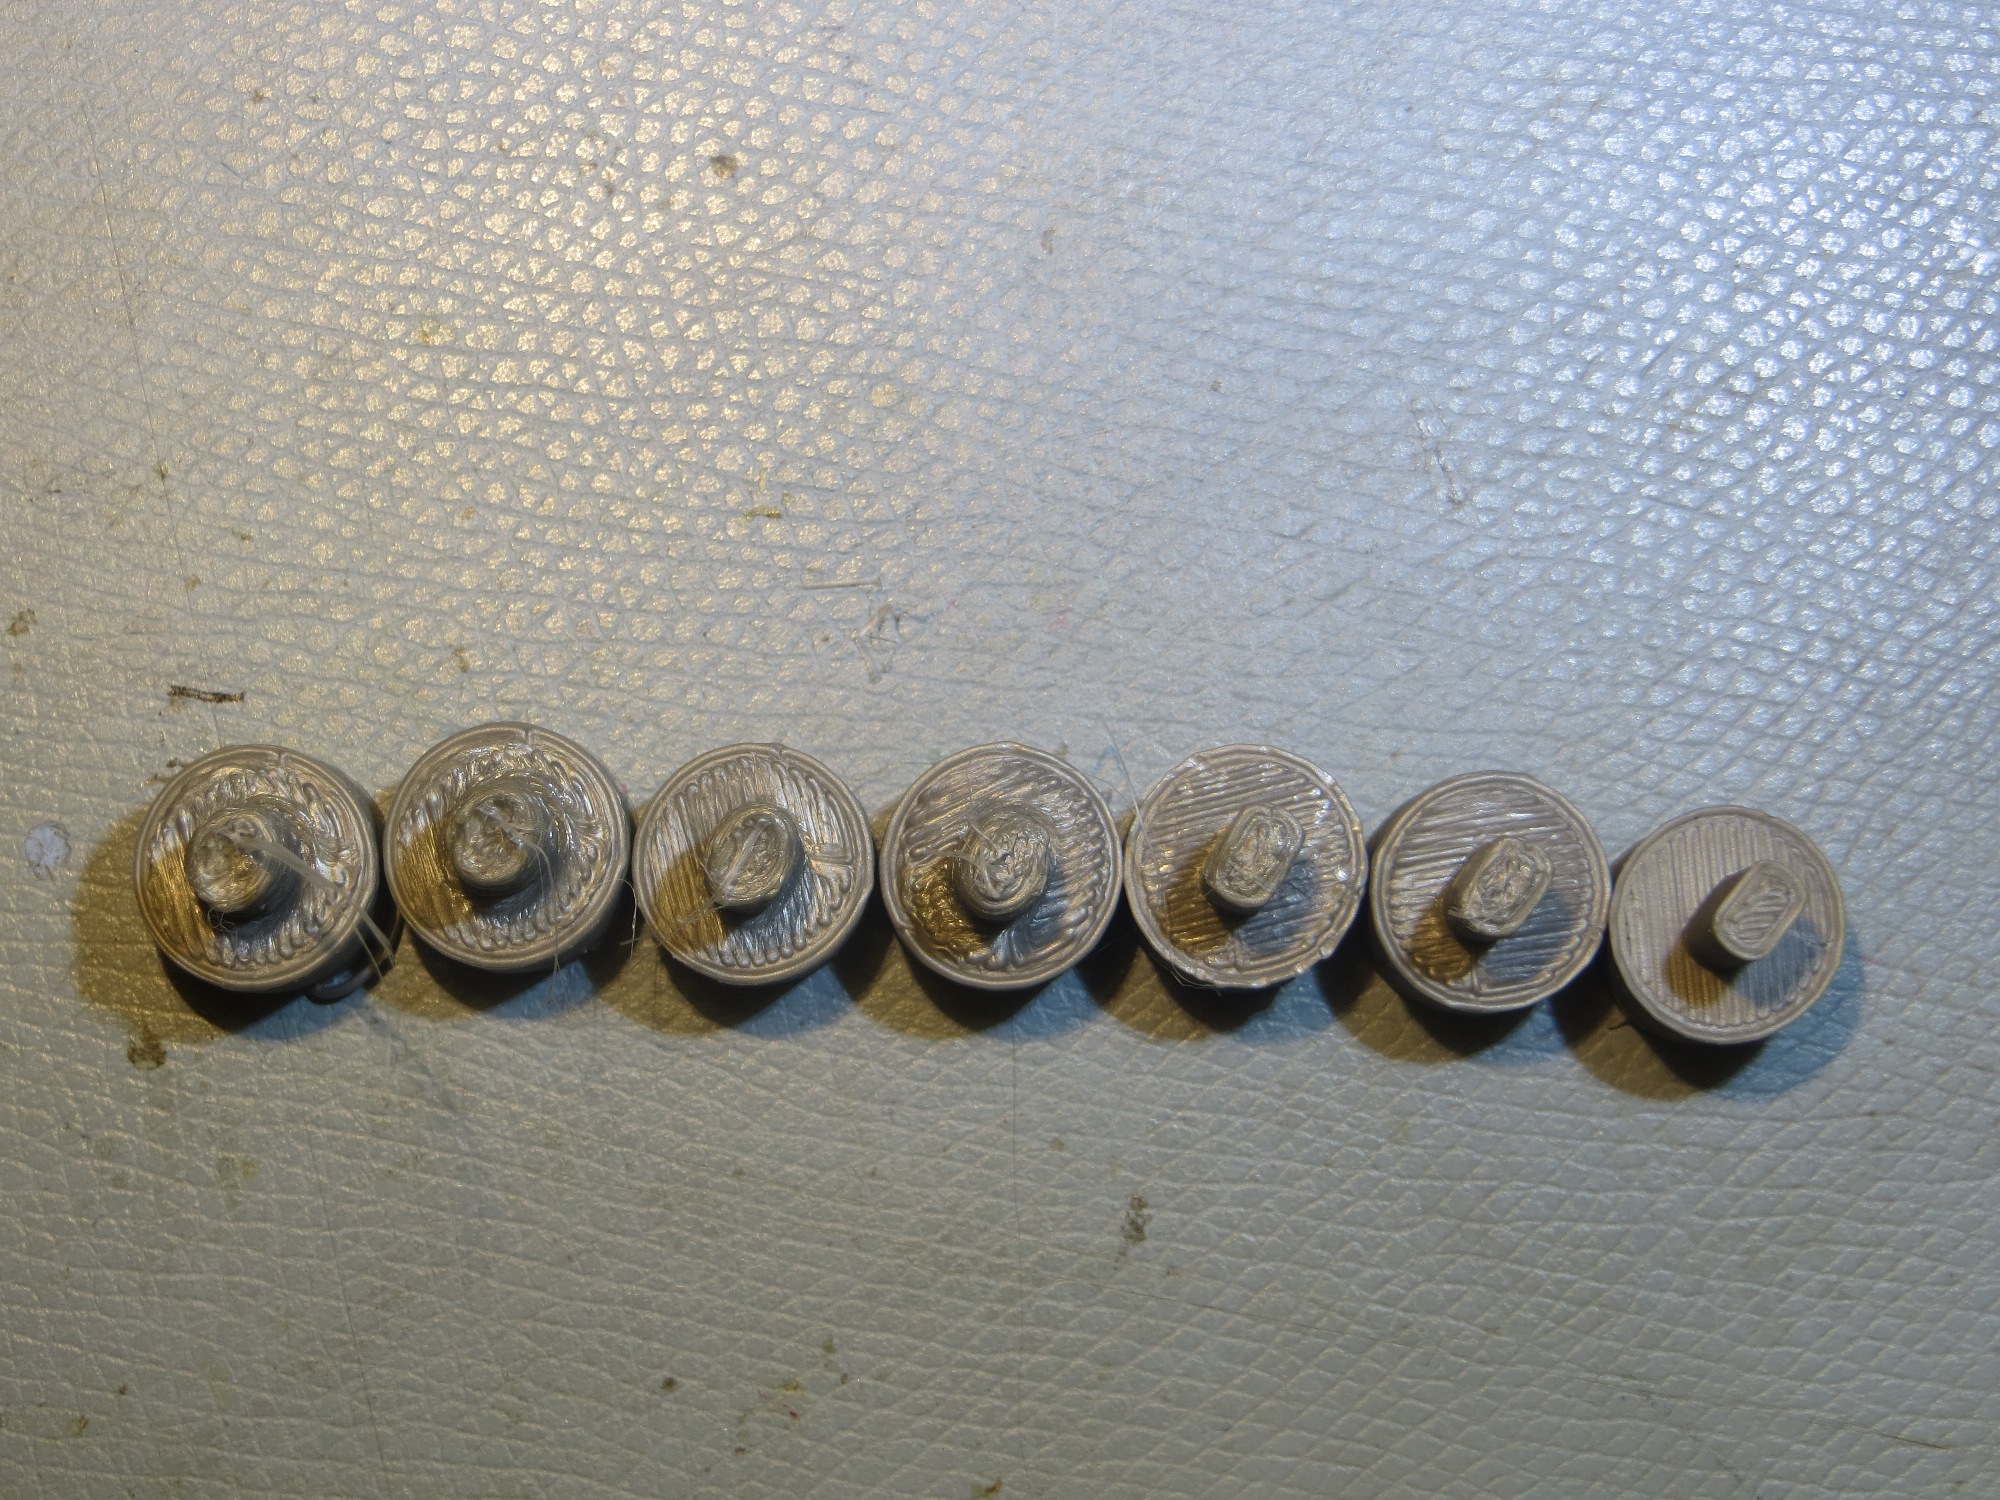
The last seven prints. the last three on the right were printed at 10mm/sec and with extrusion factors of 0.95, 0.90, and 0.85 respectively
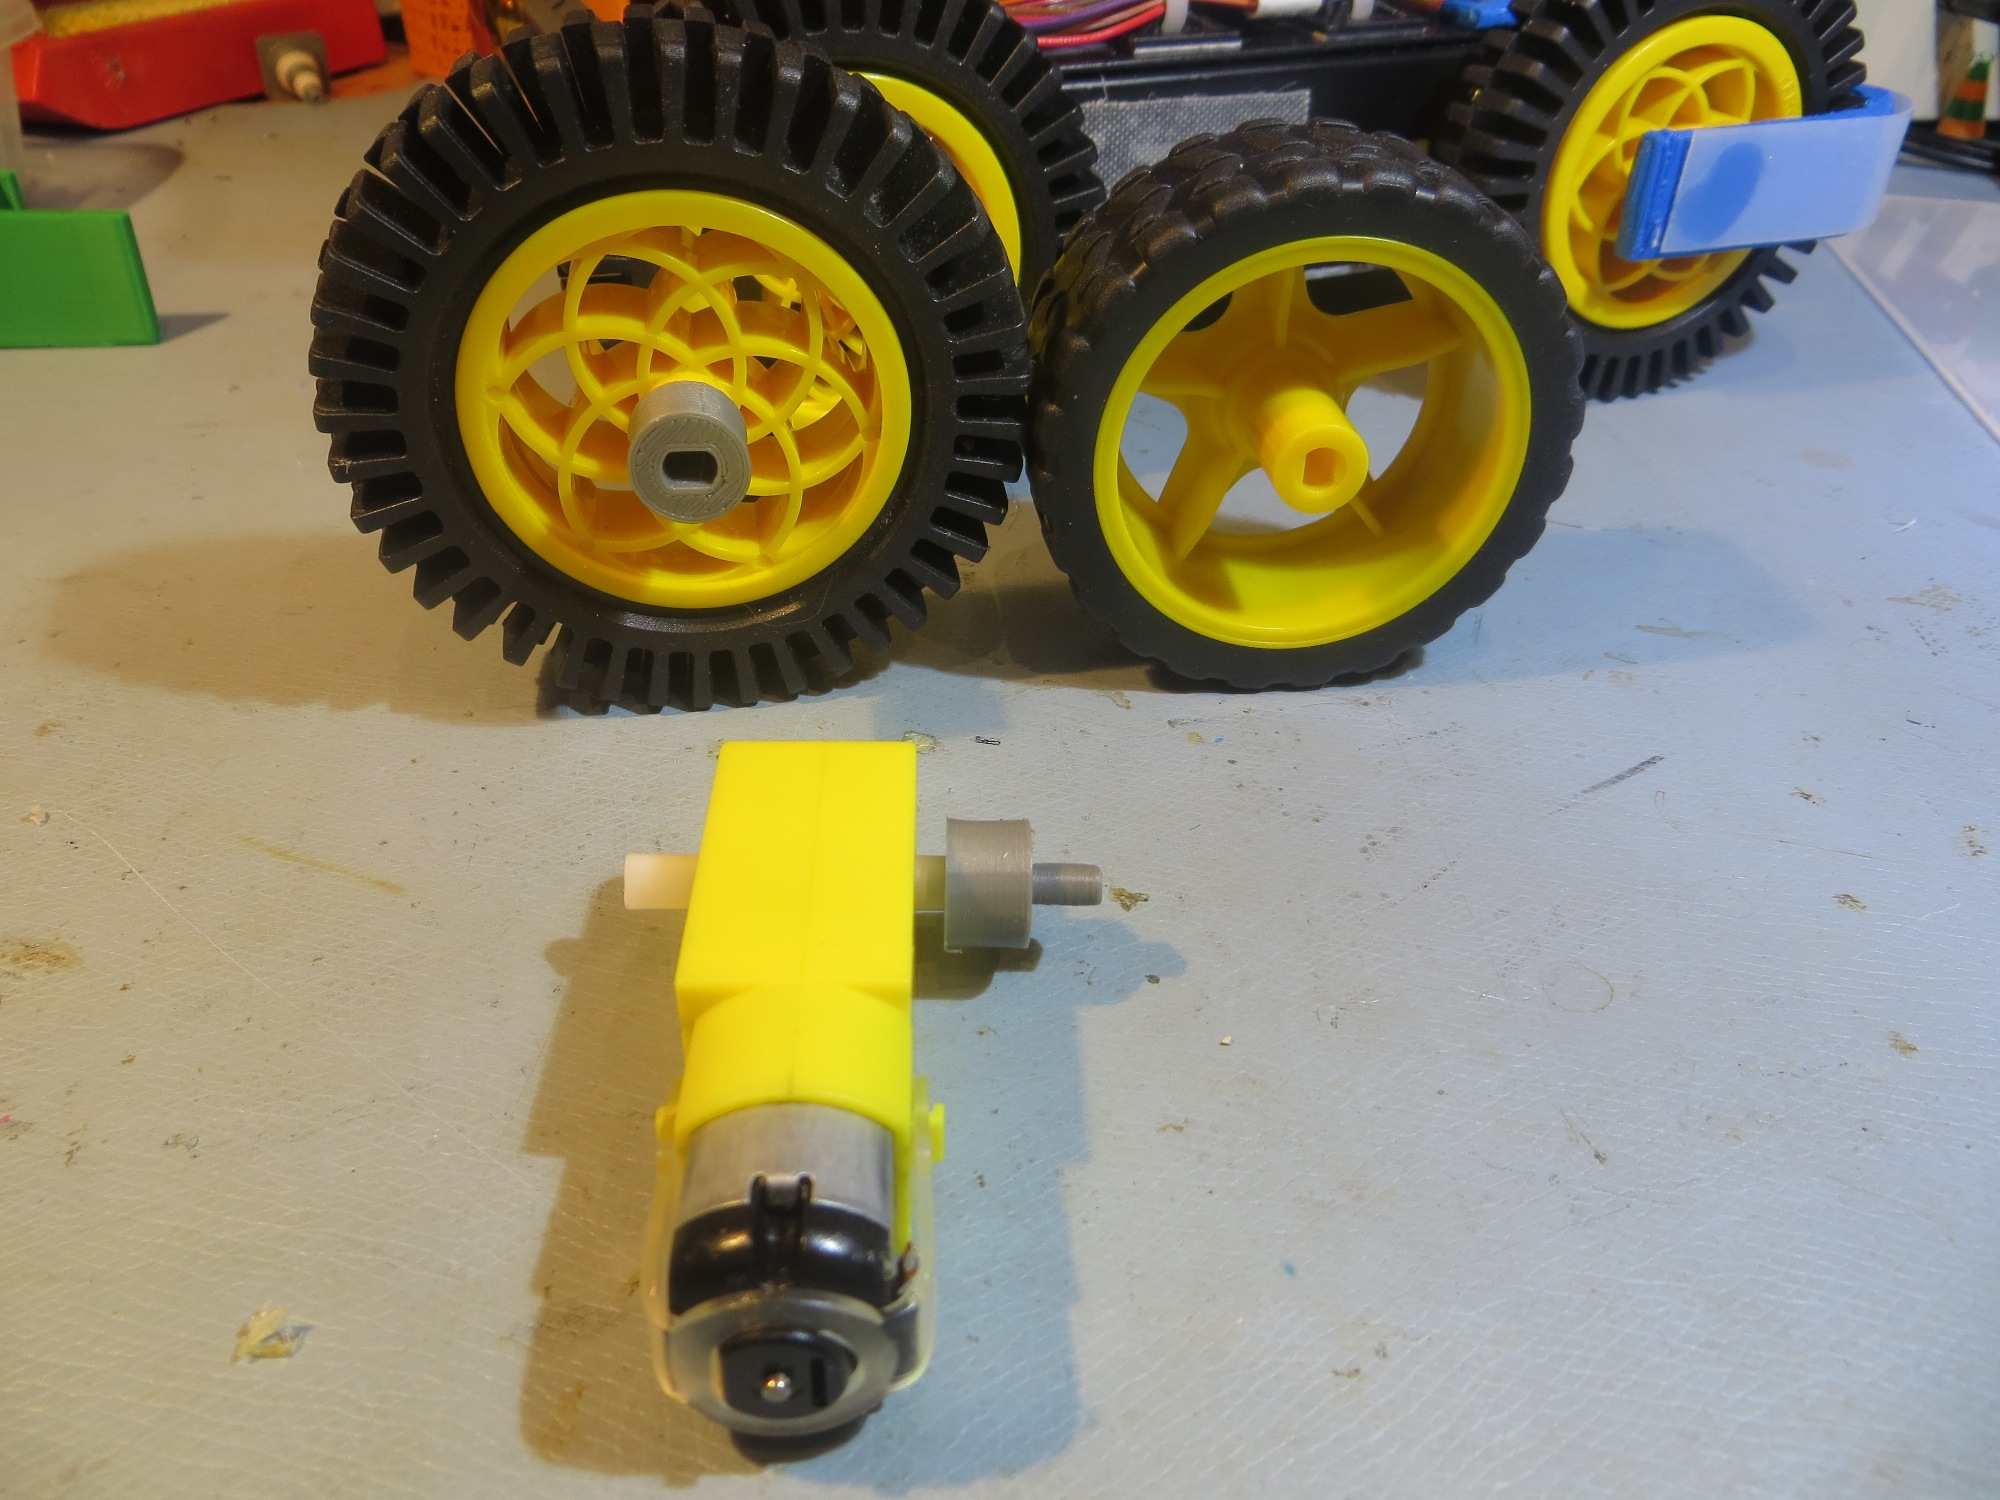
Original and new wheels, with completed adaptor shown
Bottom Line (PowerSpec 3D Pro, Simplify3D):
- Material: Gray ABS
- Extruder temp: 230 (not critical 220-240 should be OK)
- Bed temp: 110 (not critical, 100 should do too)
- Speed: 20 or 10mm/sec (maybe faster would be OK, but not much)
- Extrusion factor: 0.95 or 0.90
Pingback: To a man with a hammer, ... - Paynter's Palace