Posted 06 November 2017
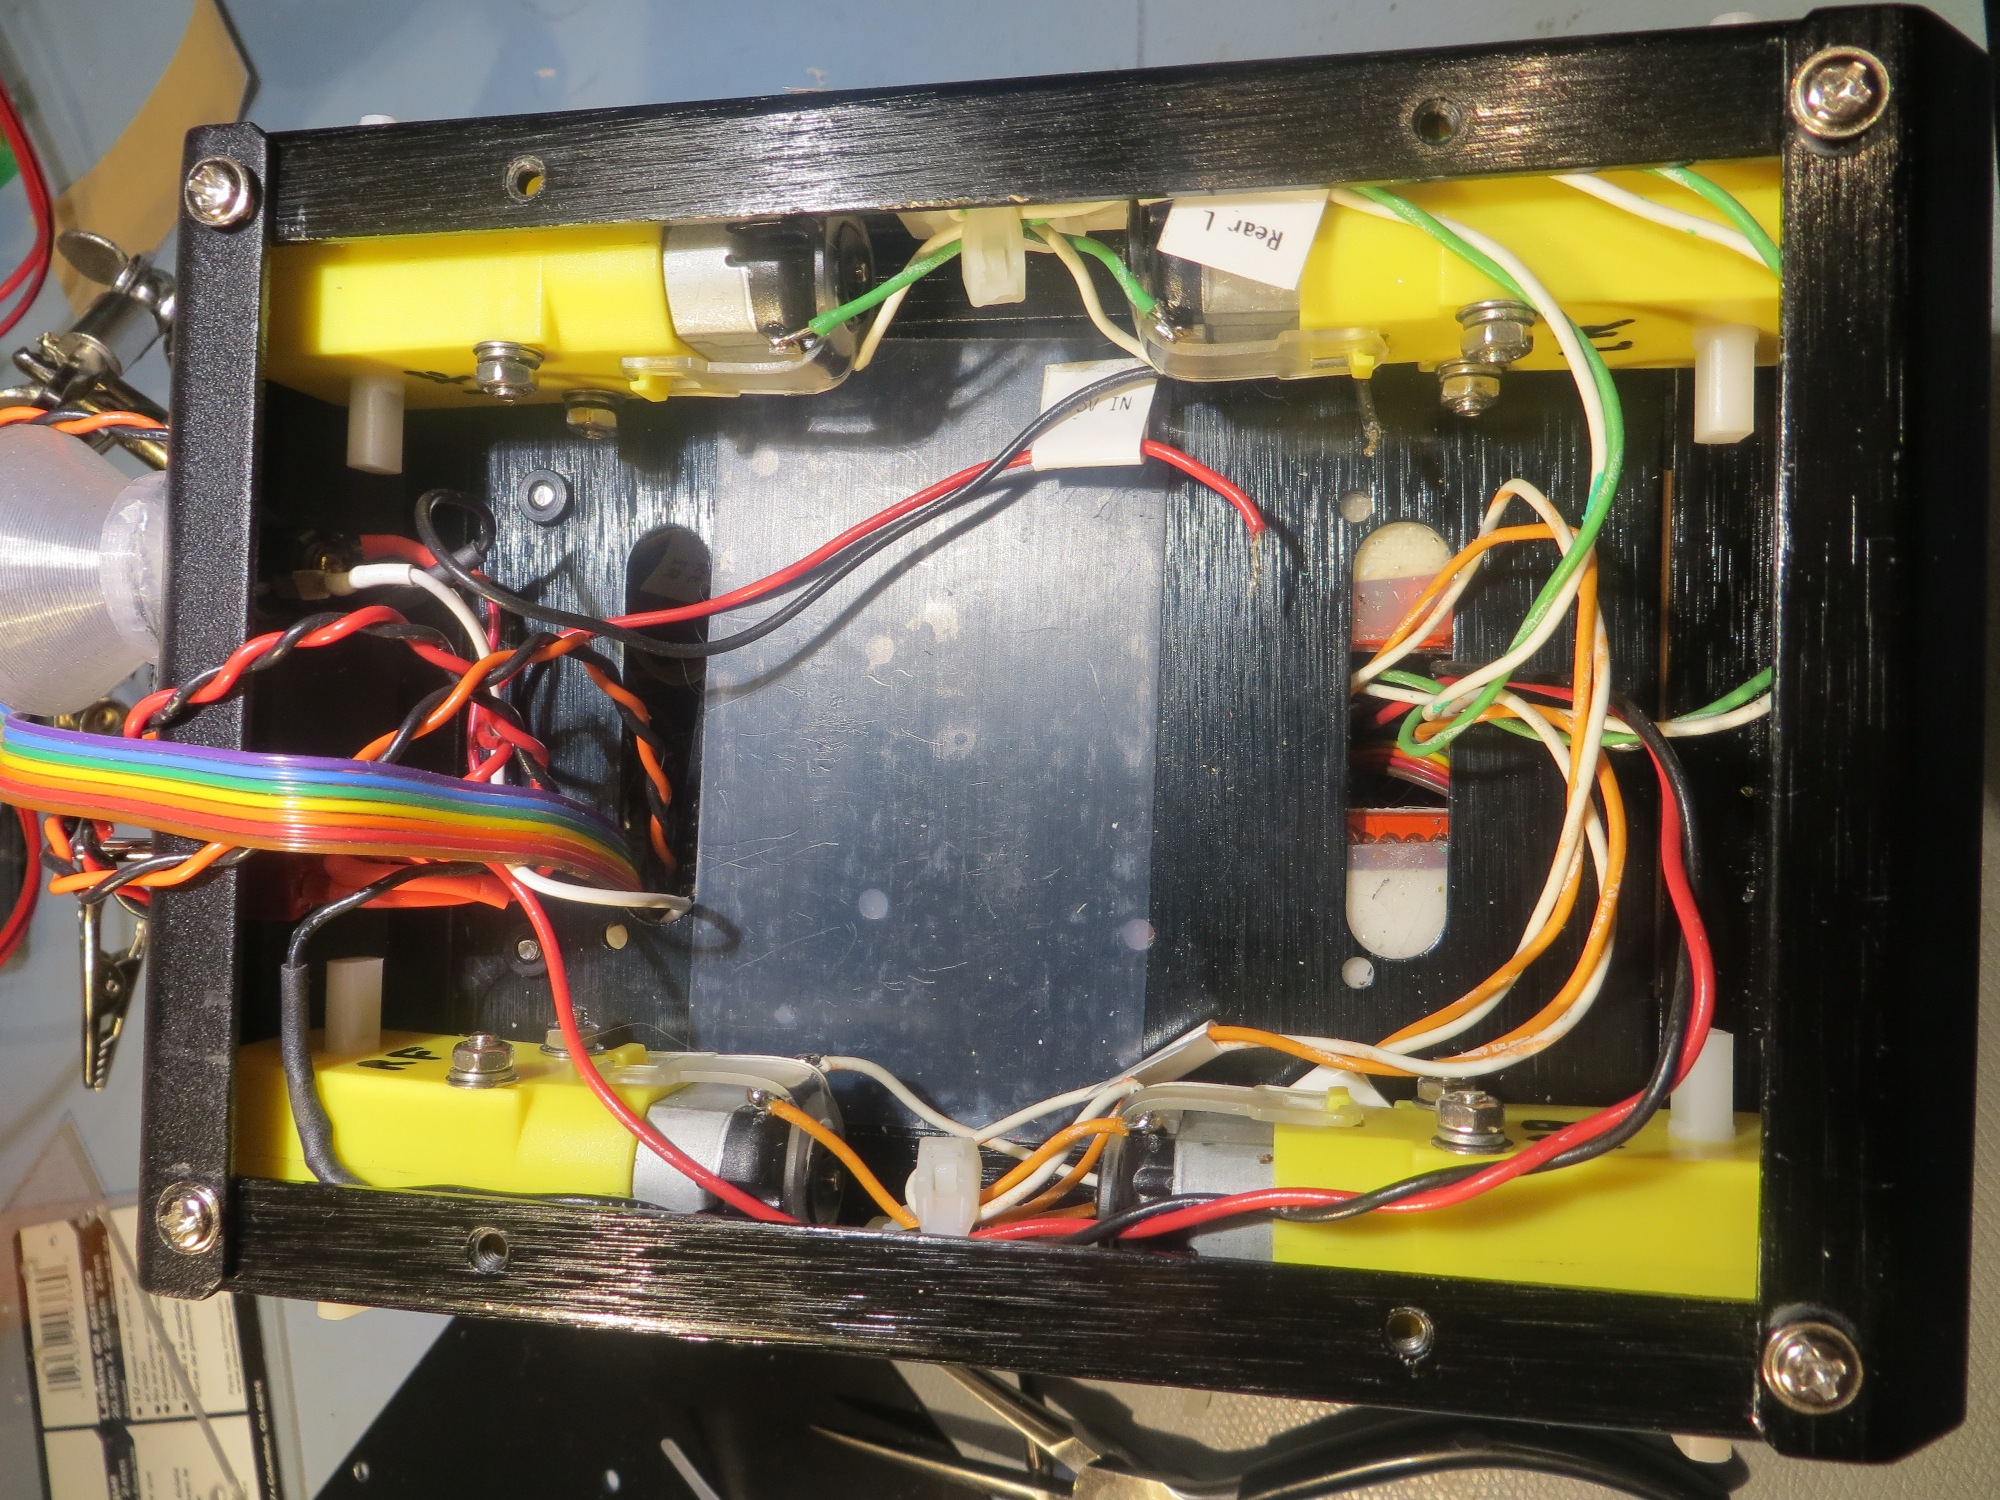
Back in May of this year I came to the conclusion that I was never going to get my new four-cell battery pack (4ea 18650 3600mAH 3.7V LiPo cells connected as 2ea 7400mAH 3.7V stacks) and its companion charger module to comfortably fit into Wall-E2’s current chassis. It all fits, but only with a considerable amount of pushing and shoving which has invariably resulted in damage to something – a connector, a wire, or something else vital.
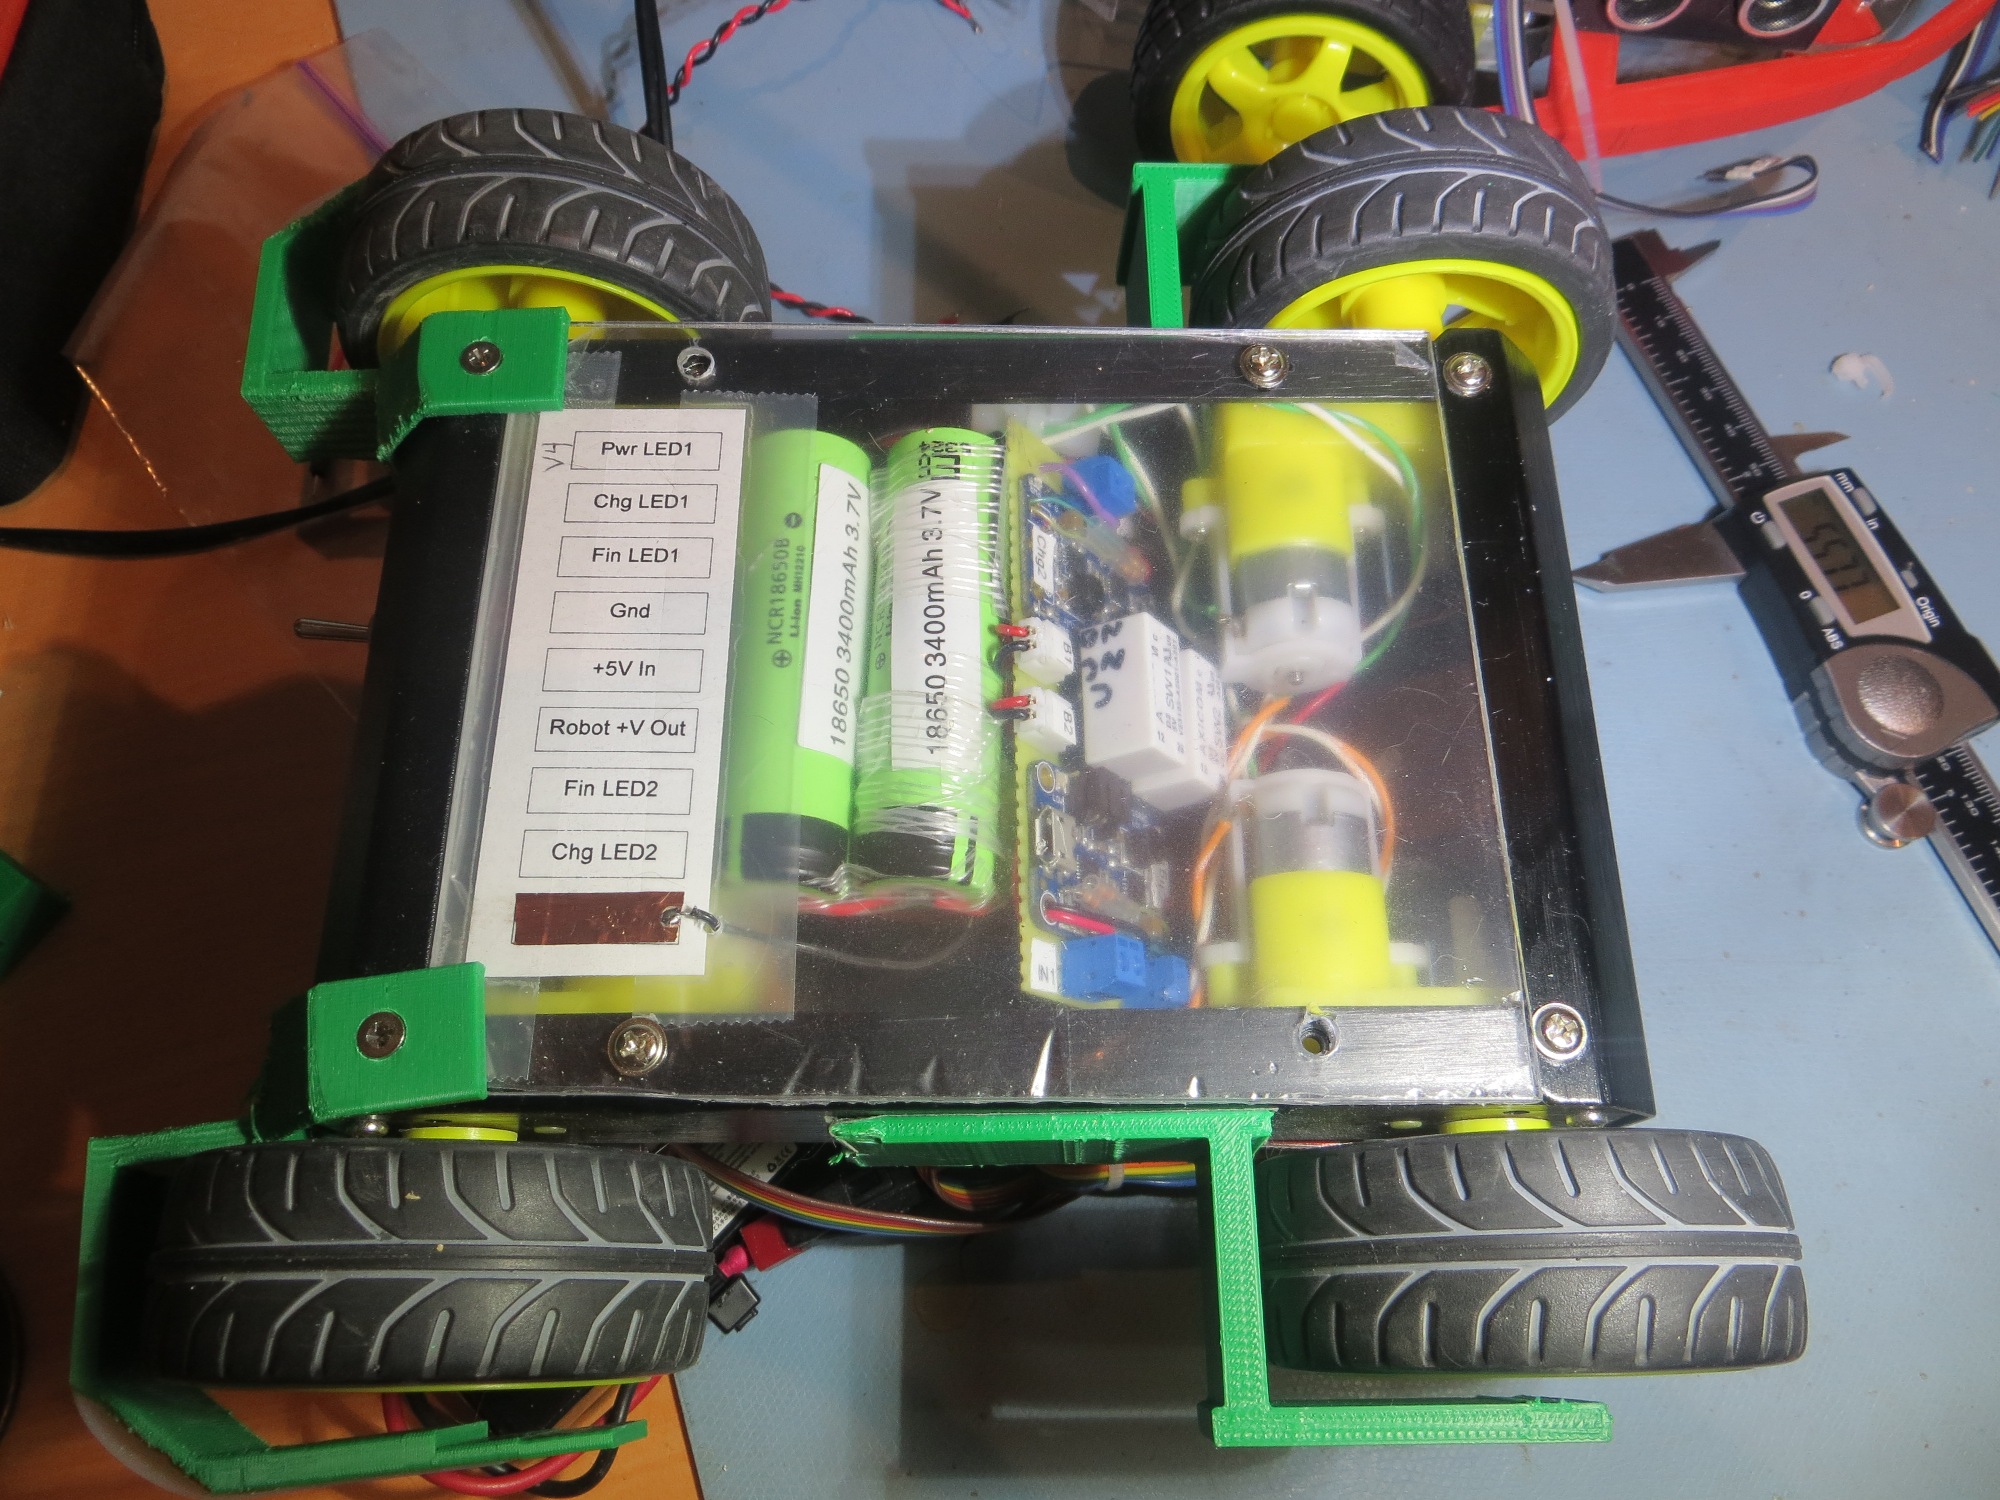
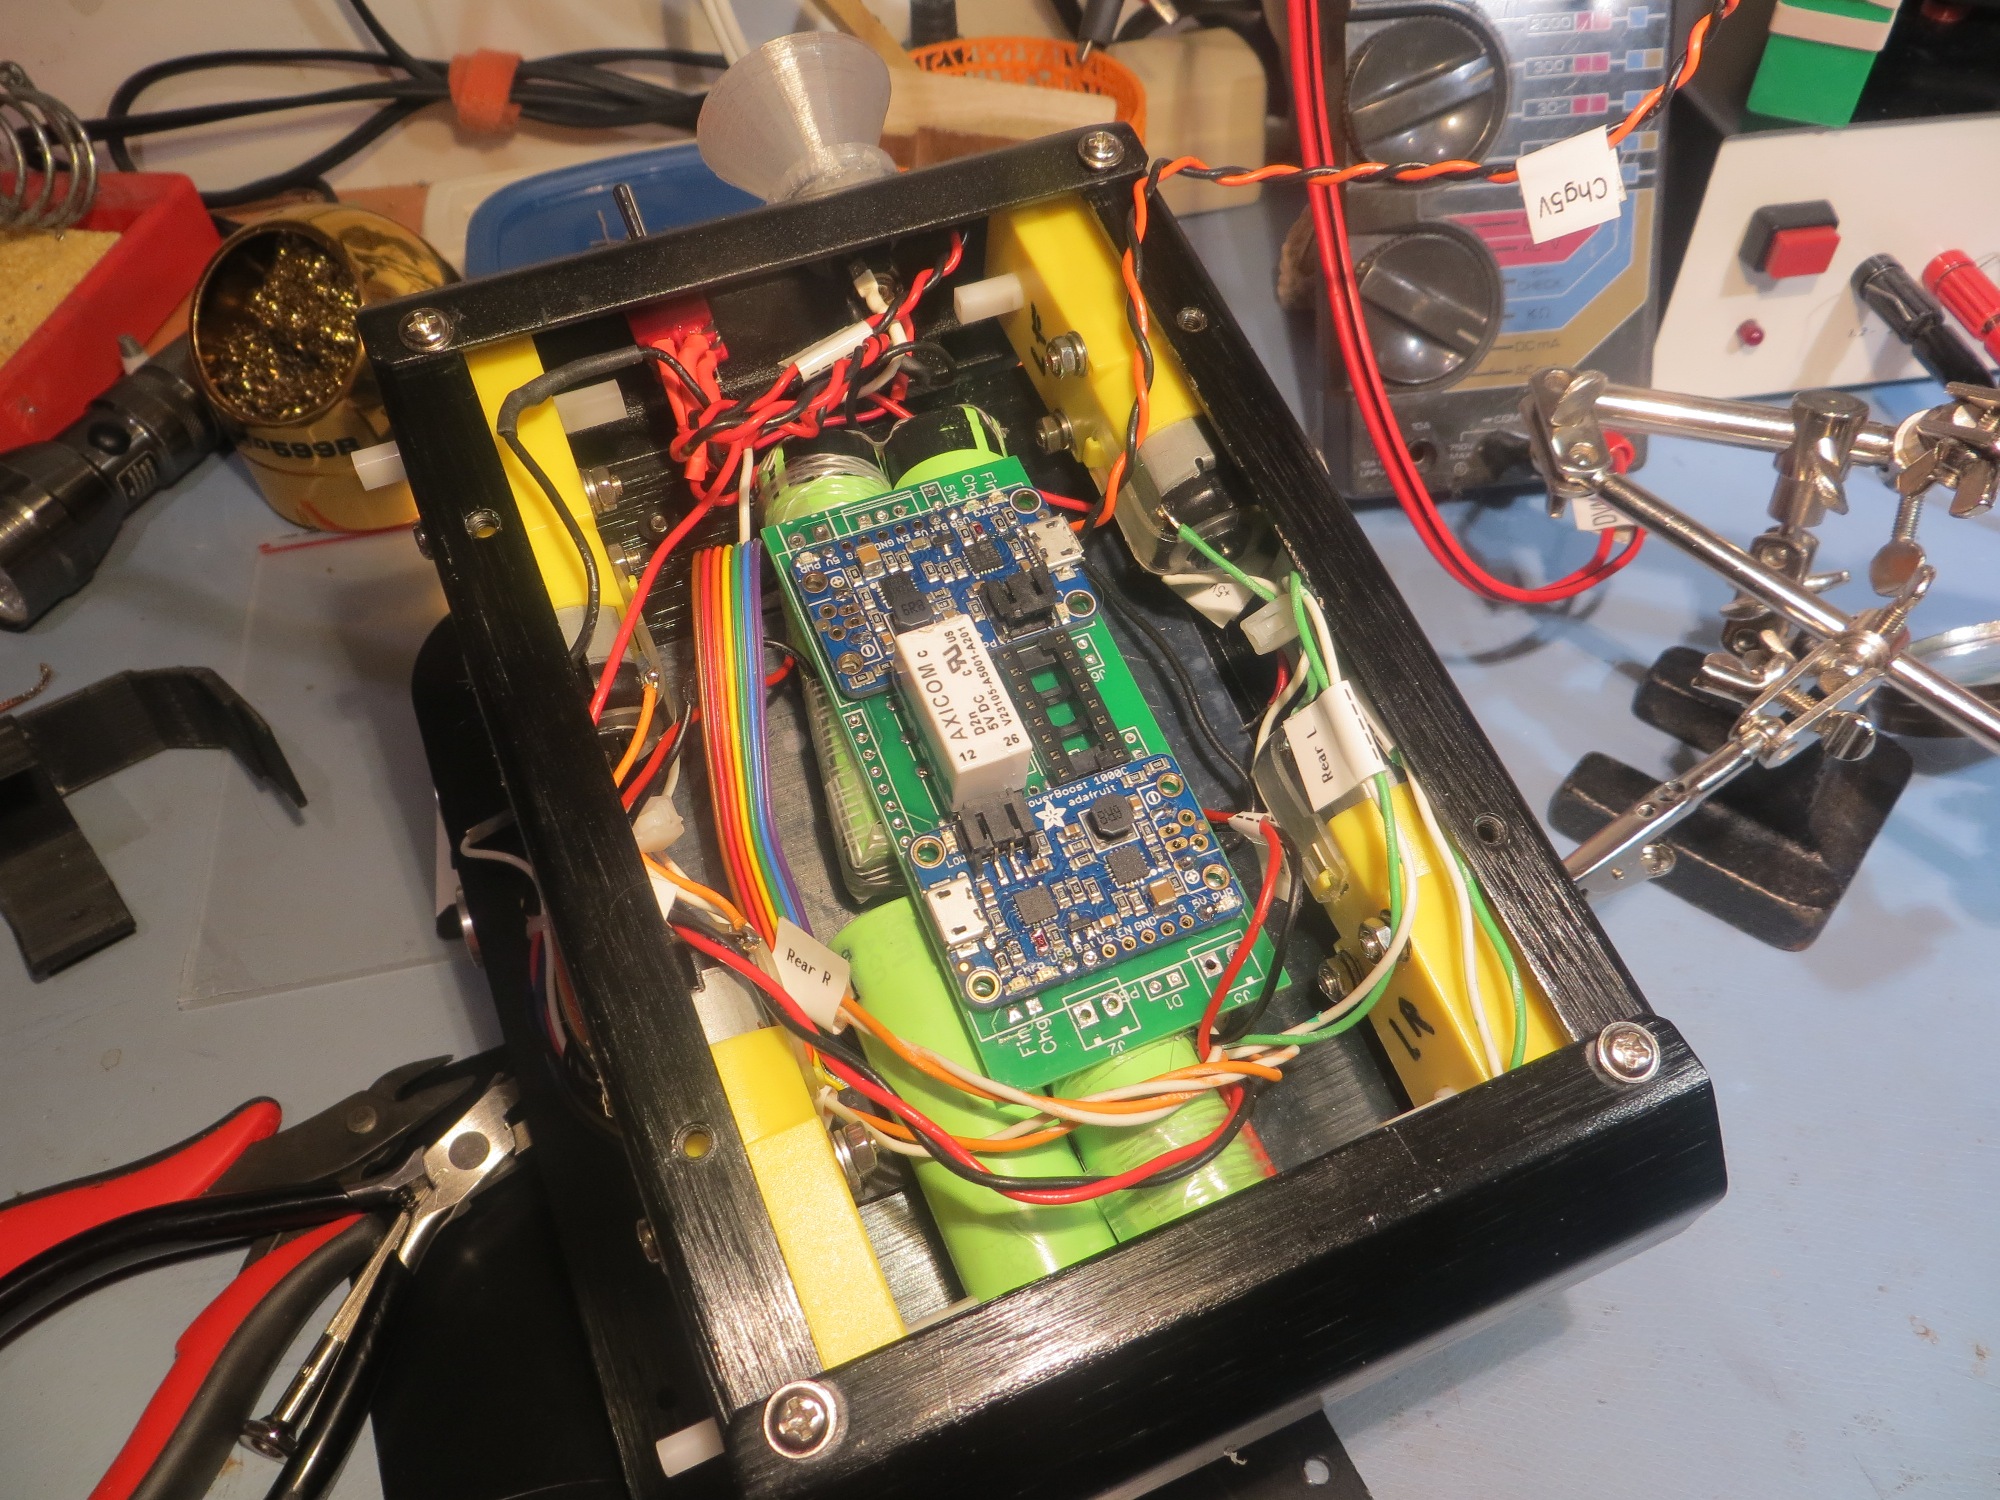
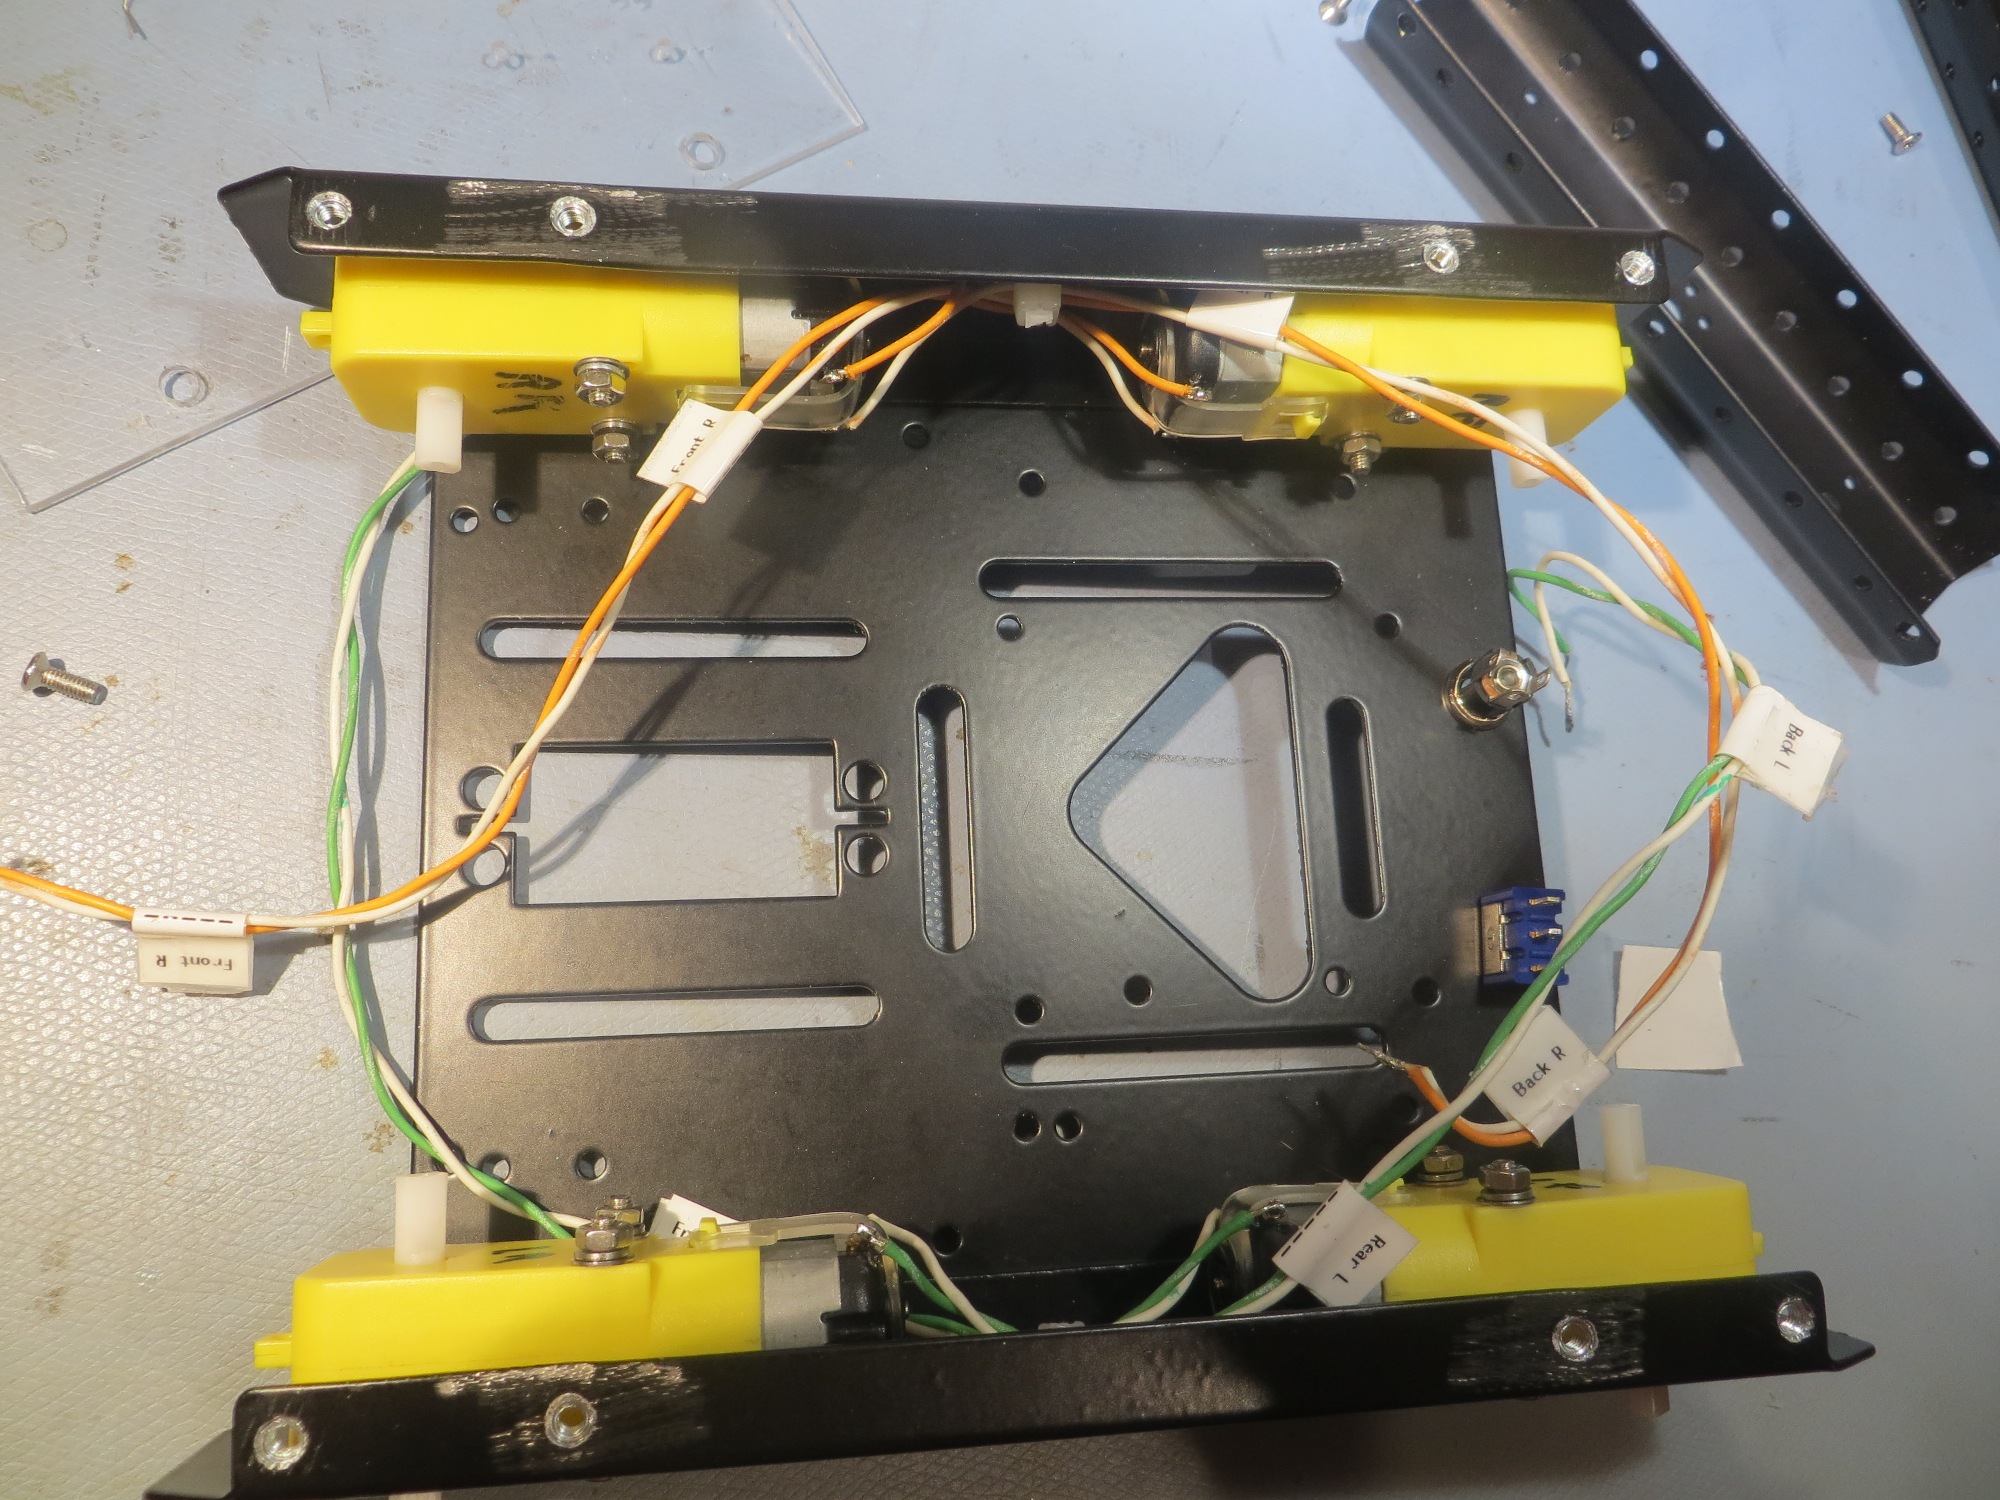
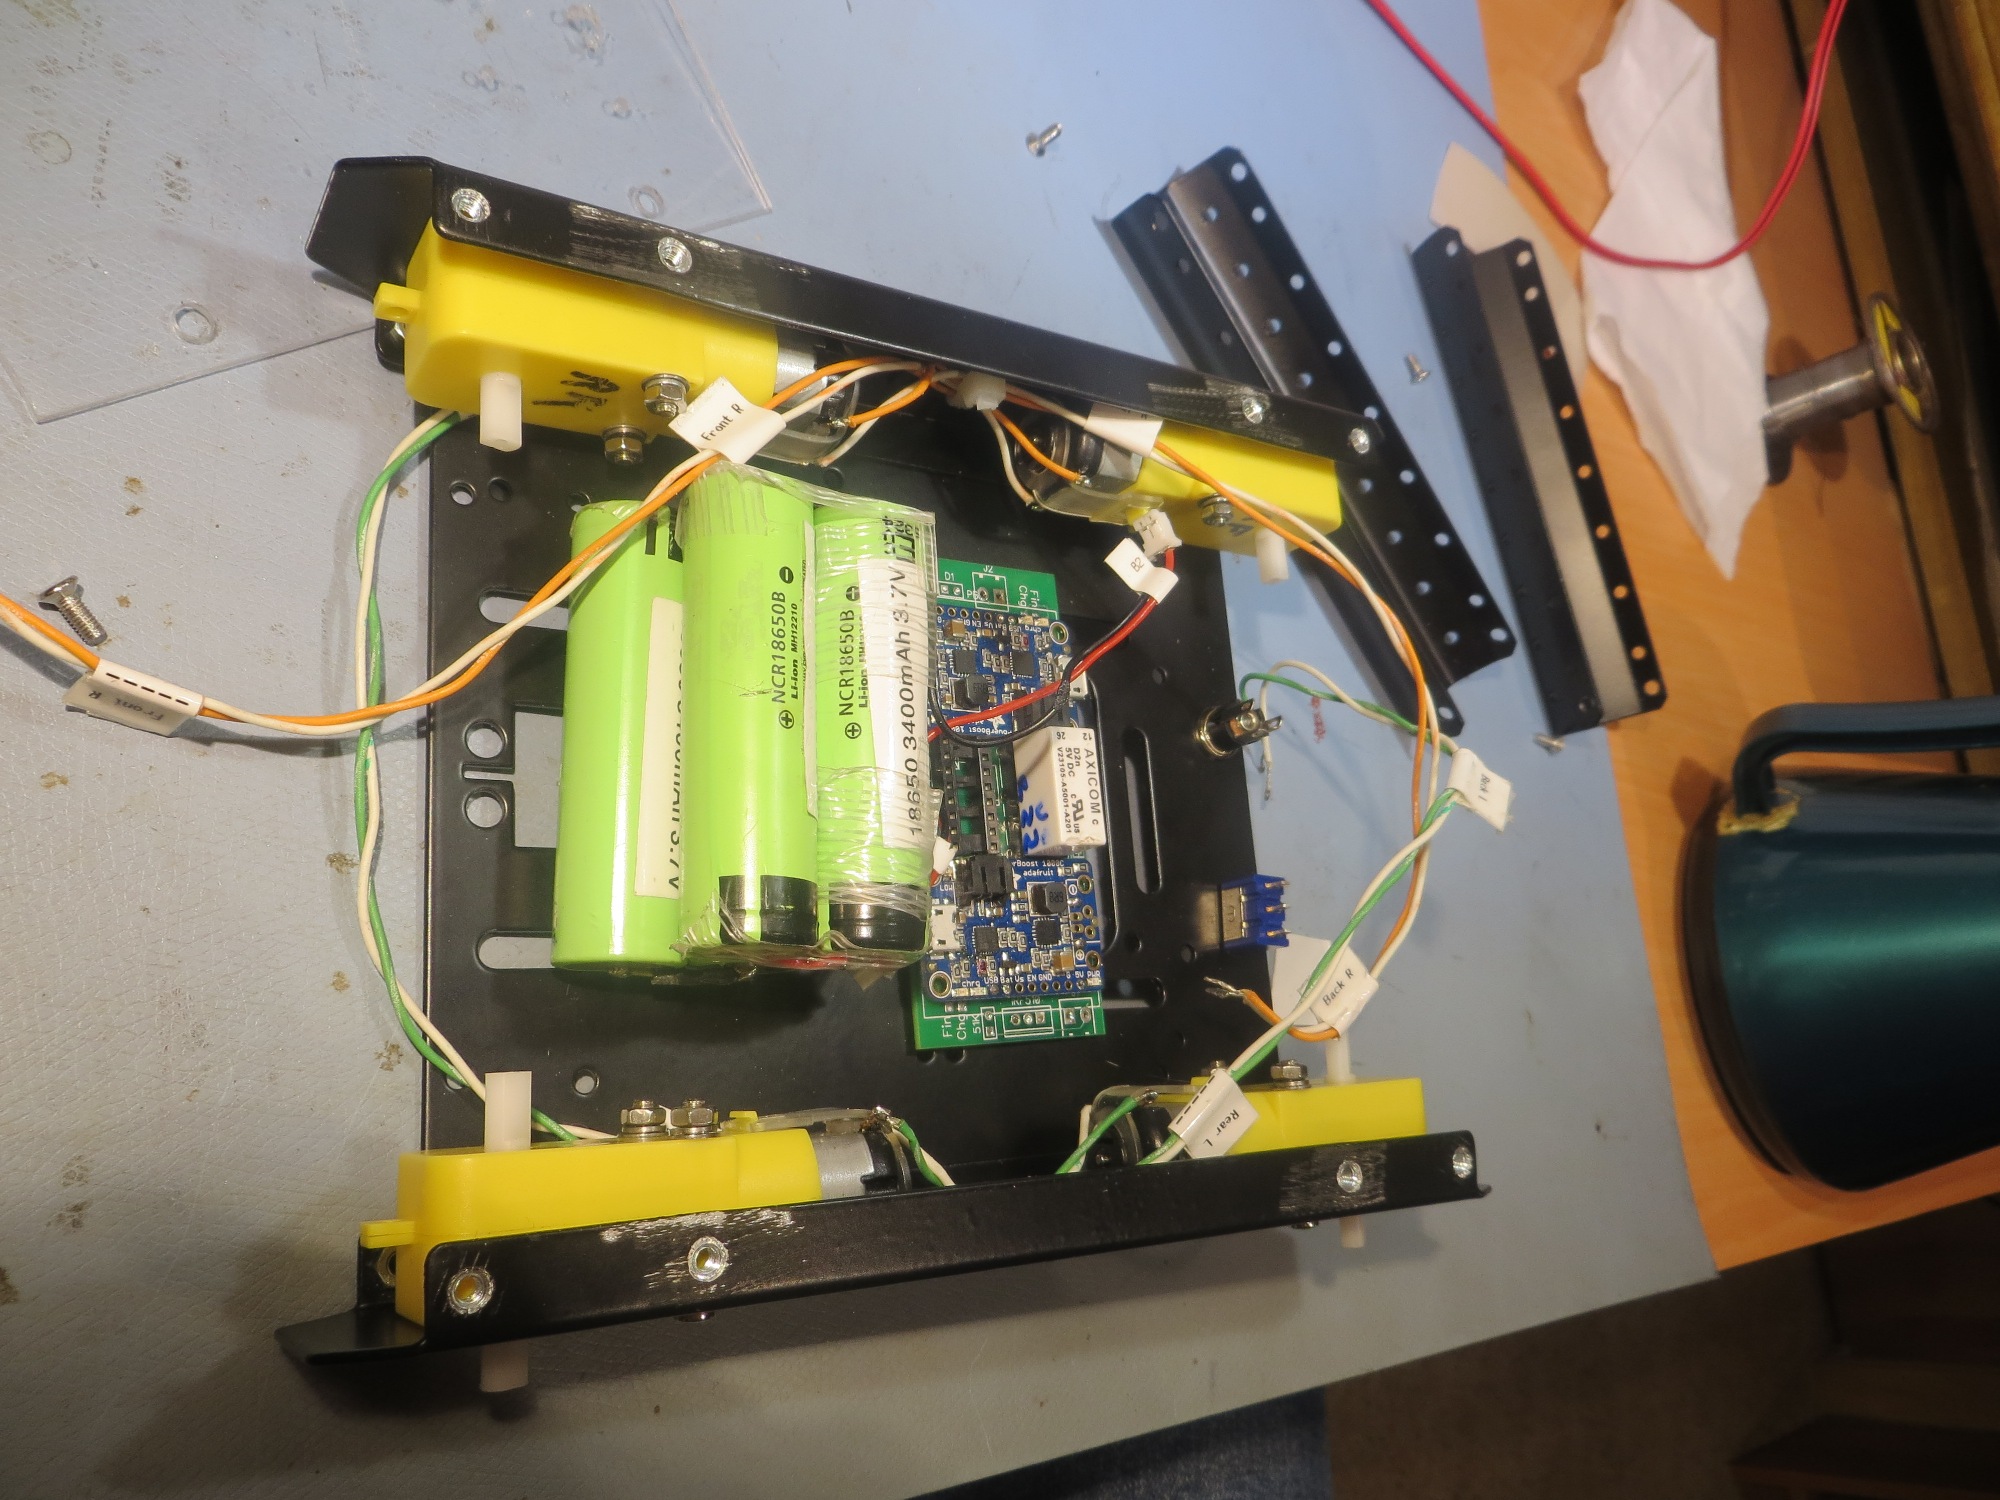
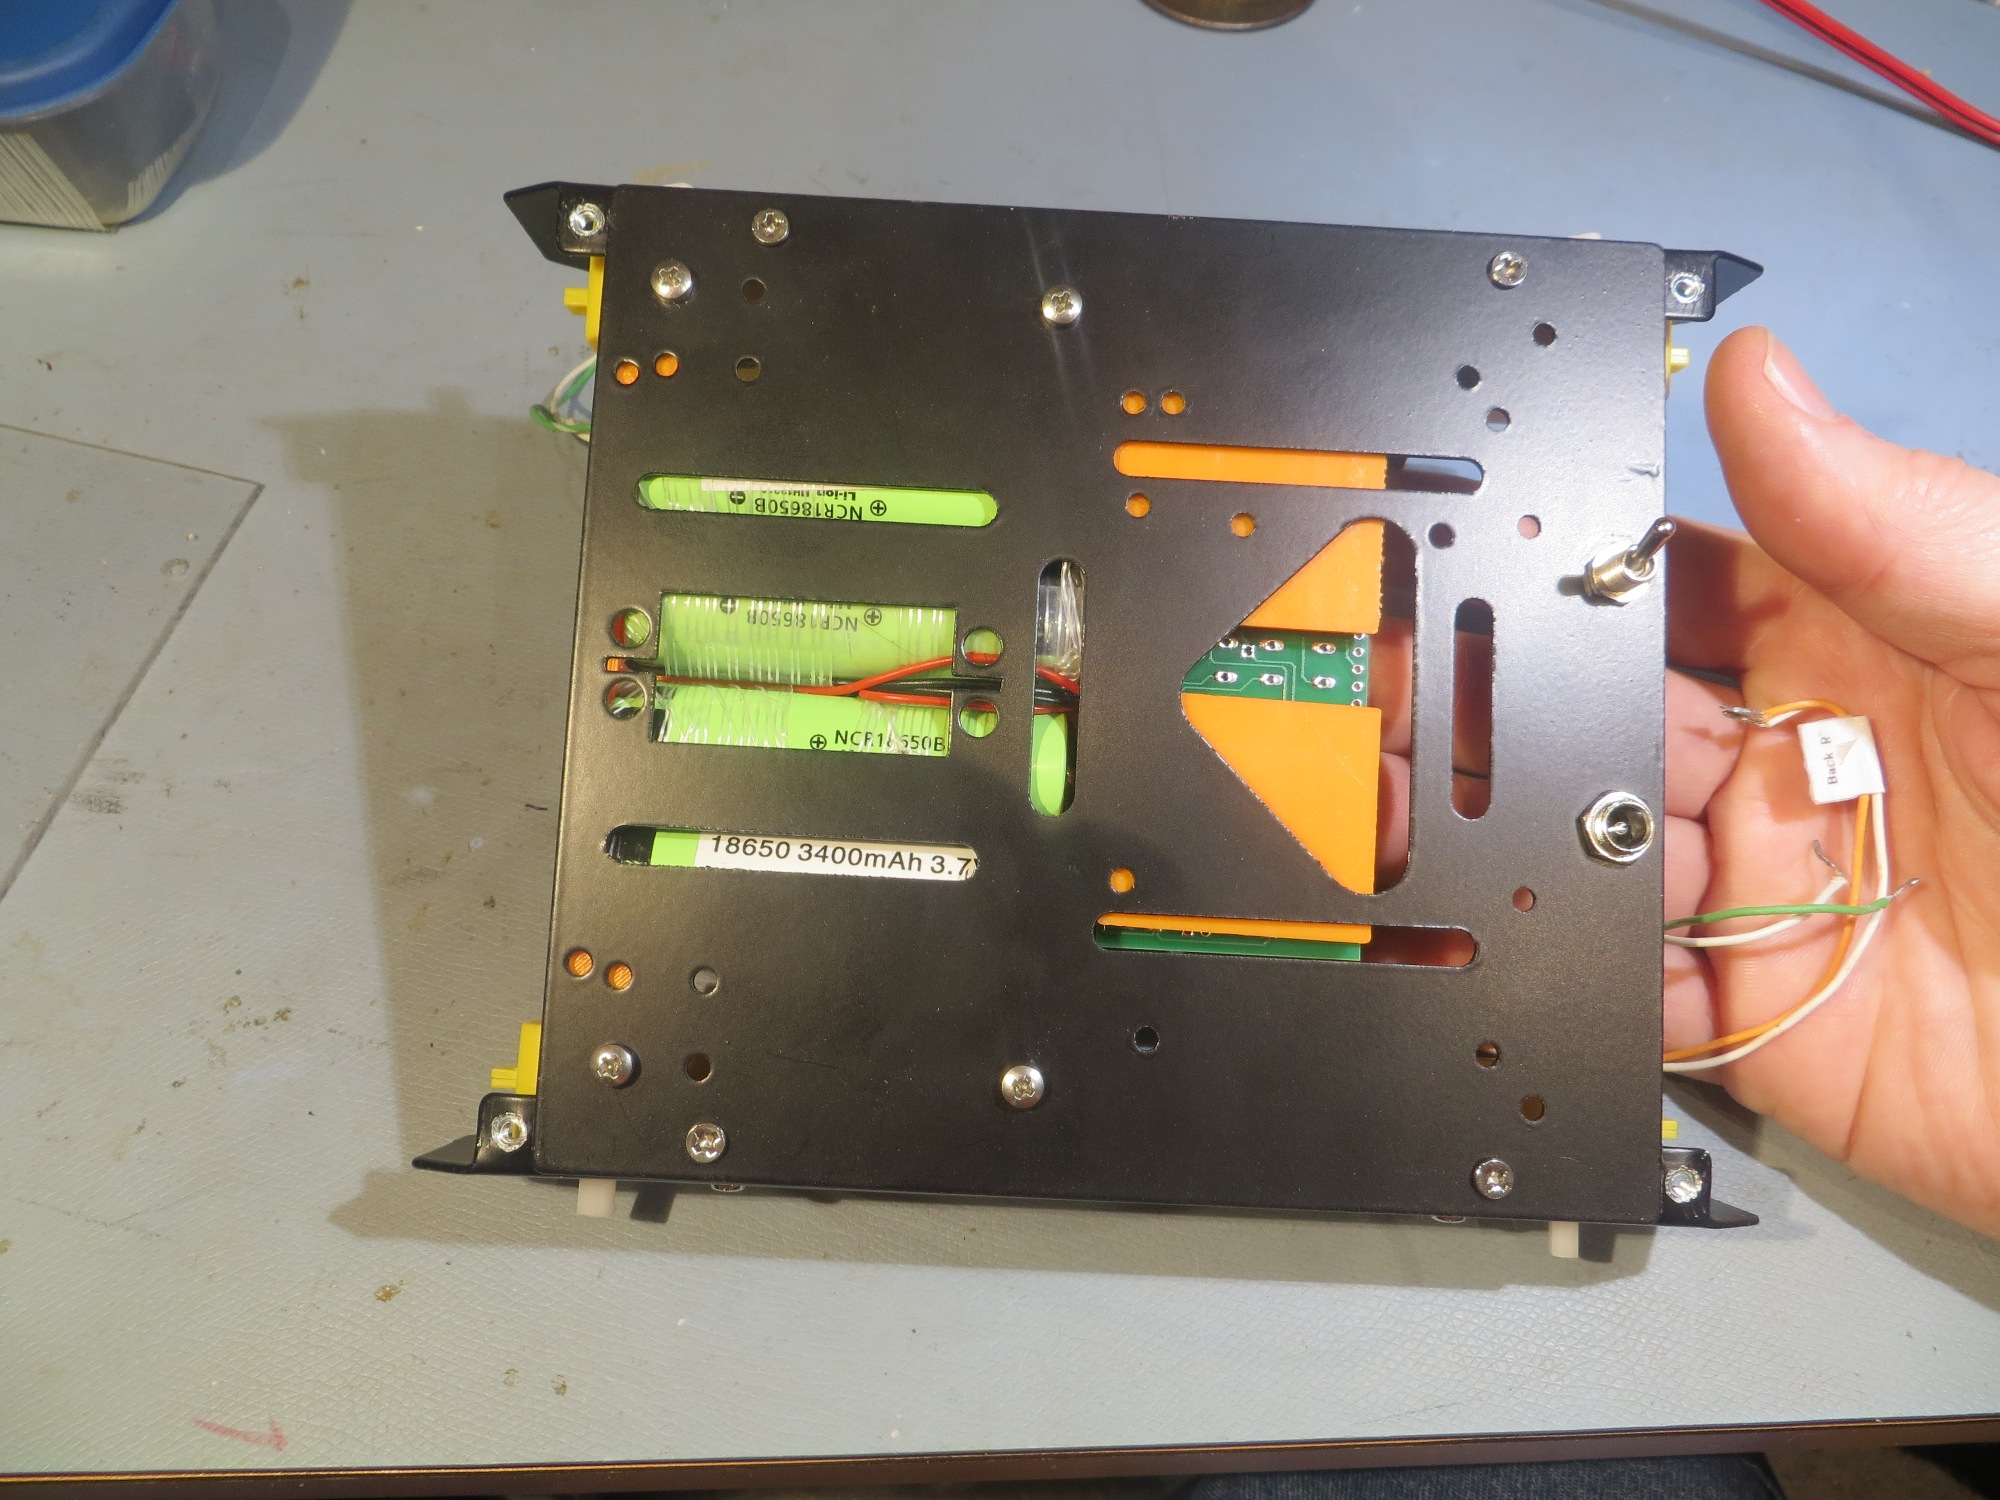
Bottom side view of 4WD robot showing battery packs and charging module

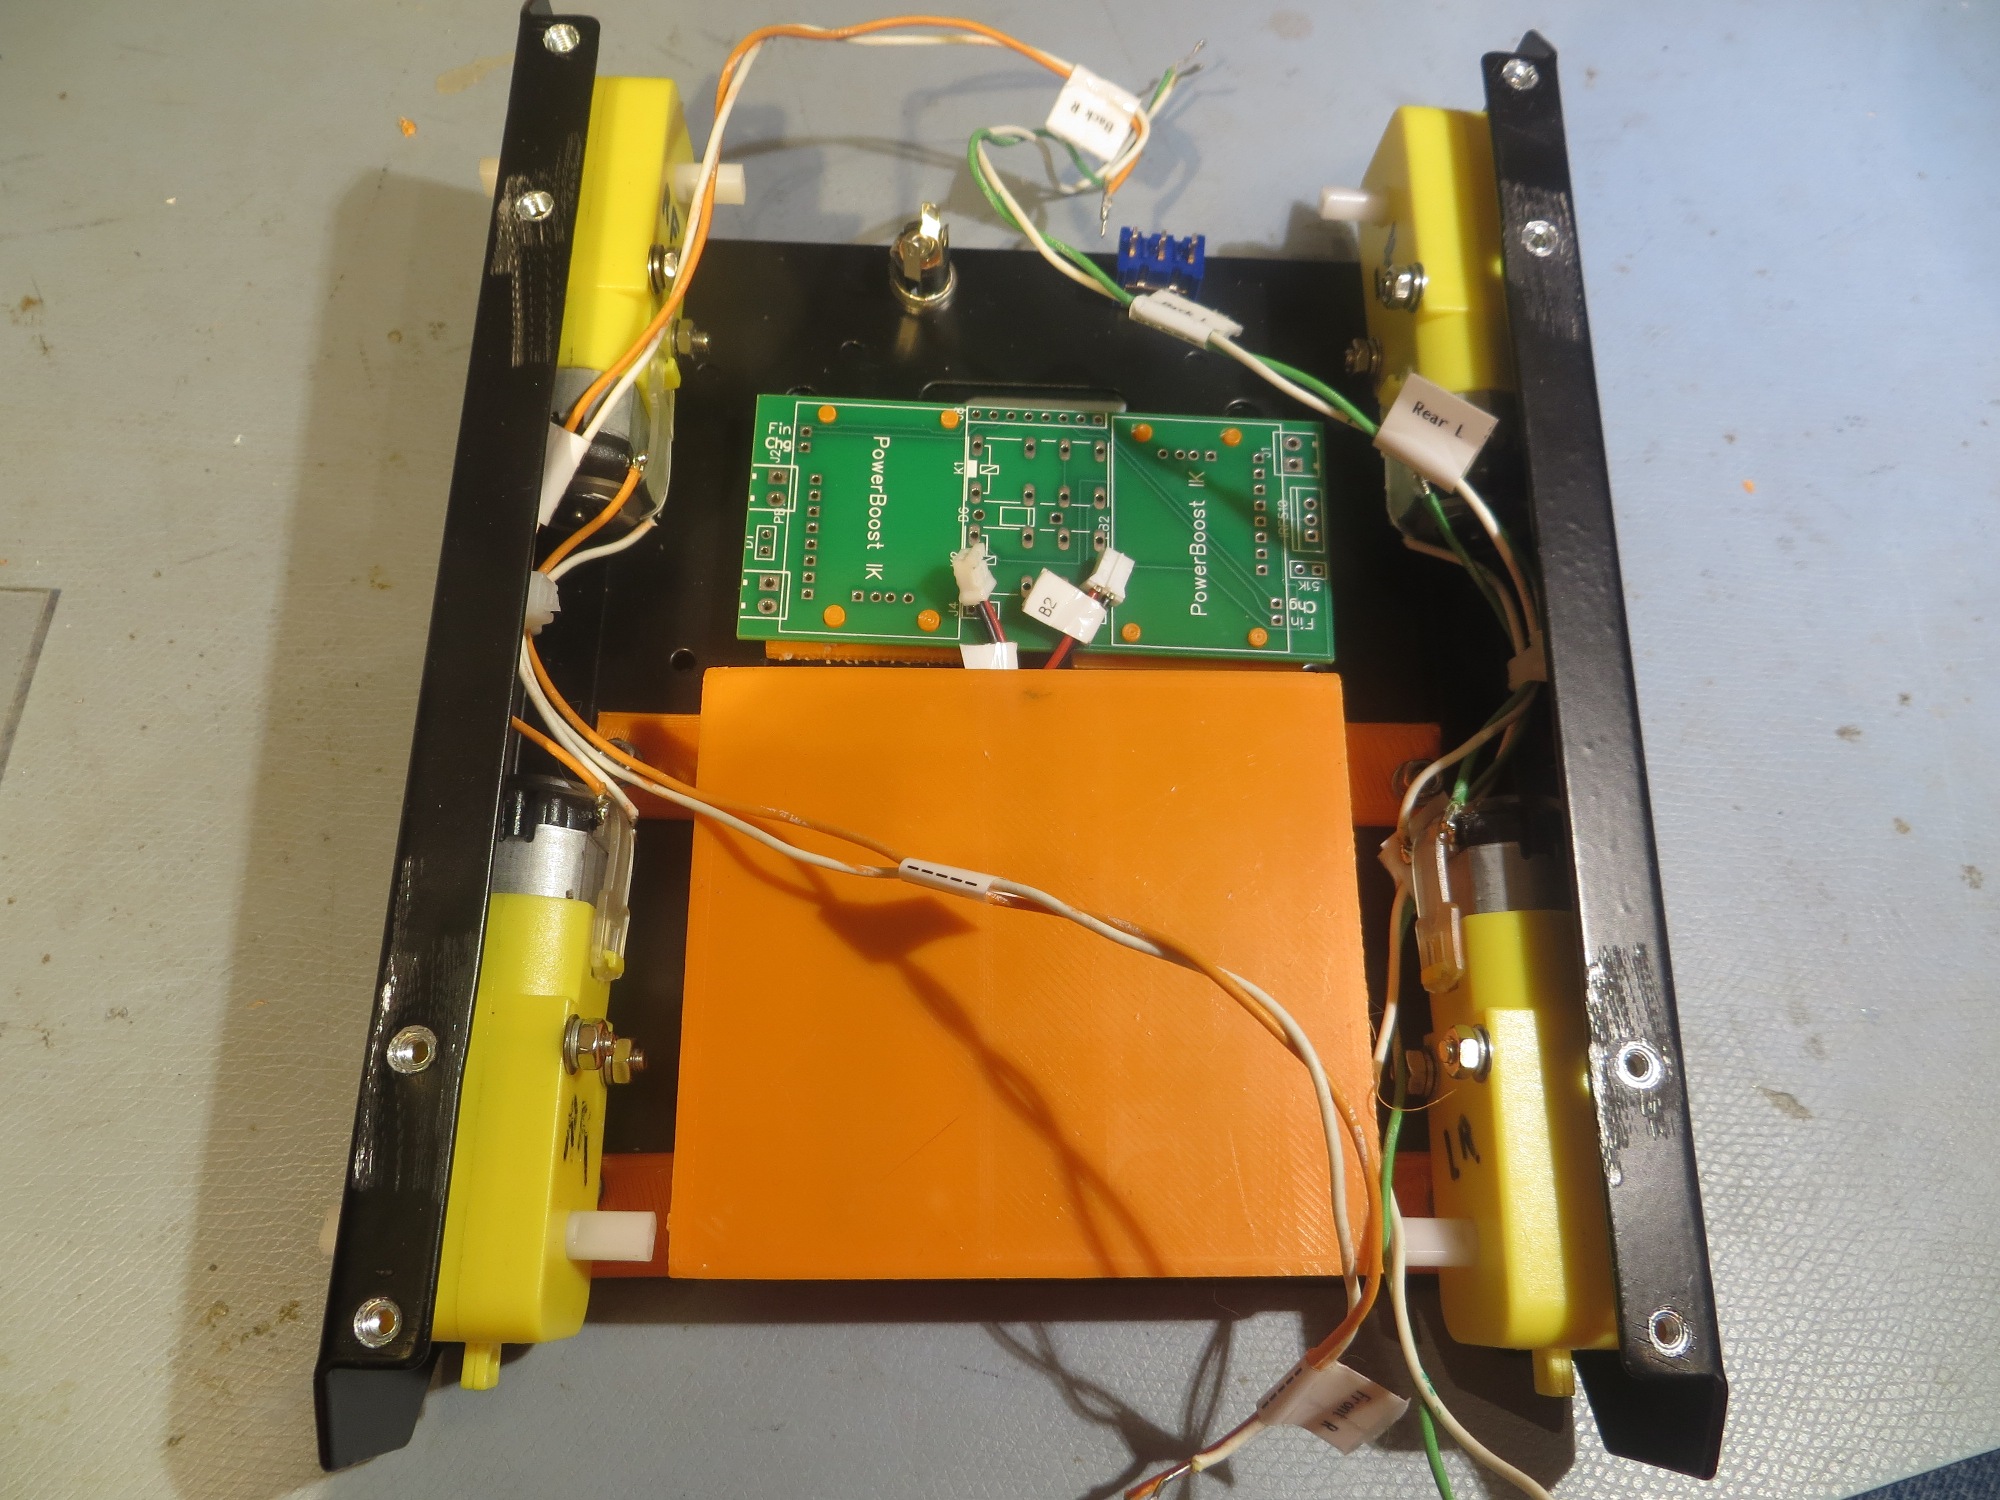
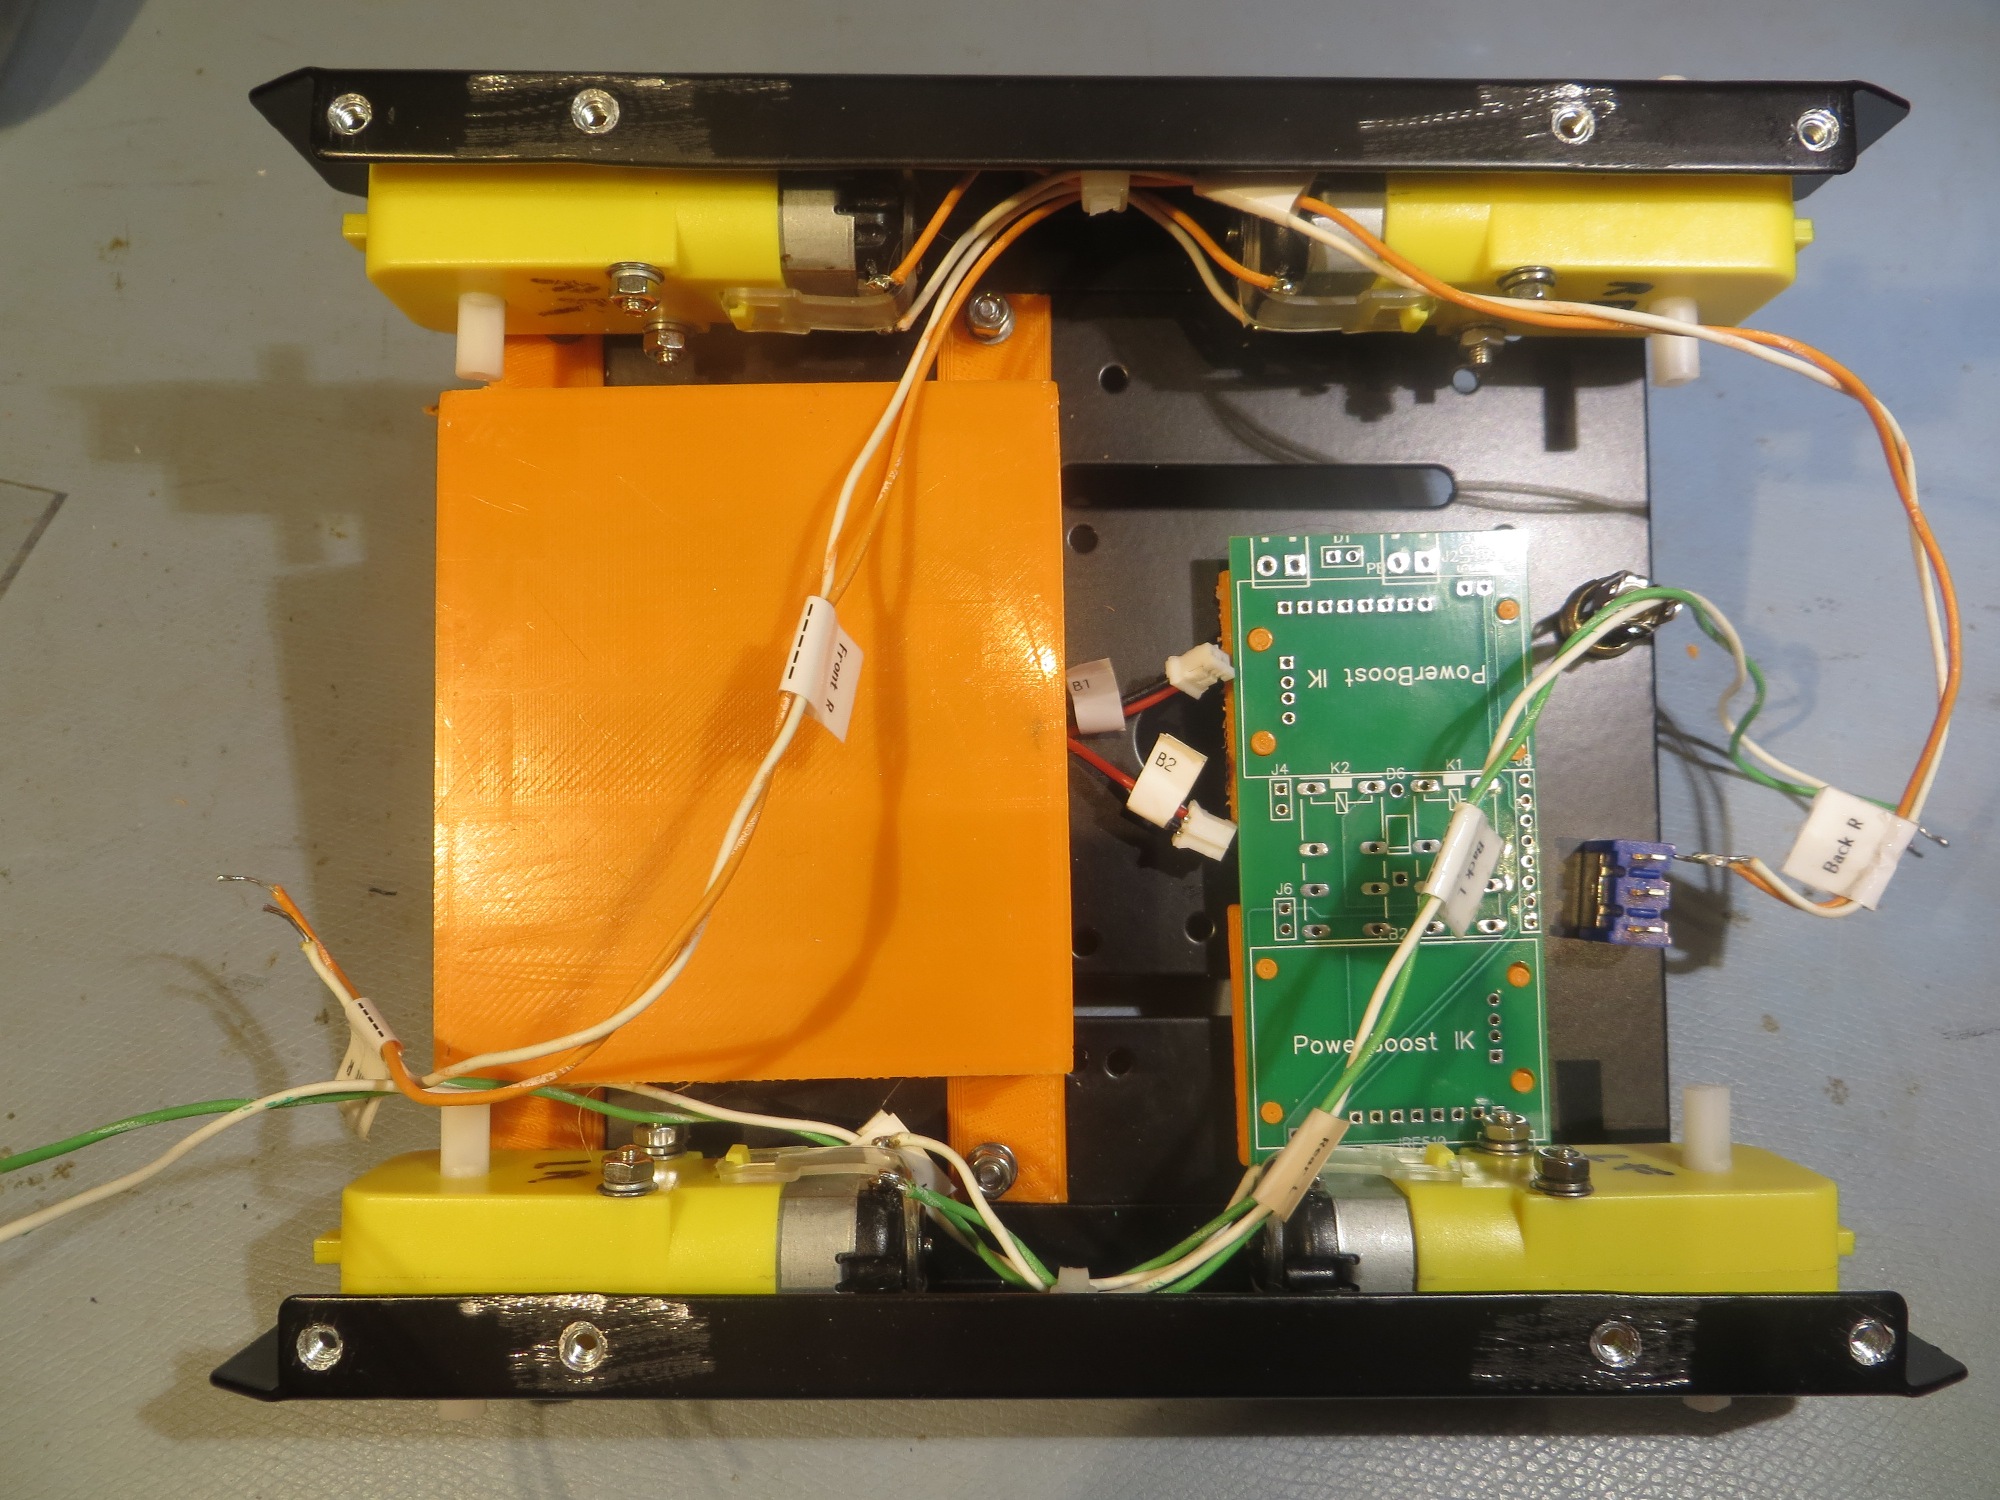
Bottom rear view of 4WD robot showing battery packs and charging module
So, I spent some quality time online looking for a new, larger home for Wall-E2, and found this chassis
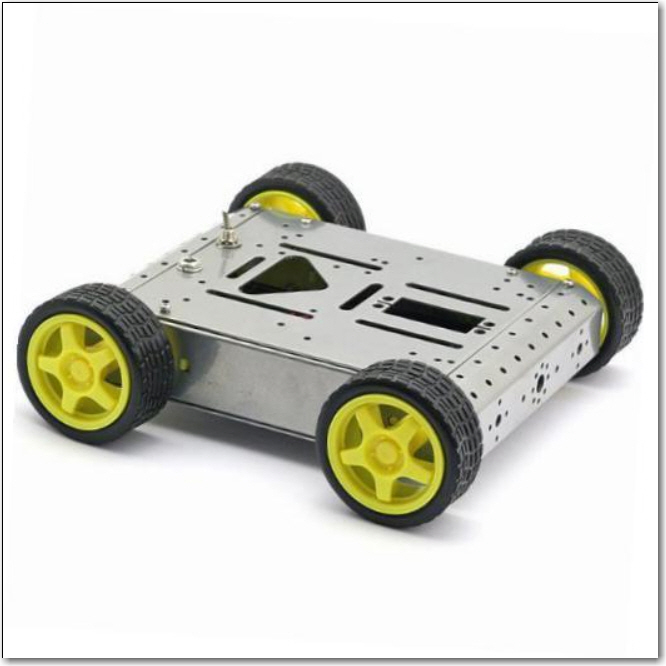
Lightweight 4WD Drive Aluminum Mobile Dolly Car Robot Platform for Arduino
This chassis has an internal cavity width of about 14cm compared to 10.5cm for Wall-E2’s current ride. This extra inch or so make all the difference in the world for comfortable installation of the battery pack and charger.
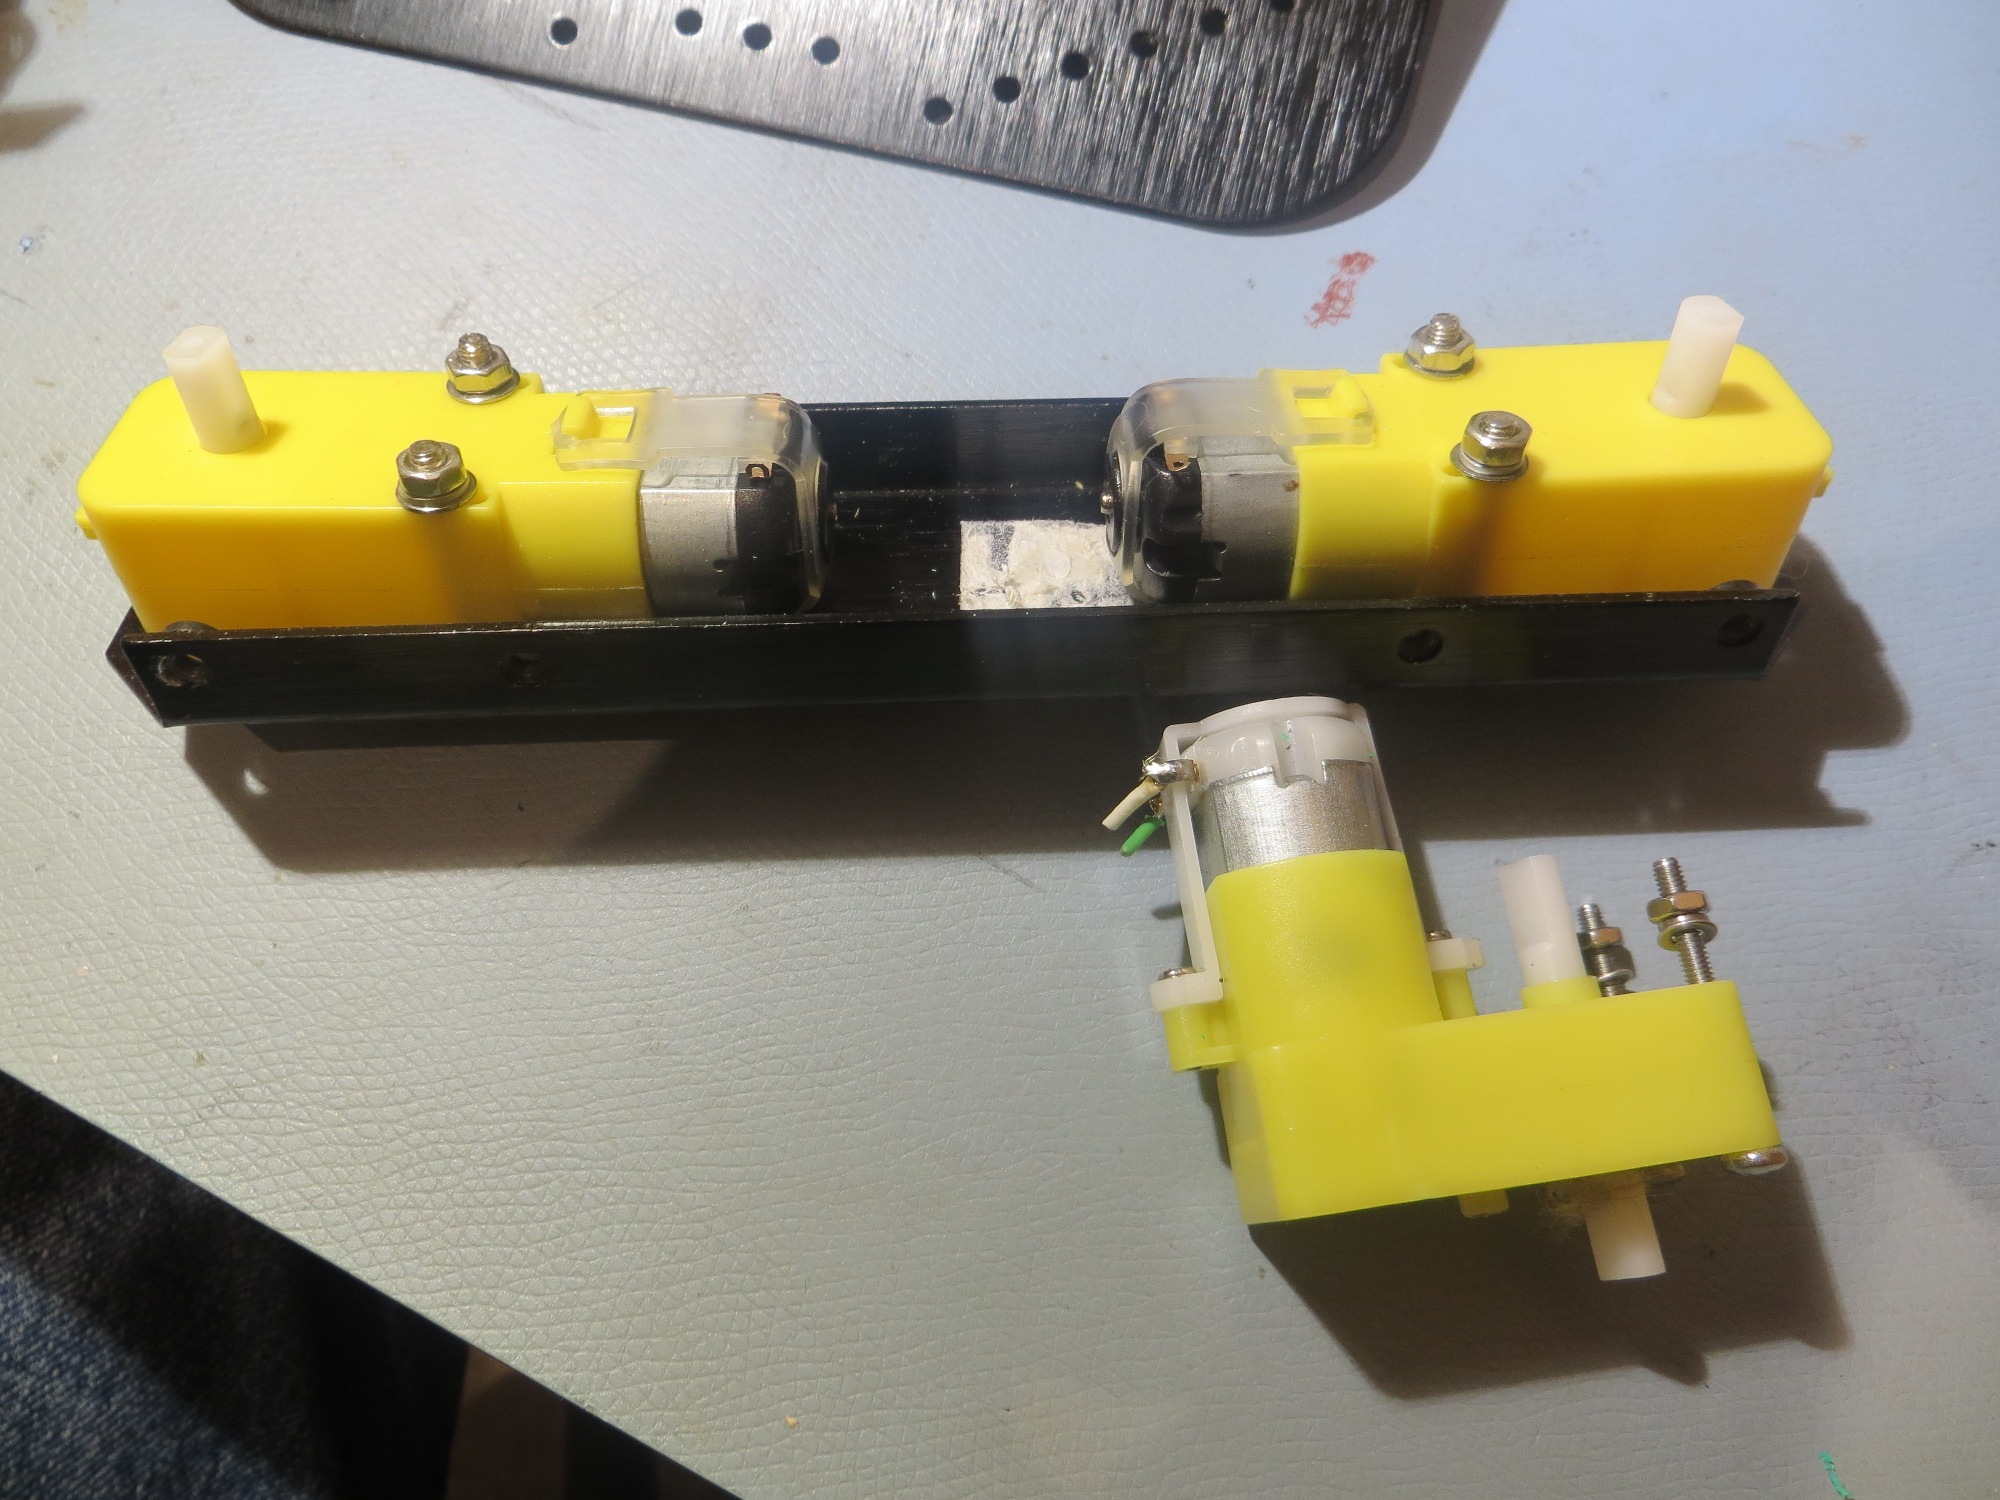
After getting this chassis on order, I basically forgot about it while I was working on the square-wave modulated IR homing project. Then when my grandson Danny and his family visited in August, we dug out the kit and assembled it. Danny wasn’t all that impressed with the quality (well, neither was I, but I didn’t expect all that much for $30 either). After looking at both chassis (Wall-E2’s current ride and the new one), Danny suggested that maybe we could transplant the motors from the new chassis into the old one and get enough additional space from the different form factors to solve the battery problem. At the time I pooh-poohed the idea, and put the new chassis back on the shelf to be forgotten again.
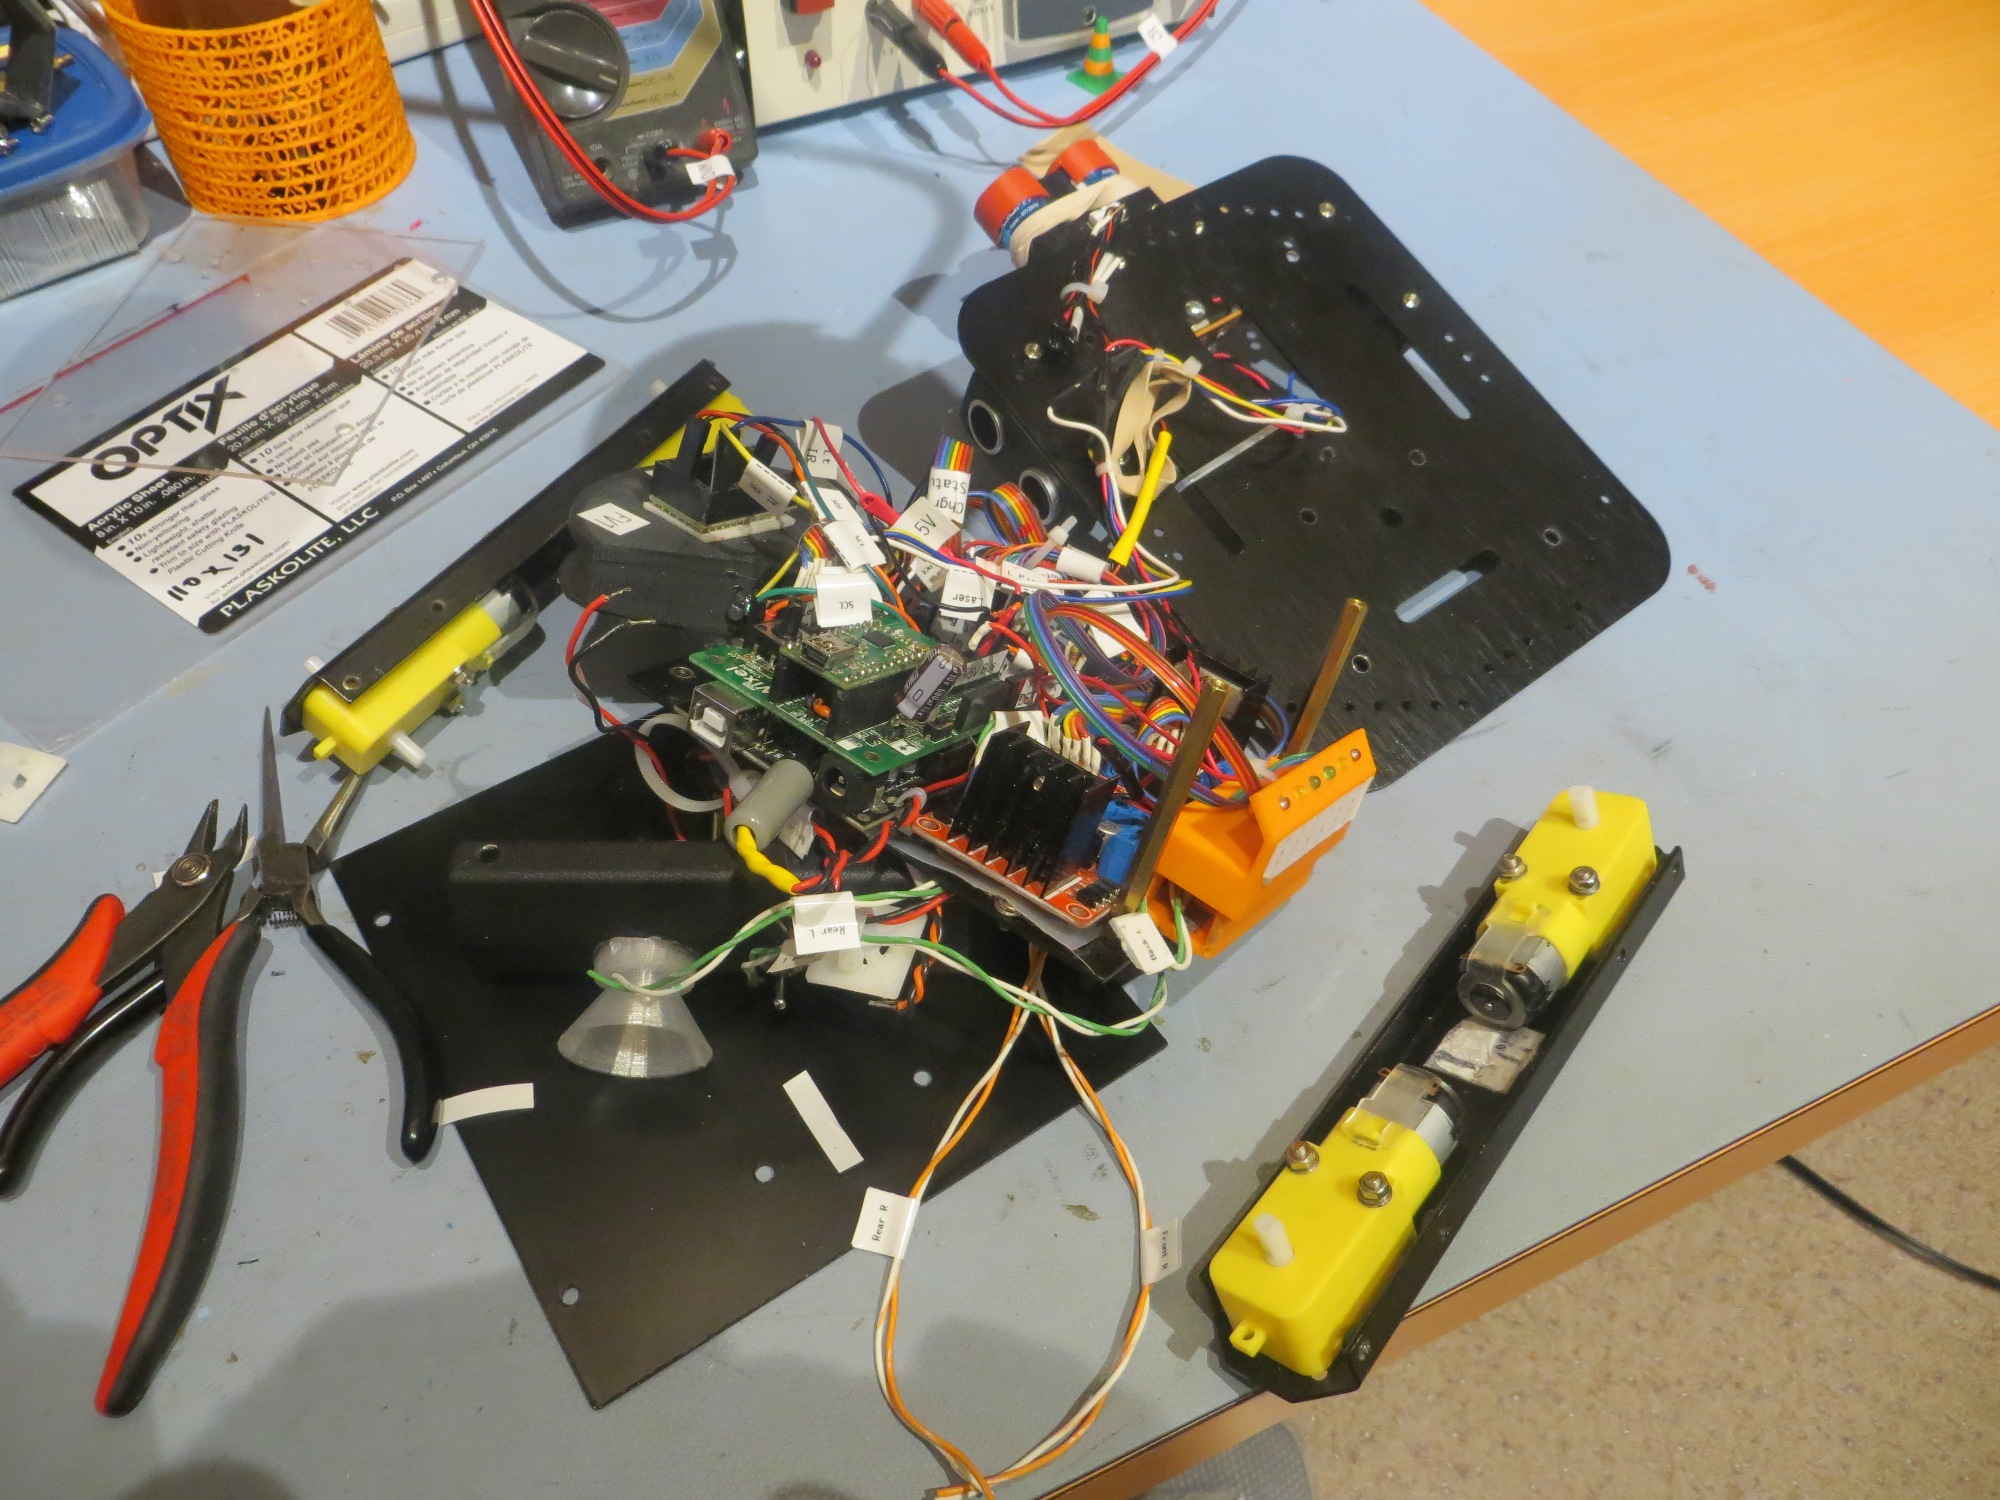
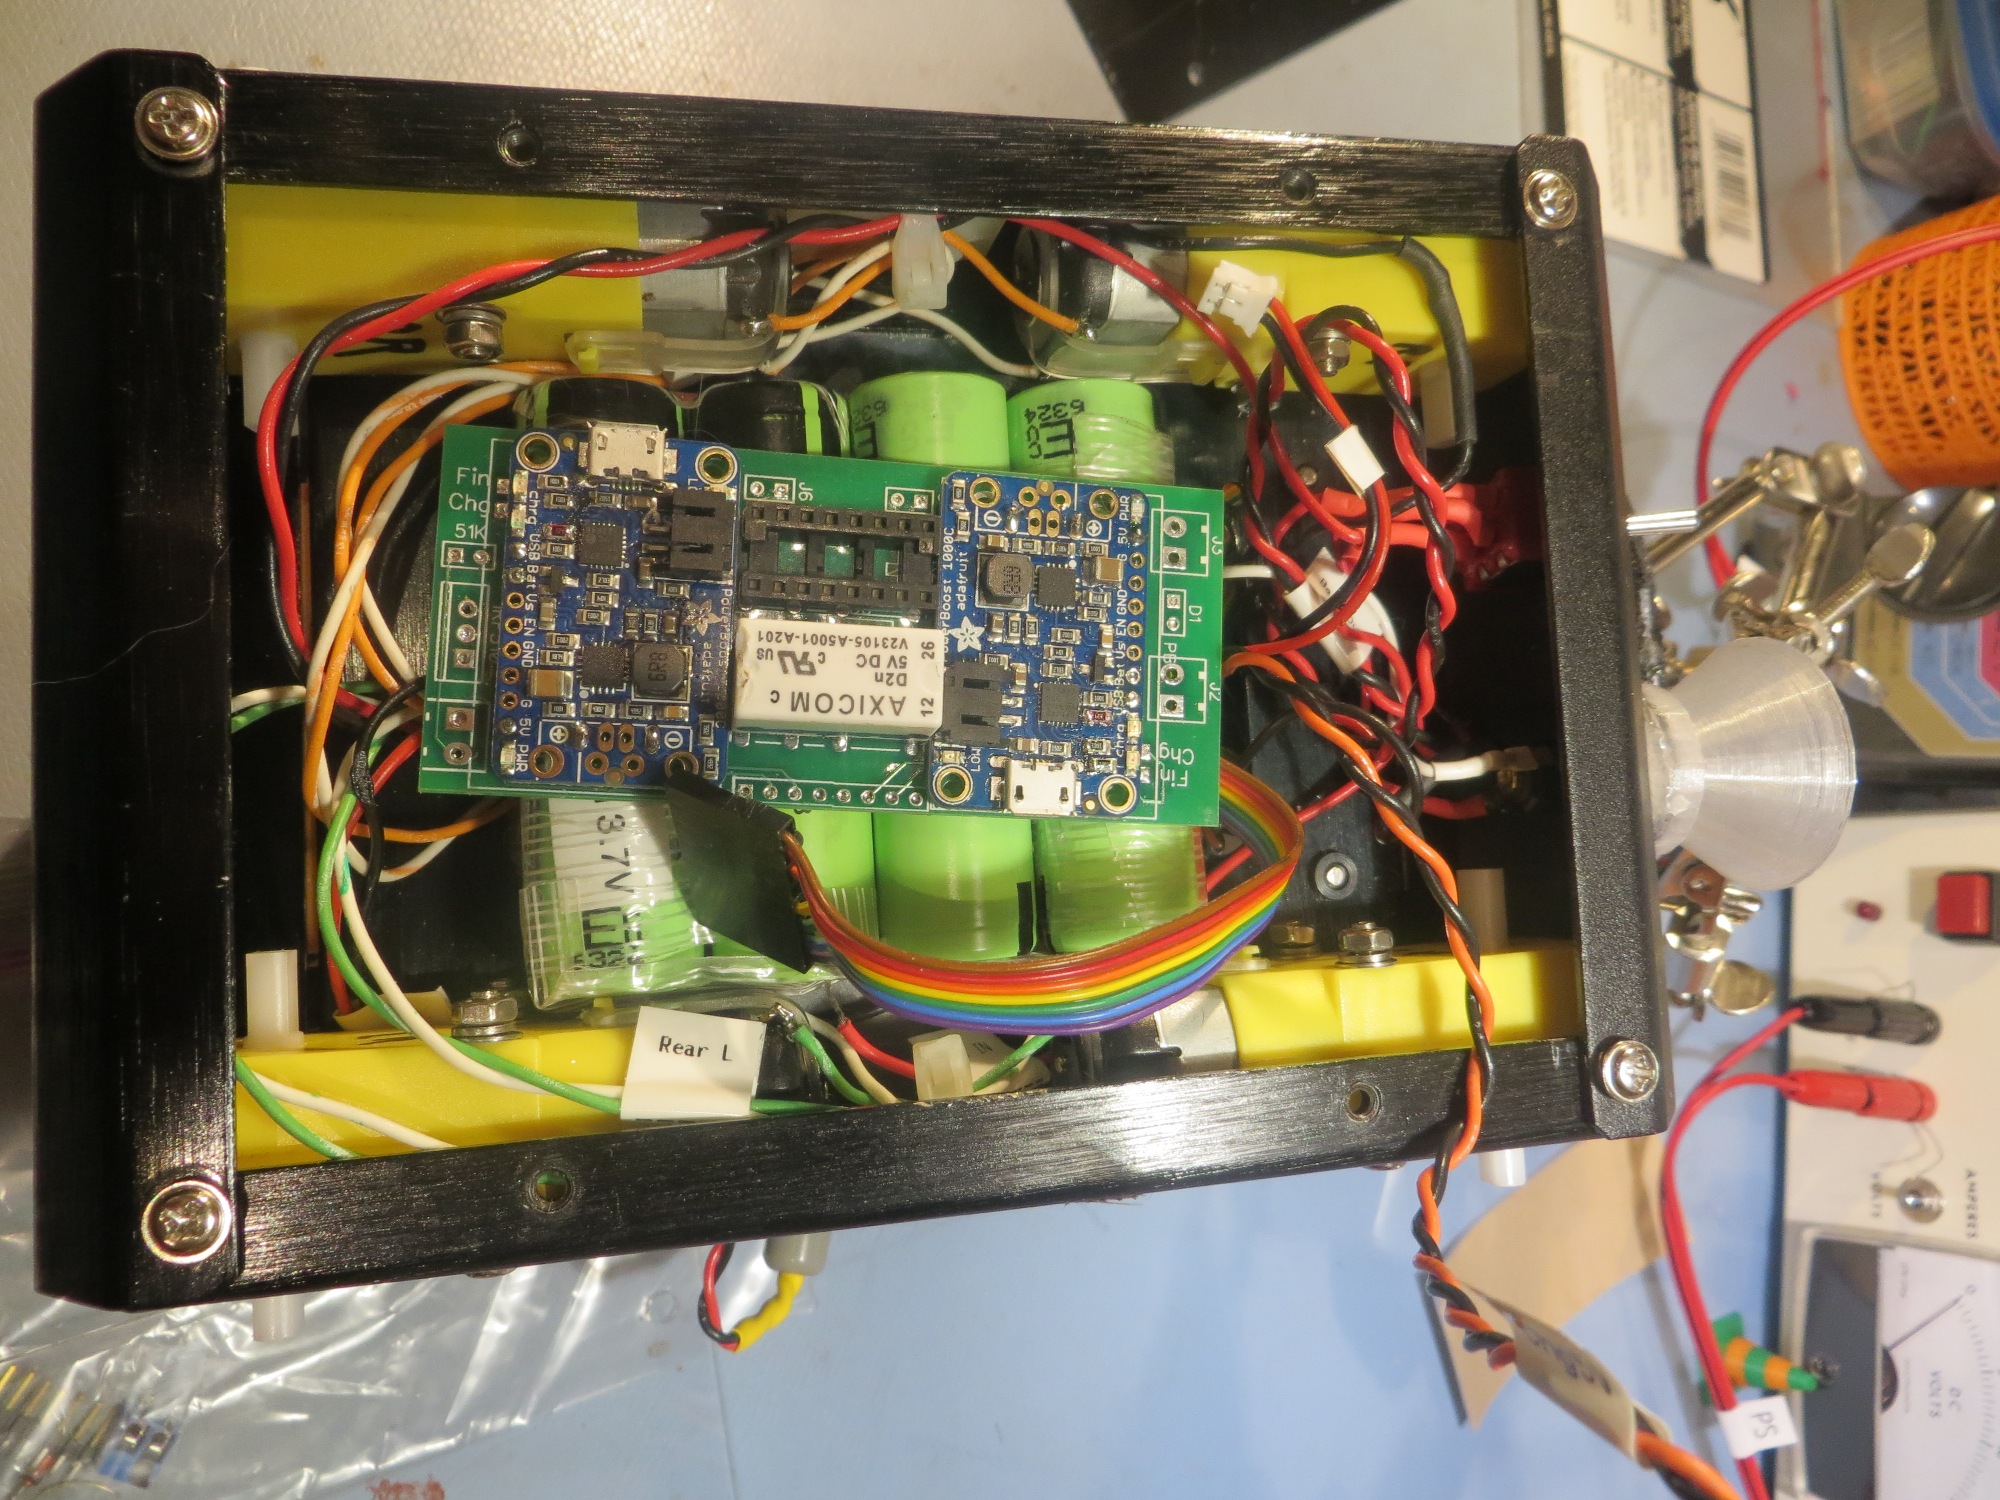
However, after finishing up the IR homing project last month, I decided I would actually try this trick and see what happened. So, I laboriously swapped all four right-angle motors from the new chassis to the old one, and … RATS!! As the photos below show, no real change in the available room for the charger/battery pack combination. Well, at least I tried ;-).
So, now I’m back to swapping chassis (wow – plural form of ‘chassis’ is ‘chassis’ – go figure) instead of motors.
One of the major shortcomings in the new model was the cheapness of the threaded holes in the frame components. The frame metal is so thin that instead of drilling and tapping the material, the holes were punched in a way that left the punched-out metal in the hole, and this material was tapped with the machine thread. Needless to say, this lasted for about one (or fewer) screw/unscrew cycle before stripping out – bad design!. Fortunately I knew how to fix this problem, with the help of McMaster-Carr. I went to their site and ordered a bunch of press-fit nuts (also called PEM-nuts for historical reasons)
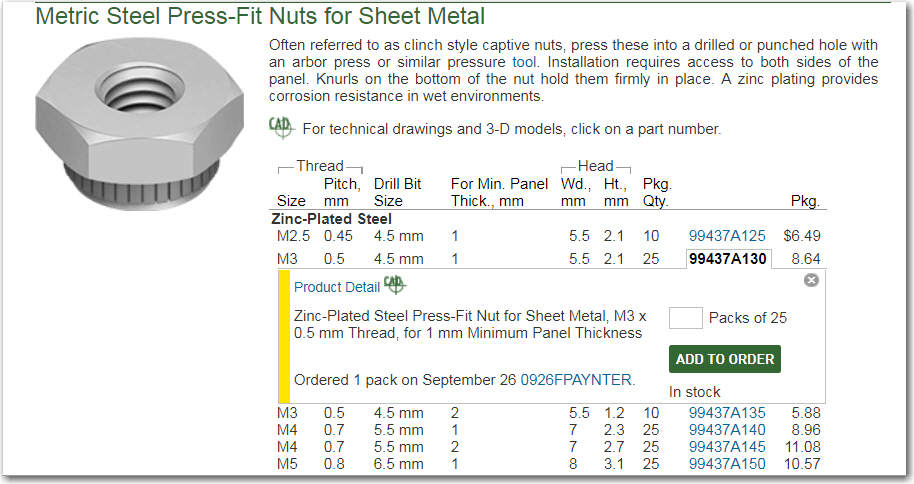
Press-fit nuts for my new robot chassis
In case you have never dealt with McMaster-Carr, they are incredibly quick. I normally tell people that once I click on the ‘order’ button, I get up, walk to my front door, open it, and get hit in the chest by the shipped order! ;-).
Once I got the nuts, I replaced all the threaded holes on the new chassis with these wonderful little gadgets. I used a #16 number drill to drill out the holes, and pressed the nuts in the new holes with a pair of cheap gas pliers – done!
As seen below, there is a lot more room in the new model
In fact, there is so much room that now I have to figure out how to keep the batteries and charging module from sloshing around in there. Fortunately I have a fertile imagination, TinkerCad, and a 3D printer – so I designed and printed up a battery box, and a prototype stand-off design for the PCB, as shown below.
The next part of the puzzle will be to figure out how all that stuff (IR Homing Module, laser and ultra-sonic distance sensors, motor controllers and the main controller) is going to fit on the new chassis.
Stay tuned!
Frank
Pingback: Wall-E2 battery charger module testing, Part I - Paynter's Palace
Pingback: A New Chassis For Wall-E2, Part III - Paynter's Palace