Posted 11 January 2017
I’ve had at least one 3D printer in my home laboratory for well over 2 years now, and having the ability to print up arbitrary 3D shapes has been a complete creative game-changer for me. Now when I have an idea about something I want to build or try, I don’t have to spend days in my shop trying to fabricate something out of wood or sheet metal – I can design it in TinkerCad and print it on my 3D printer. Moreover (and this is where it gets really cool!), I don’t have to get it right the first time – I can make an unlimited number of versions of the idea, improving and/or changing it as I go. Each iteration takes a few hours at most, and costs just a few pennies in terms of power and filament usage – what a deal!
Anyway, I have accumulated a number of rolls of different filaments, all of which degrade in greater or lesser degree over time due to moisture absorption (hygroscopic tendency). I
haven’t worried too much about this up to now, mostly because my lab is in an air-conditioned house in the midwest, where humidity levels are low to begin with. However, I recently started seeing some printing problems that led me to believe that I may need to address this issue. In my typically over-the-top fashion, I decided that if I was going to work this problem, I needed a way to monitor the actual temperature & humidity in whatever arrangement I tried.
First, as usual, I did some web research, and found a solution implemented by the folks at the Taulman specialty 3D filament fabrication house. Their solution was a 5-gallon plastic bucket with some air-holes, a 40-60 Watt lightbulb, and a wooden dowel. This allowed them to combine a dehumidifier with a filament delivery system. I fabricated one of these myself, but wasn’t particularly happy with the results. While it worked fine, there was only room for two rolls of filament at a time, while I have literally dozens of rolls of different filaments. In addition, I had no way of knowing what the actual temperature and relative humidity were inside the bucket – for all I knew, it could be doing nothing but wasting 40 watts of electricity!
So, I decided to combine my pile of 3D filaments, my 3D printing super-powers, and my Electrical Engineering Mad Scientist background to come up with a better solution to the filament drying problem.
Temperature/Humidity Sensors
The DIY/Robotics/Hobbyist market has spawned all sorts of new capabilities, so I was not at all surprised to find that temperature/humidity sensors were cheap and readily available. I started with the cheaper DHT11 (I figured I would kill at least one sensor before getting it right), but later moved on to the DH22. The DH11 humidity measurement range stops at 20% on the low end, and since I am trying to obtain humidities at or below that value, I decided to blow out my sensor budget from around $5/unit to around $10 – a real budget-breaker (not)!
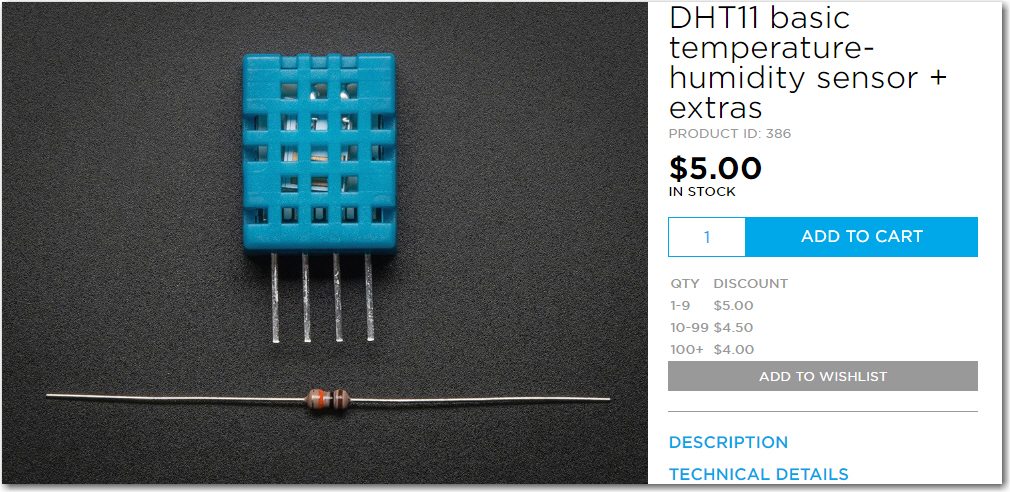
DHT11 Temp/Humidity sensor, shown here from Adafruit. 20-80% RH range with +/- 5% accuracy
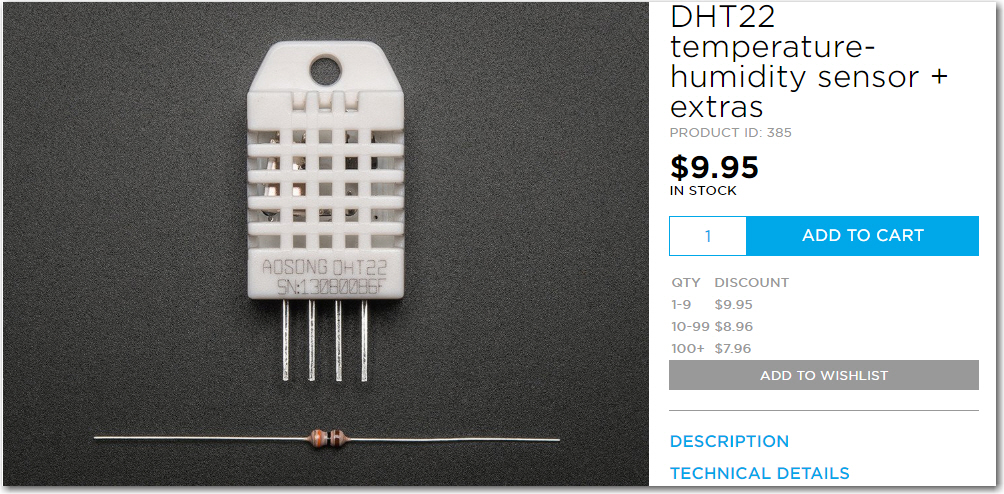
DHT22 Temp/Humidity sensor, shown here from Adafruit. O-100% RH range with +/- 2.5% accuracy
Arduino Uno Controller
In order to effectively use the RH sensors, I needed a controller of some sort. Happily for me, there was already a DHT11/22 library available for the wonderful Arduino line of controllers, and I happened to have several Arduino Uno’s lying around waiting for something to do. Connecting up the sensor, and getting a program working was a matter of just a few lines, most of which had already been written in the form of an example program
8-Character LCD Display
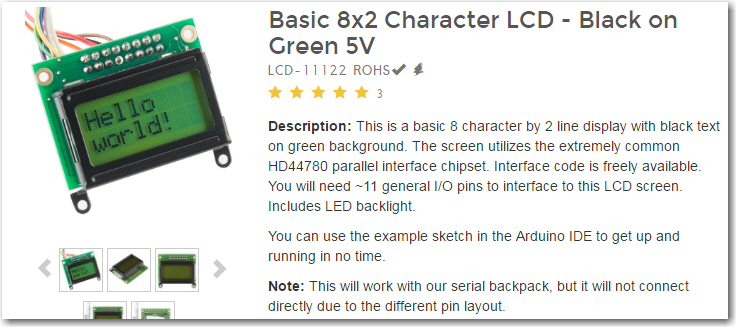
When I first started this project, I thought it would be adequate to simply connect the arduino to my PC to readout the data. This worked, but turned out to be cumbersome; I had to have a physical connection to the controller, which was located inside the dehumidifier bin. Later I tried a Wixel connection, which also worked, but still meant that I had to bring up a serial port app on my PC to find out what my dehumidifier bin was doing. What I really wanted was a completely self-contained system, so I could simply look at some sort of display on or in the bin and tell whether or not things were working. After doing a bit more web research, I found the Sparkfun ‘Basic 8-character LCD display’ for all of $4.95 (plus shipping). In addition, this display (plus a number of others with different character arrangements) were easily integrated into an Arduino program by means of the built-in ‘LiquidCrystal’ Library – nice!!
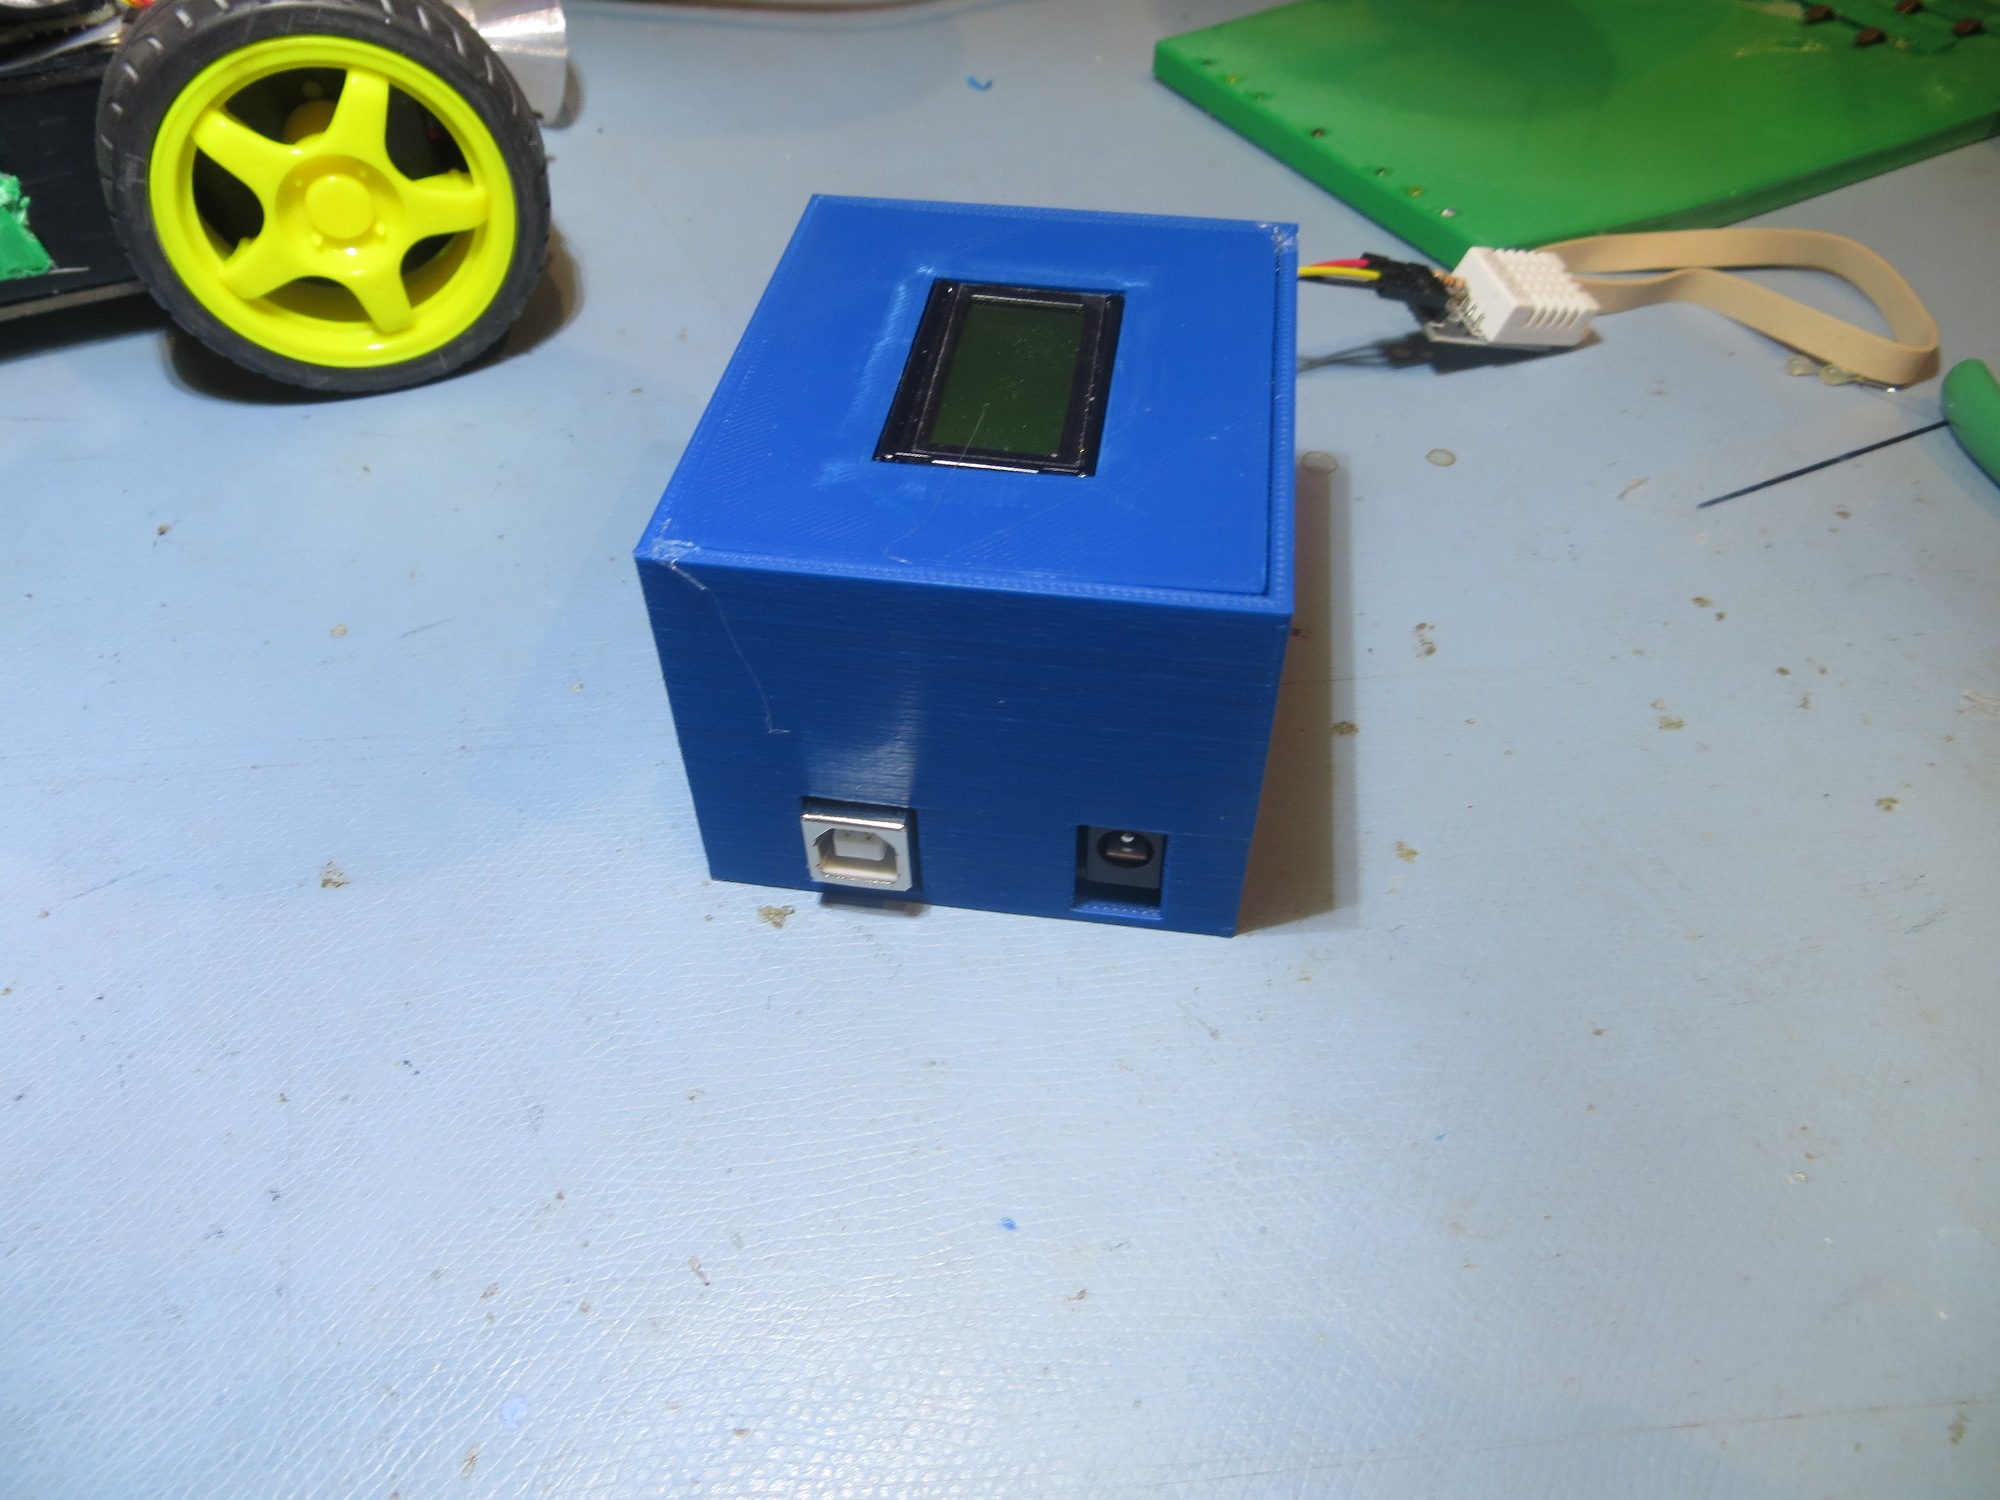
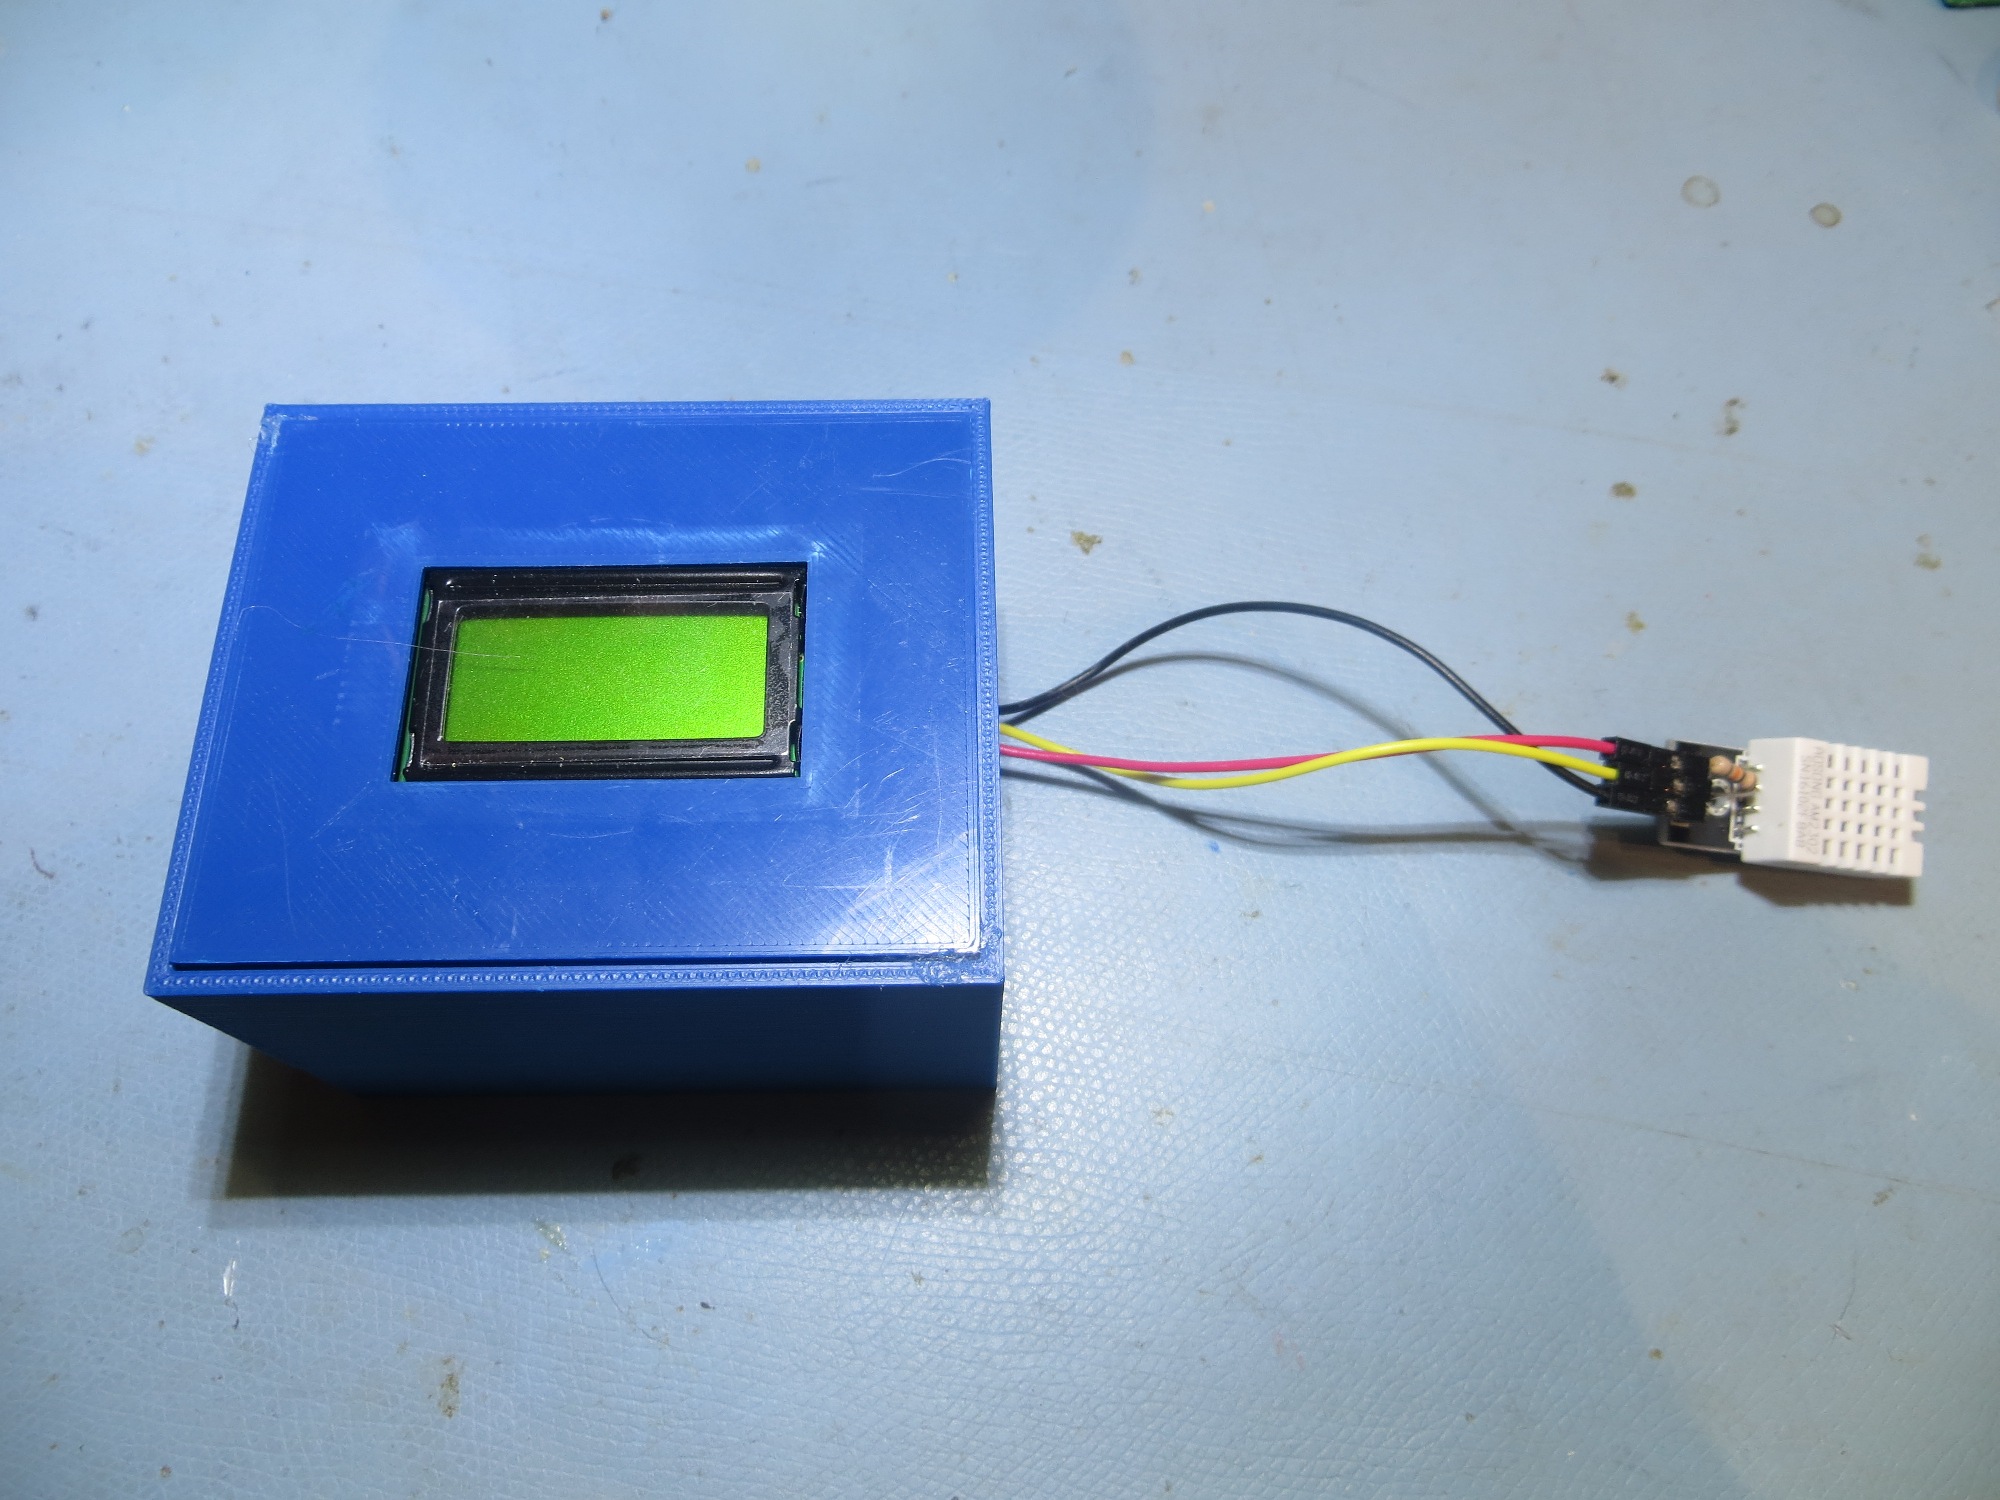
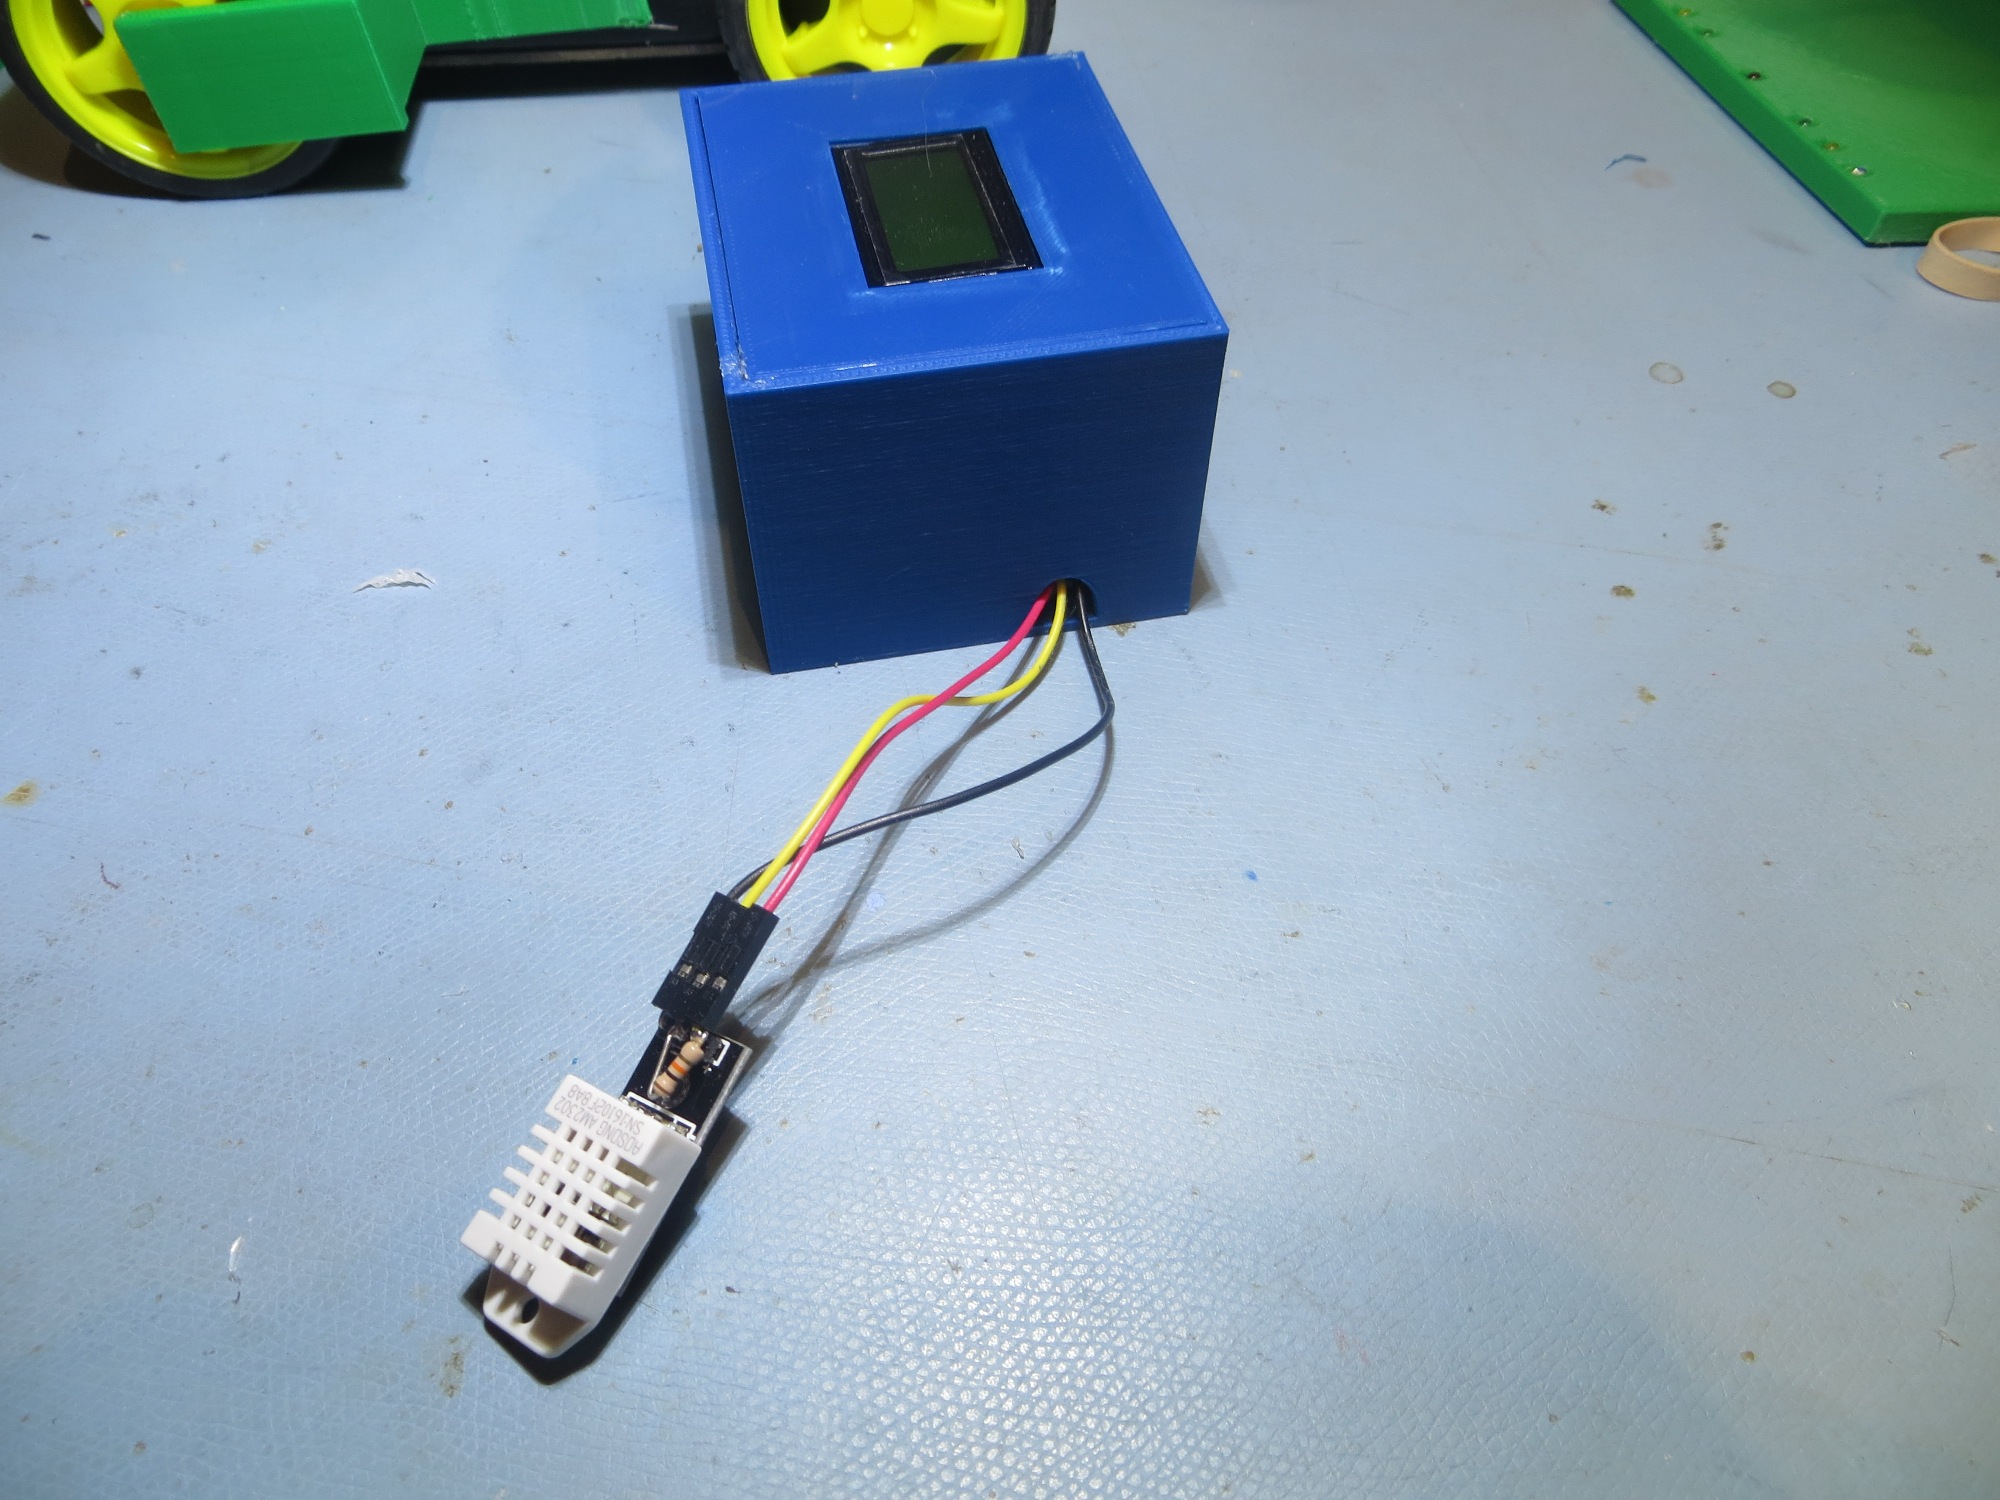
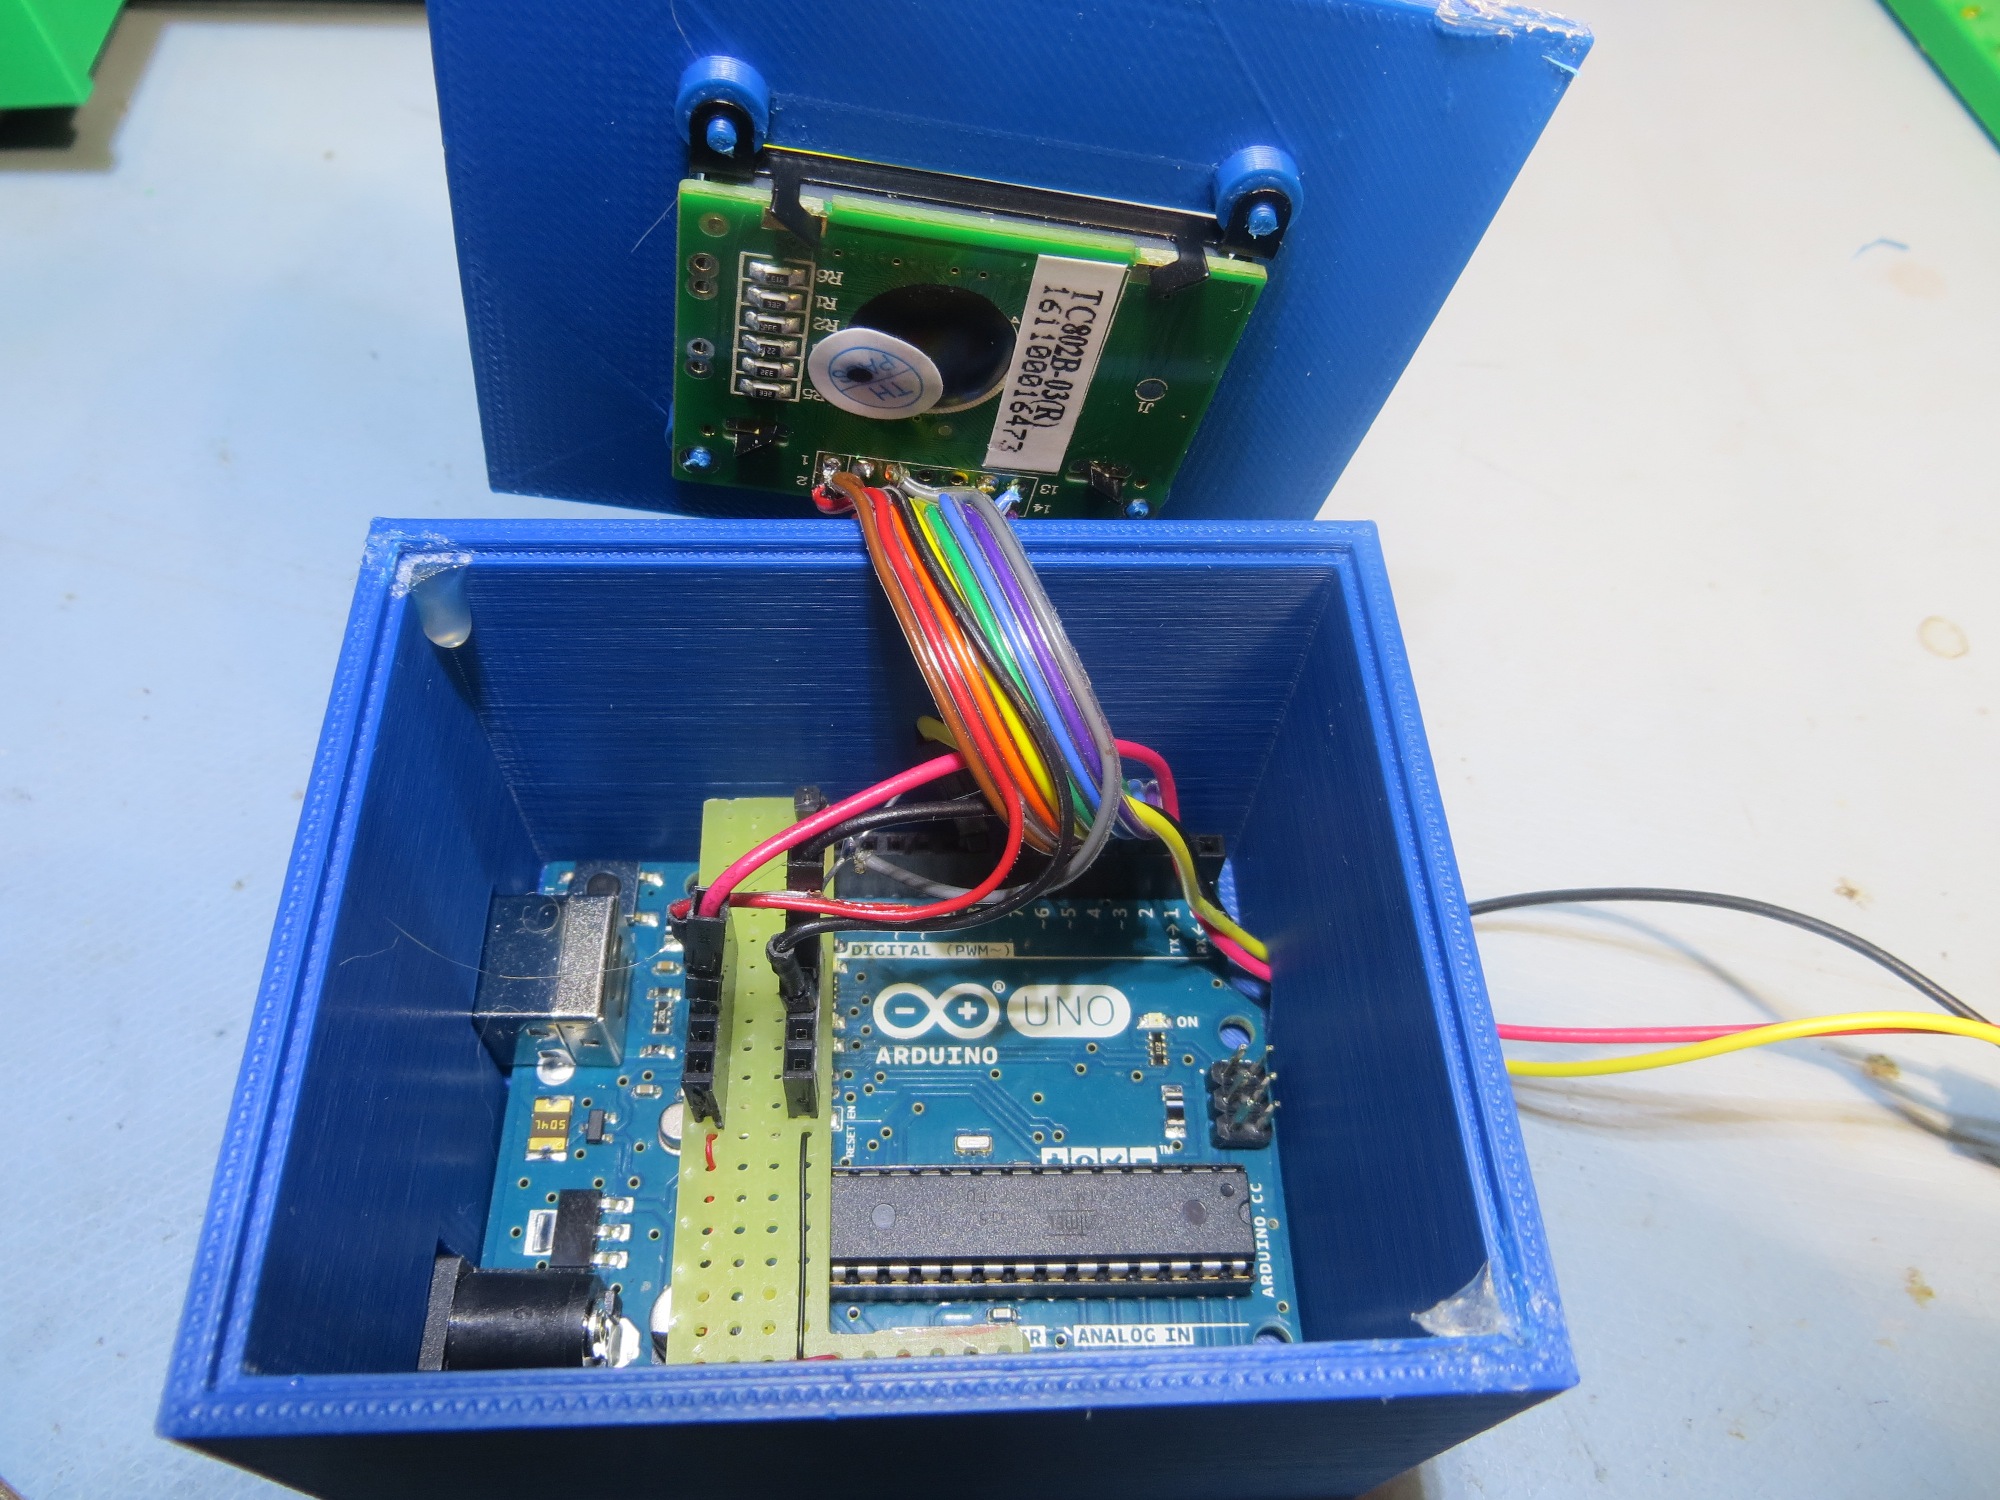
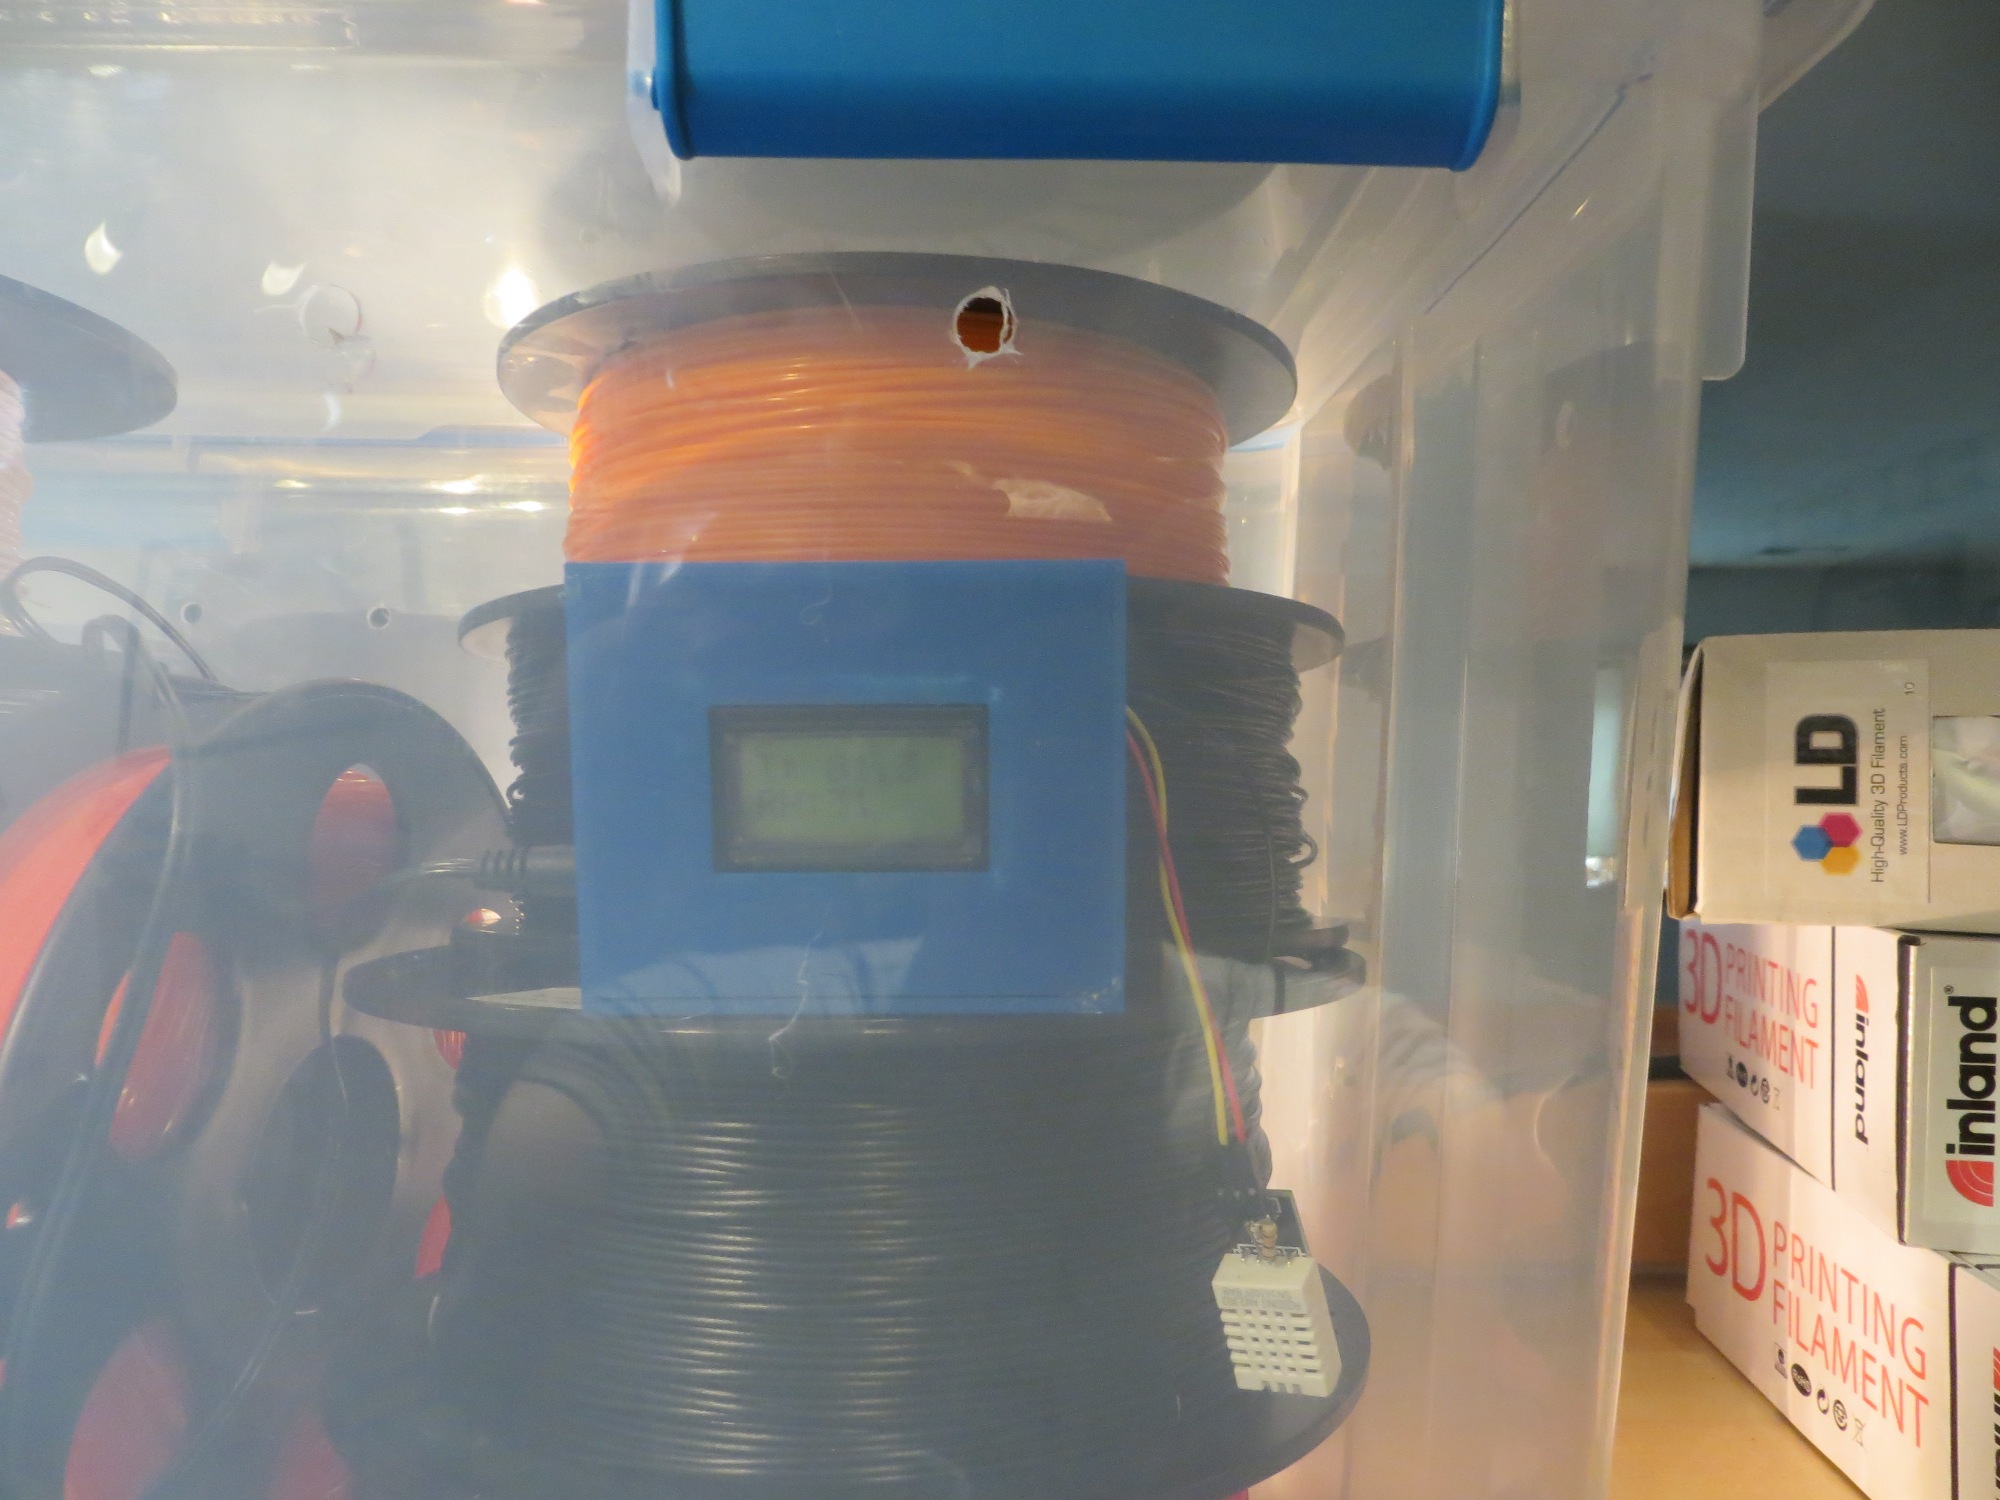
So now I had all the pieces – a sensor (DHT22), a controller (Arduino Uno), and a display for readout (Sparkfun 8×2 LCD). Now what I needed was a nice, custom-made box to house them, and just coincidentally I had 3D printer and LOTS of filament hanging around just waiting for a project! ;-). As usual, I went through several iterations (you would think that it would be pretty hard to screw up a simple box design, but I’m highly creative when it comes to finding new ways!). When I was finished, I had a nice little box with enough room for everything, a recessed lid, and appropriately placed holes for the power connector, the USB connector, and the sensor cable, as shown below
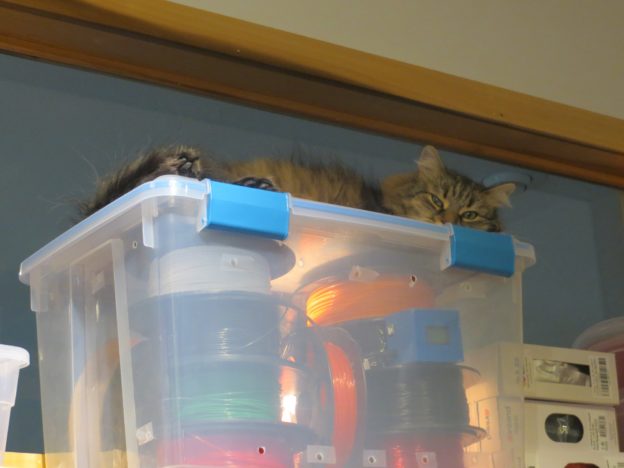
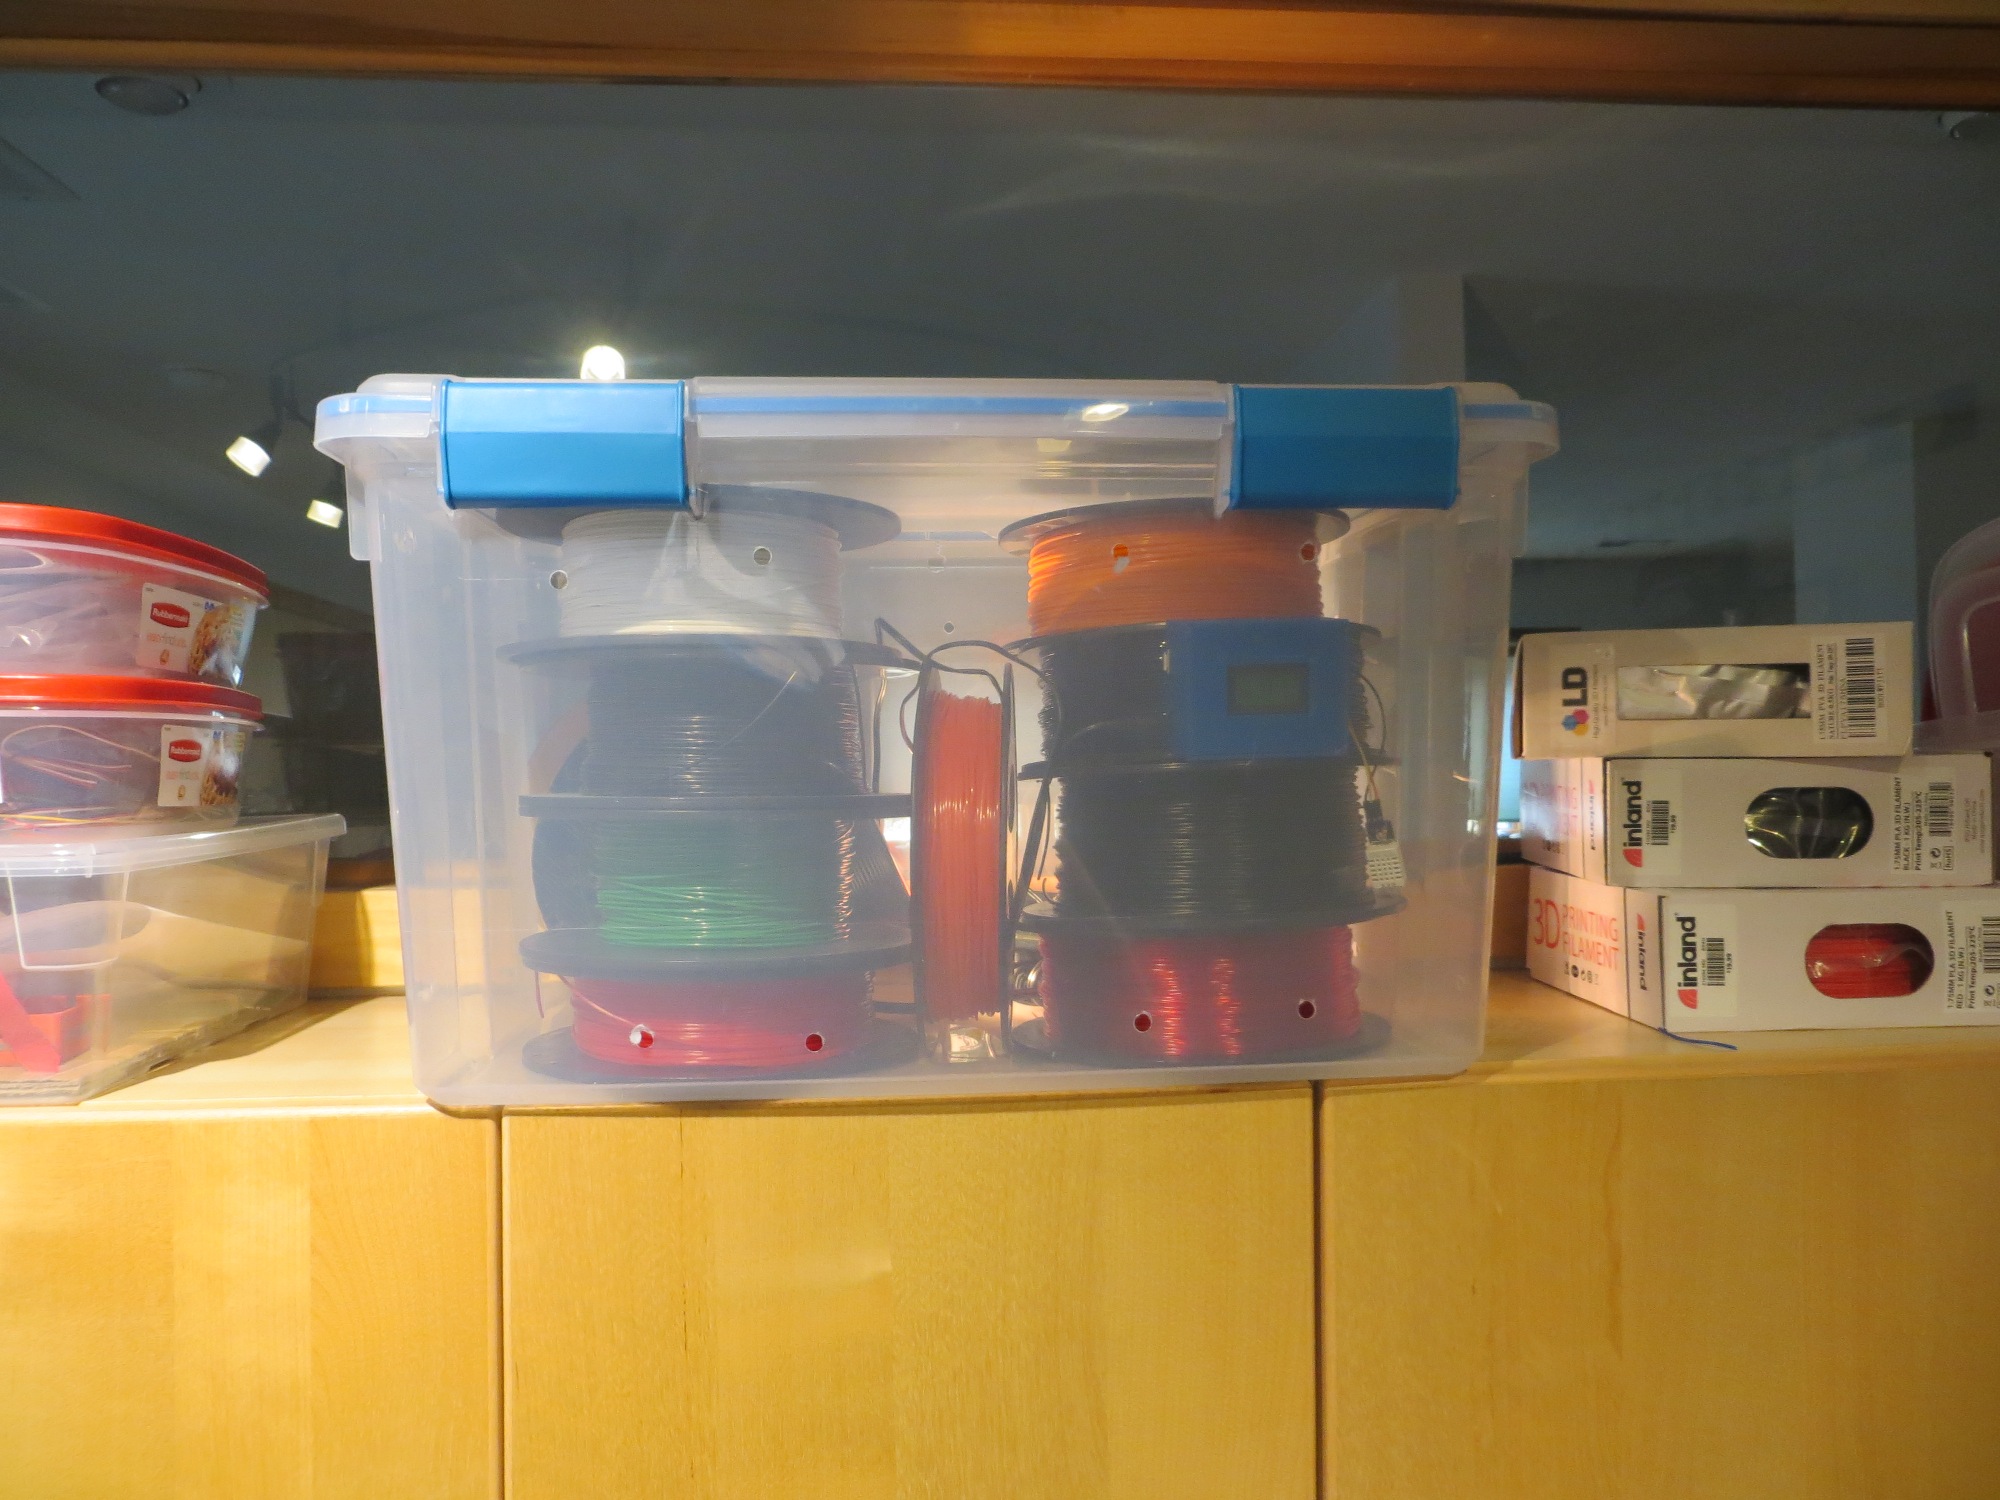
To complete the project, all I had to do was drill some holes in a handy transparent storage bin, load it up with filament rolls and a 40-watt trouble light, and set the sensor box inside where the readout would be visible from the outside. The whole thing was installed on a shelf over my workbench, so I can simply walk up to the bin and see the readout from eye level – neat!
Now all I have to do is wait a day or so to see where the system stabilizes, and make whatever airflow adjustments are necessary. For anyone who cares, I have included below the Arduino sketch for the project.
15 January 2017 Update: After 24 hours, the system stabilized to around 85 º F (29.4C) and about 26%, which I thought wasn’t enough better than room environment to make a difference, so I closed off about half of the air-holes. After another 24 hours or so, the system re-stabilized at about 90 º F (32.2C) and 21% humidity – much nicer!
17 February 2017 Cleanup: Here is the code to display temperature & humidity on the LCD display, and also make the data available at the serial port.
|
1 2 3 4 5 6 7 8 9 10 11 12 13 14 15 16 17 18 19 20 21 22 23 24 25 26 27 28 29 30 31 32 33 34 35 36 37 38 39 40 41 42 43 44 45 46 47 48 49 50 51 52 53 54 55 56 57 58 59 60 61 62 63 64 65 66 67 68 69 70 71 72 73 74 75 76 77 78 79 80 81 82 83 84 85 86 87 88 89 90 91 92 93 94 95 96 97 98 99 100 101 102 103 104 105 106 107 108 109 110 111 112 113 114 115 116 117 118 119 120 121 122 123 124 125 126 127 128 129 130 131 132 133 134 135 136 137 138 139 |
// DHT Temperature & Humidity Sensor // DHT Temperature & Humidity Sensor // Unified Sensor Library Example // Written by Tony DiCola for Adafruit Industries // Released under an MIT license. // Depends on the following Arduino libraries: // - Adafruit Unified Sensor Library: https://github.com/adafruit/Adafruit_Sensor // - DHT Sensor Library: https://github.com/adafruit/DHT-sensor-library #include<LiquidCrystal.h> // include the LCD library code: #include<Adafruit_Sensor.h> #include<DHT.h> #include<DHT_U.h> // initialize the library with the numbers of the interface pins //01/07/17 gfp: my setup is: //LCD pin name RS EN DB4 DB5 DB6 DB7 //Arduino pin # 7 6 5 4 3 2 LiquidCrystal lcd(7, 6, 5, 4, 3, 2); #define DHTPIN 8 // Pin which is connected to the DHT sensor. // Uncomment the type of sensor in use: //#define DHTTYPE DHT11 // DHT 11 #define DHTTYPE DHT22 // DHT 22 (AM2302) //#define DHTTYPE DHT21 // DHT 21 (AM2301) // See guide for details on sensor wiring and usage: // https://learn.adafruit.com/dht/overview DHT_Unified dht(DHTPIN, DHTTYPE); uint32_t delayMS; double tempF = 0; //holds temperature returned from DHT22 double RelHumPct = 0; //holds relative humidity returned from DHT22 void setup() { Serial.begin(115200); // Initialize Temp/Humidity sensor. dht.begin(); Serial.println("DHTxx Unified Sensor Example"); // Print temperature sensor details. sensor_t sensor; dht.temperature().getSensor(&sensor); Serial.println("------------------------------------"); Serial.println("Temperature"); Serial.print("Sensor: "); Serial.println(sensor.name); Serial.print("Driver Ver: "); Serial.println(sensor.version); Serial.print("Unique ID: "); Serial.println(sensor.sensor_id); Serial.print("Max Value: "); Serial.print(sensor.max_value); Serial.println(" *C"); Serial.print("Min Value: "); Serial.print(sensor.min_value); Serial.println(" *C"); Serial.print("Resolution: "); Serial.print(sensor.resolution); Serial.println(" *C"); Serial.println("------------------------------------"); // Print humidity sensor details. dht.humidity().getSensor(&sensor); Serial.println("------------------------------------"); Serial.println("Humidity"); Serial.print("Sensor: "); Serial.println(sensor.name); Serial.print("Driver Ver: "); Serial.println(sensor.version); Serial.print("Unique ID: "); Serial.println(sensor.sensor_id); Serial.print("Max Value: "); Serial.print(sensor.max_value); Serial.println("%"); Serial.print("Min Value: "); Serial.print(sensor.min_value); Serial.println("%"); Serial.print("Resolution: "); Serial.print(sensor.resolution); Serial.println("%"); Serial.println("------------------------------------"); // Set delay between sensor readings based on sensor details. delayMS = sensor.min_delay / 1000; // set up the LCD's number of columns and rows: //lcd.begin(16, 2); lcd.begin(8, 2); // Print a message to the LCD. //lcd.print("hello, world!"); //String str = "Temp: "; //str += "43"; //lcd.print(str); } void loop() { // Delay between measurements. delay(delayMS); // Get temperature event and print its value. sensors_event_t event; dht.temperature().getEvent(&event); if (isnan(event.temperature)) { Serial.println("Error reading temperature!"); } else //good data { //12/07/16 temp is in C - convert to F tempF = event.temperature * (9.0 / 5.0) + 32; Serial.print("Temp/Humidity: "); Serial.print(tempF); Serial.print(" F\t"); } // Get humidity event and print its value. dht.humidity().getEvent(&event); if (isnan(event.relative_humidity)) { Serial.println("Error reading humidity!"); } else //good data { RelHumPct = event.relative_humidity; //Serial.print(event.relative_humidity); Serial.print(RelHumPct); Serial.println(" %"); } //// set the LCD cursor to column 0, line 1 //// (note: line 1 is the second row, since counting begins with 0): //lcd.setCursor(0, 1); //// print the number of seconds since reset: //lcd.print(millis() / 1000); //set the LCD cursor to column 0, line 0 (1st line) lcd.setCursor(0, 0); String str = "T: "; str += String(tempF,1); lcd.print(str); //set the LCD cursor to column 0, line 1 (2nd line) lcd.setCursor(0, 1); str = "RH:"; str += String(RelHumPct,0); lcd.print(str); } |
Frank