
Posted 08/18/2015
I have an old Black & Decker paint stripping gun that I have found to be perfect for shrinking heat-shrink tubing on my electronics projects. It’s old and beat up, but it is does that one thing very well. However, it is big, bulky and its metal tip stays HOT for a long time after use (note the burned rubber/plastic on the tip), so finding a place to put the bloody thing after use has always been a bit of a PITA.
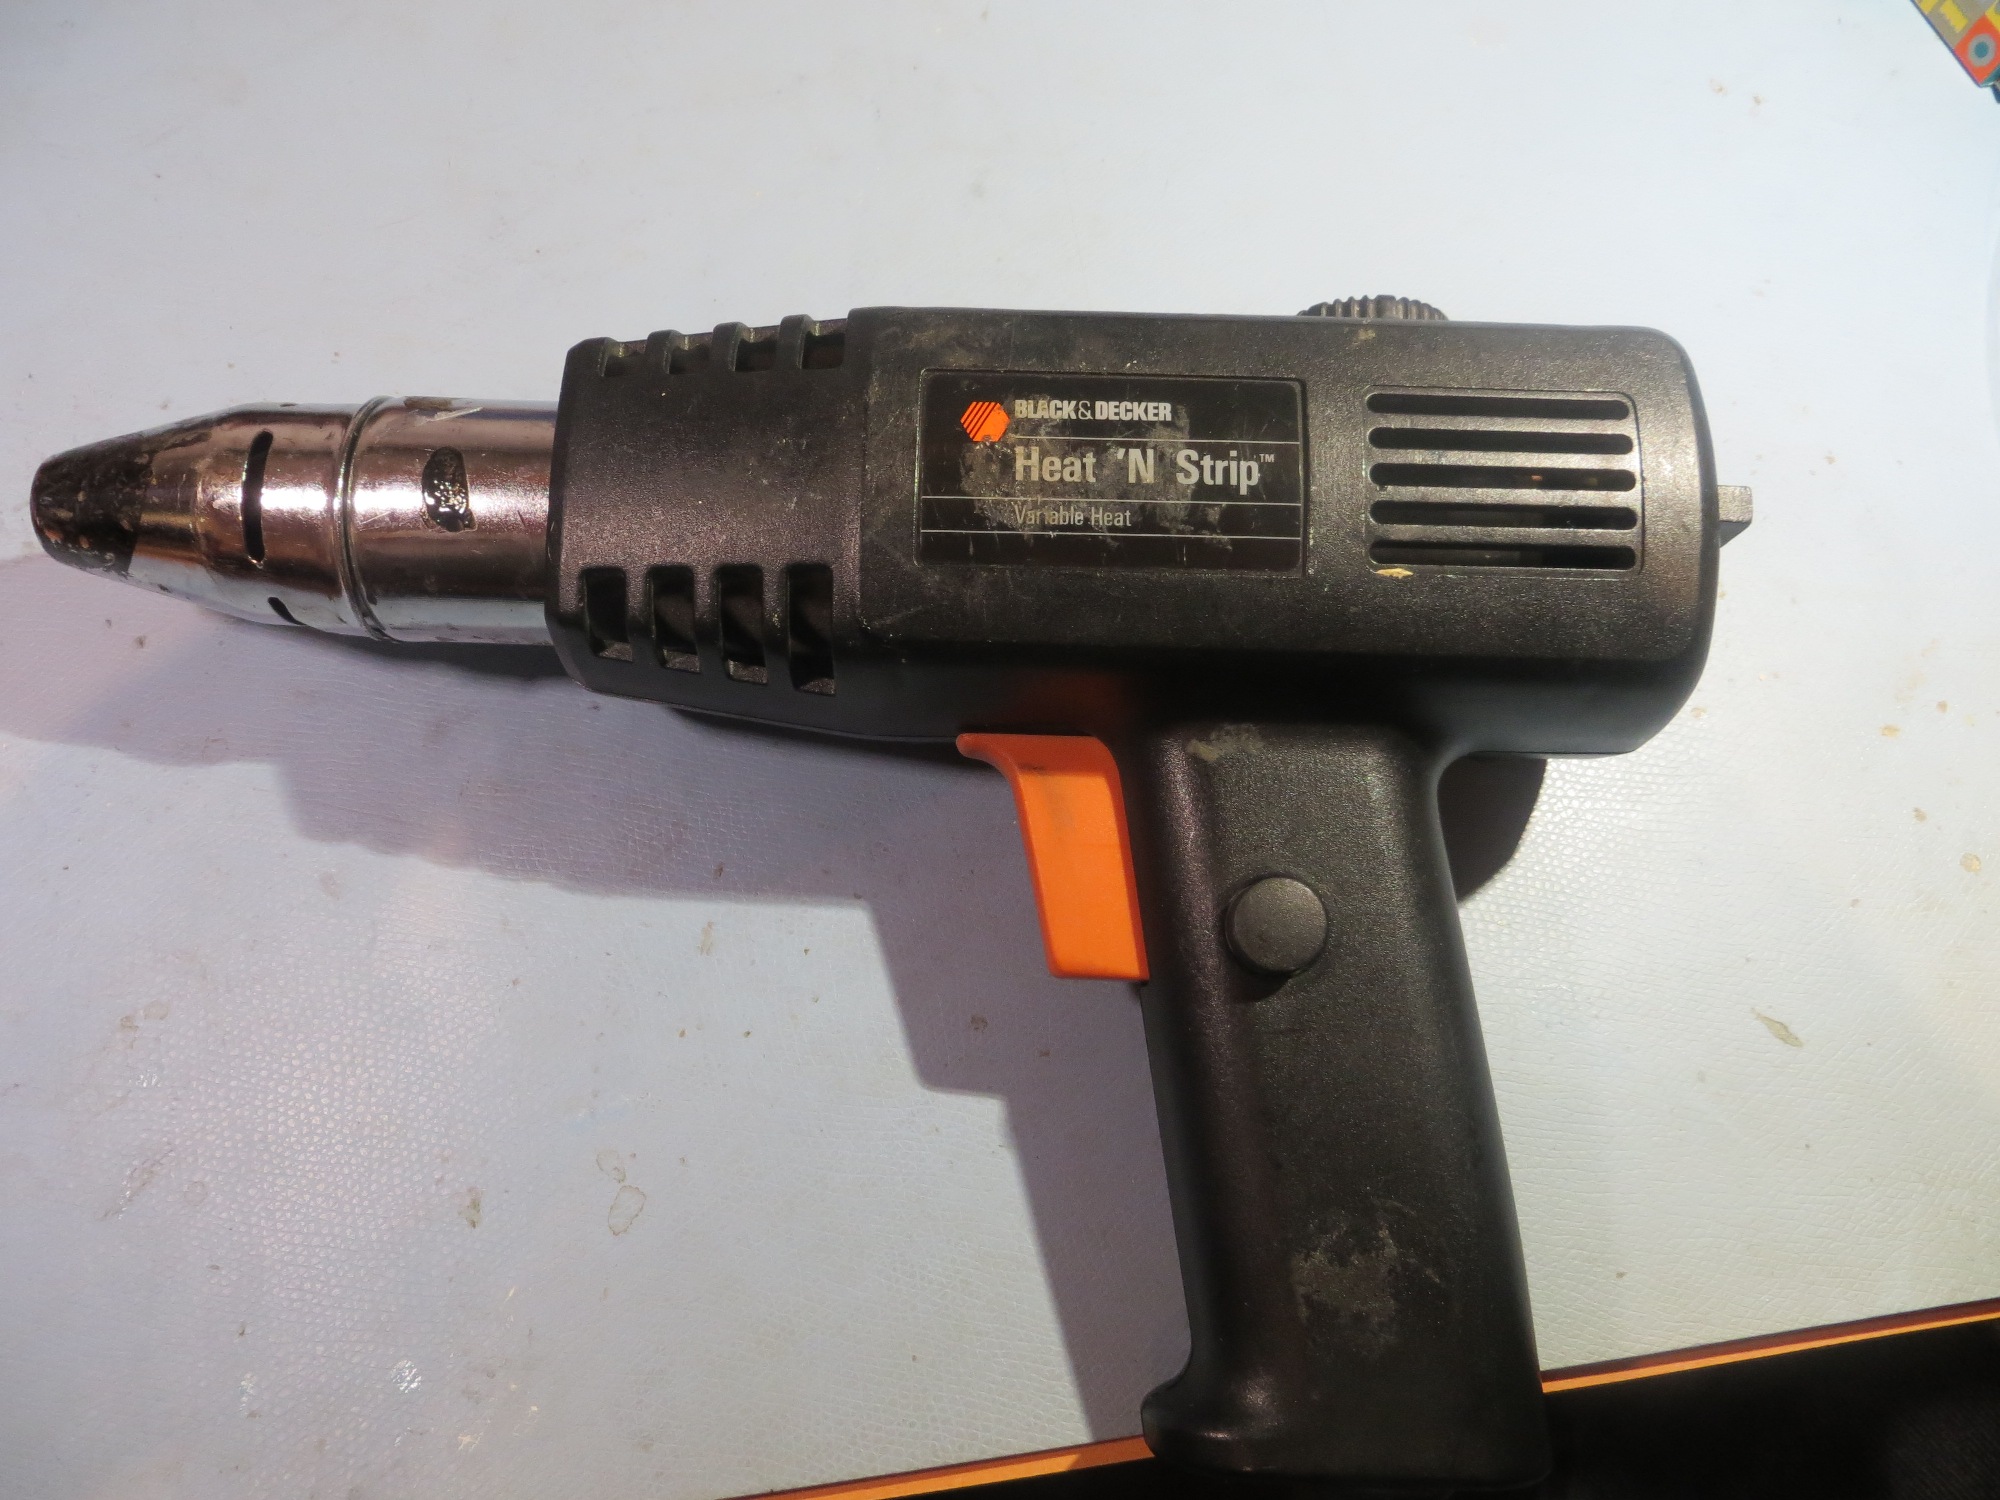
Oldie-but-goody – my trusty B & D paint stripper works perfectly for heat-shrink tubing
I was recently re-arranging my office/lab work areas for better efficiency, and I once again ran into the problem of “where do I put this bloody heat gun!”, when I had an epiphany; I have not only one, but TWO 3D printers, and so I should be able to design and print some sort of under counter holster for this thing!
When our Hobbit-house (earth sheltered house) was built way back when, I had my office/lab outfitted with a built-in wrap-around work surface with NO LEGS! The work surface is supported with 5/16″ steel L-brackets built into the wall structure, so I can roll my work chair from one end to the other with nary a chance of banging my knees – yay!
Anyway, that meant that I had these steel beams in several places along the span of my work surface, and it turned out that one of them was in just the right place to be a convenient under-counter mounting location for my new holster brainstorm. And as an added bonus, when the heat gun is in the holster, the HOT metal tip would rest against the steel support, not against anything remotely flammable – double yay!
So, now all I had to do was design and print something that would capture the forward body of the gun but still allow for easy insertion & removal. After a few minutes with my trusty digital calipers and another few minutes on TinkerCad, I had a preliminary design that I thought might work. I decided to not add a mounting structure in the initial design, as I just wanted to see if I had the dimensions right, and then adjust from there. With TinkerCad and a 3D printer, you don’t have to be right the first time; if it doesn’t work or isn’t complete – it’s just a few minutes work to adjust the design, and another few minutes (or in the case of the holster – another few hours) to print another iteration; the modern version of ‘cut and try’ is ‘print and try’ ;-).
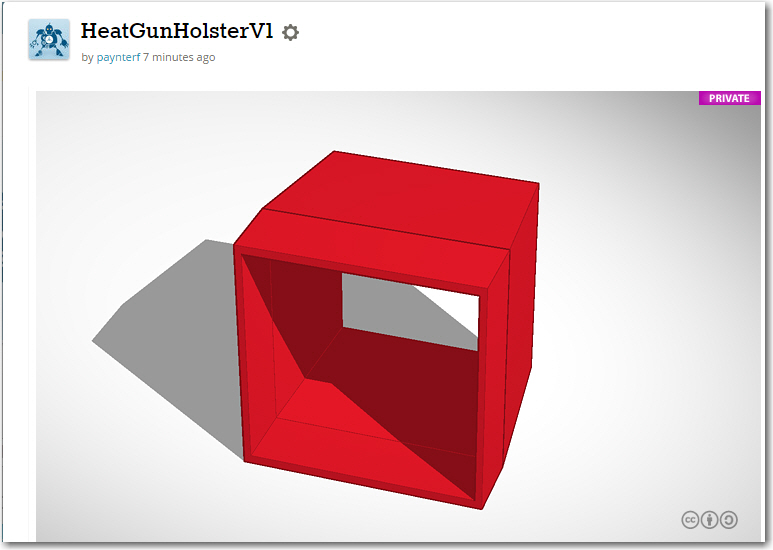
Version 1 of the heat gun under-counter holster. I didn’t include any mounting provisions on this first version – and it turned out I didn’t need any
The holster was printed in white ABS on my MicroCenter PowerSpec Pro 3D printer. I used white ABS because that was what was on the printer at the moment (and I didn’t want to use the brilliant neon magenta ABS stuff I had on the other extruder head). I assumed I was going to go through several versions (and I still may) so I didn’t really care what I used for the first version. In any case, the print took about 3 hours (most of which was spent while I was away playing bridge – hee hee). When I tried the result on my heat gun, it actually fit pretty well. The holster was just a teeny bit undersized, but the walls were thin enough (and ABS is flexible enough) so that the gun fit easily but tightly; I hadn’t really planned it this way, but I’d rather be lucky than good!
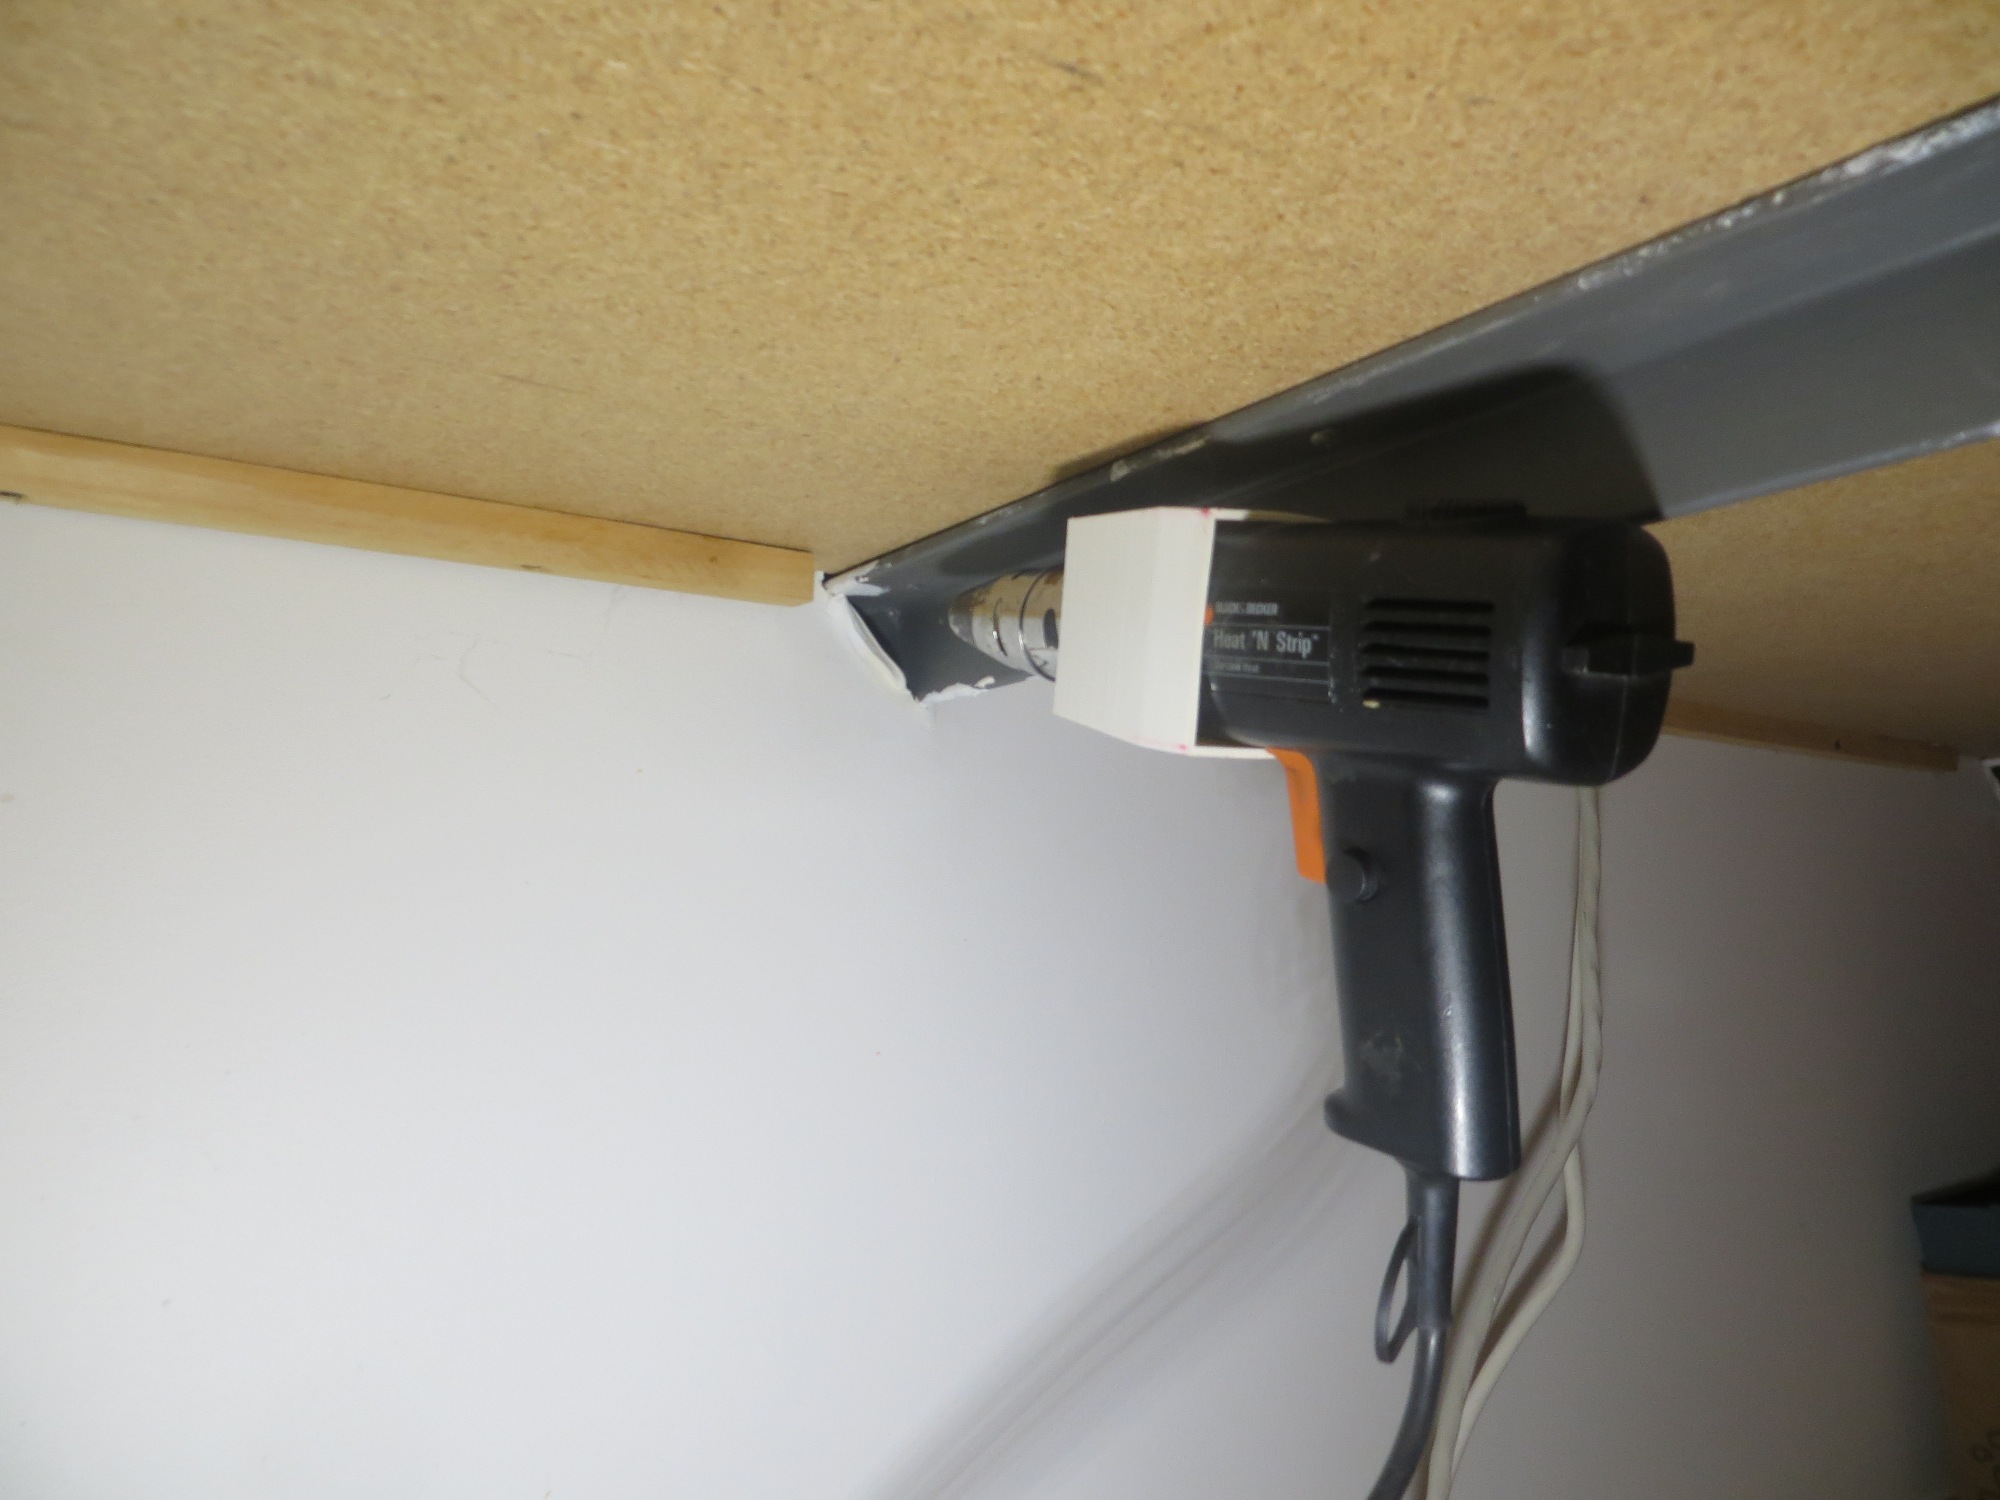
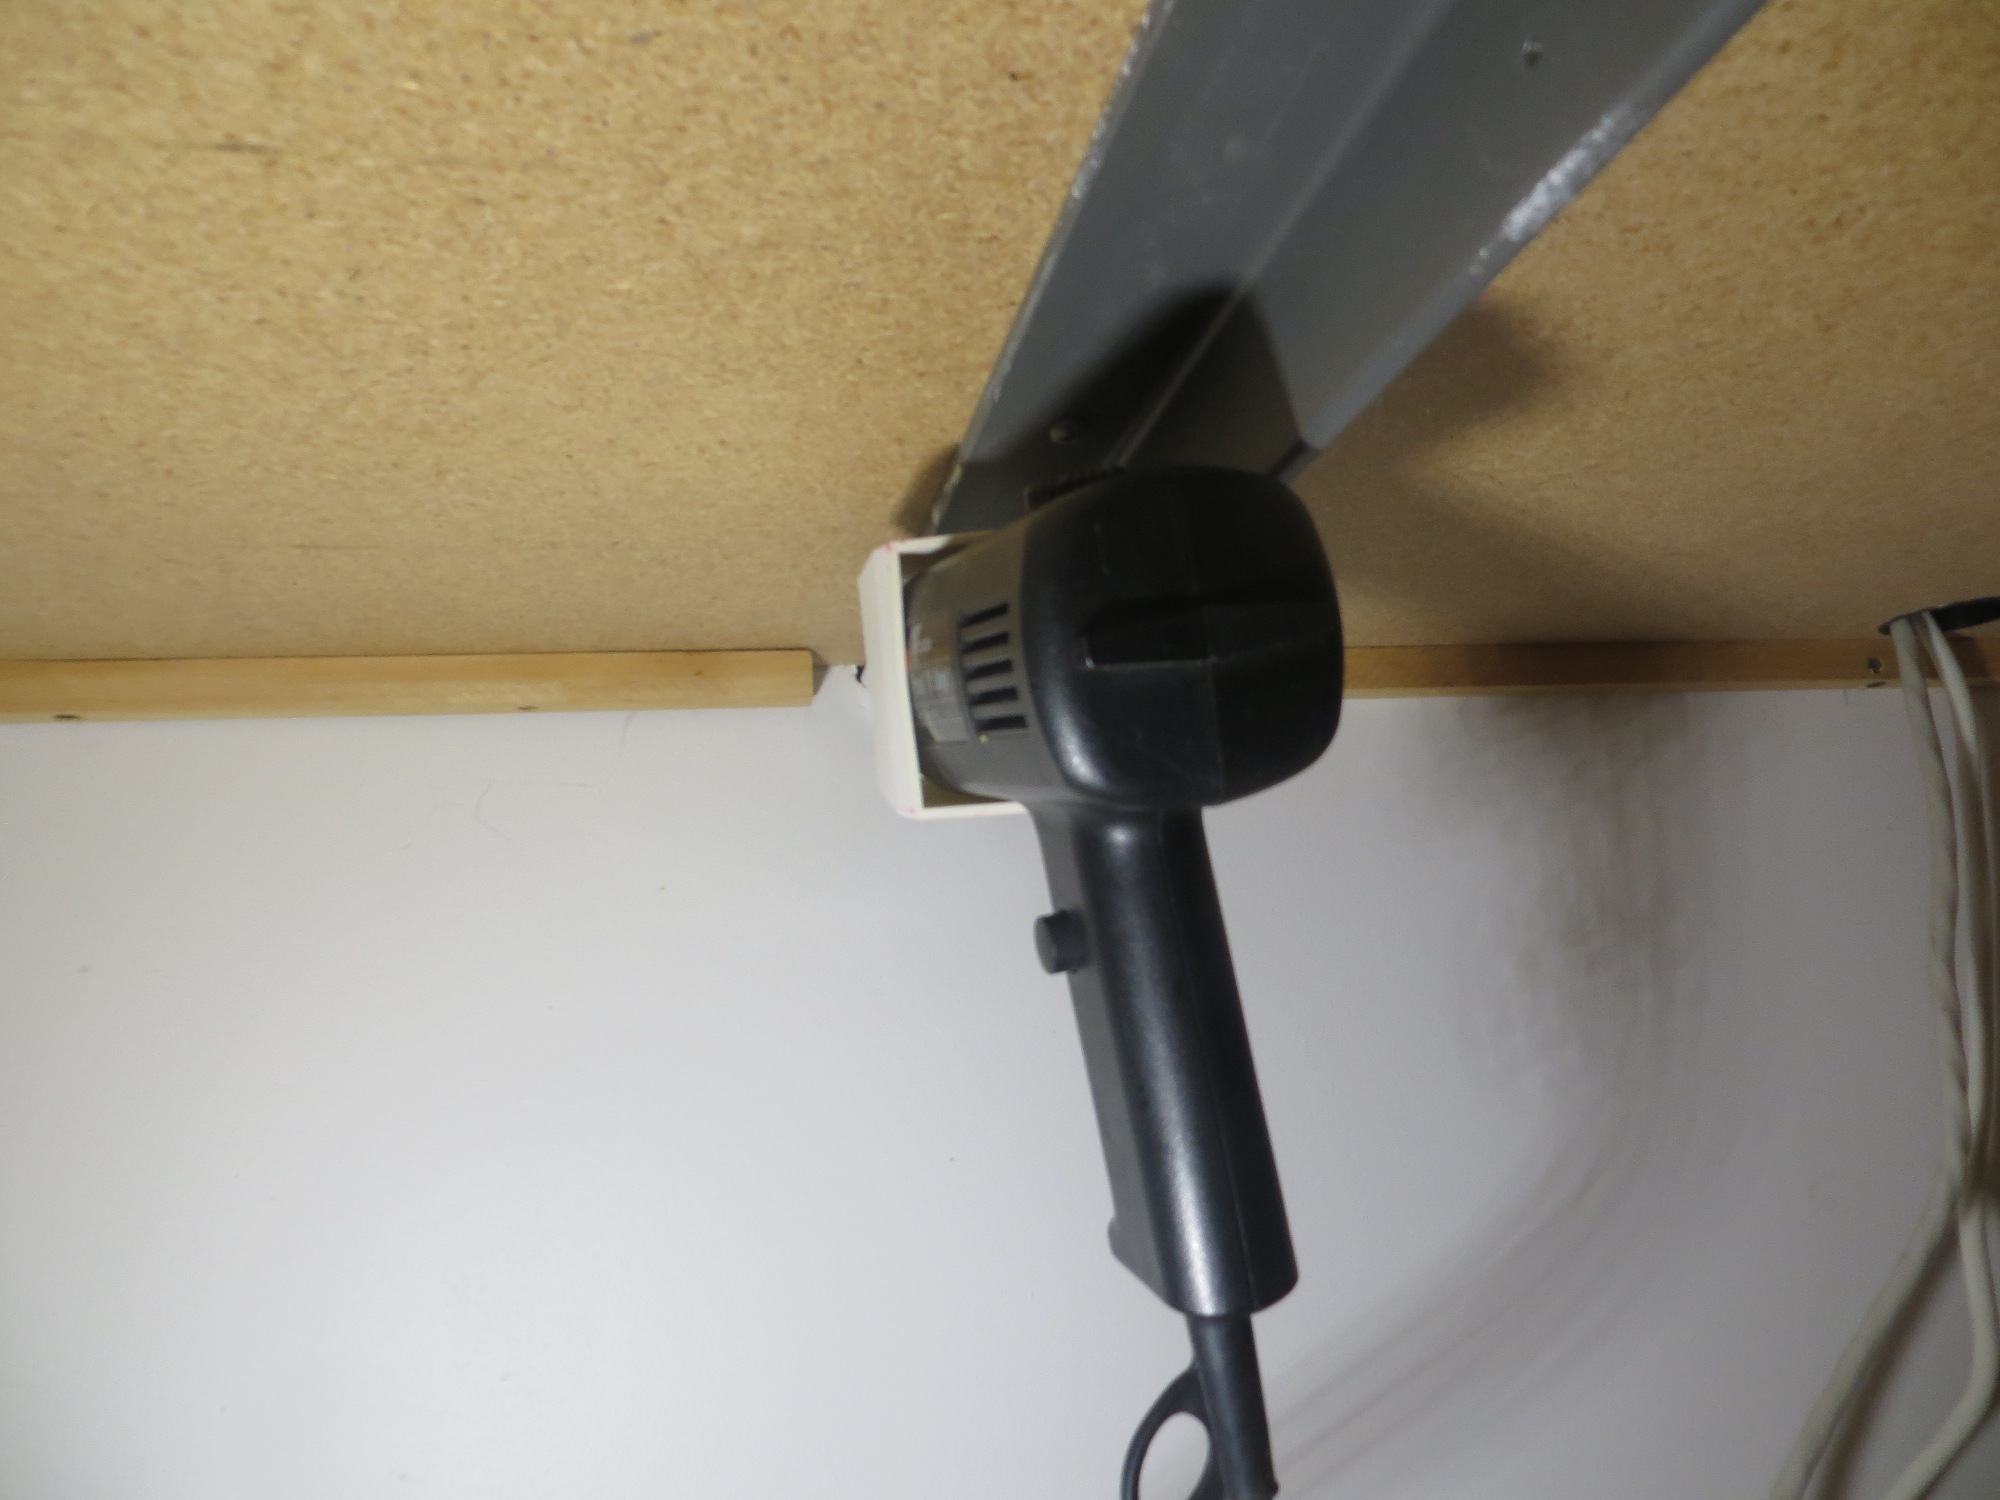
The whole thing worked so well in the initial tests that I decided to try and mount it under the counter on the steel L-bracket as planned. Instead of my non-existent mounting surface, I drilled some 6-32 holes in the front and rear upper inside corners. The rounded corners of the gun leave a bit of space there, enough so a protruding screw head won’t cause a problem. The biggest problem was drilling the mounting holes in the steel bracket – a 5/16″ thick piece of steel is not a trivial job!
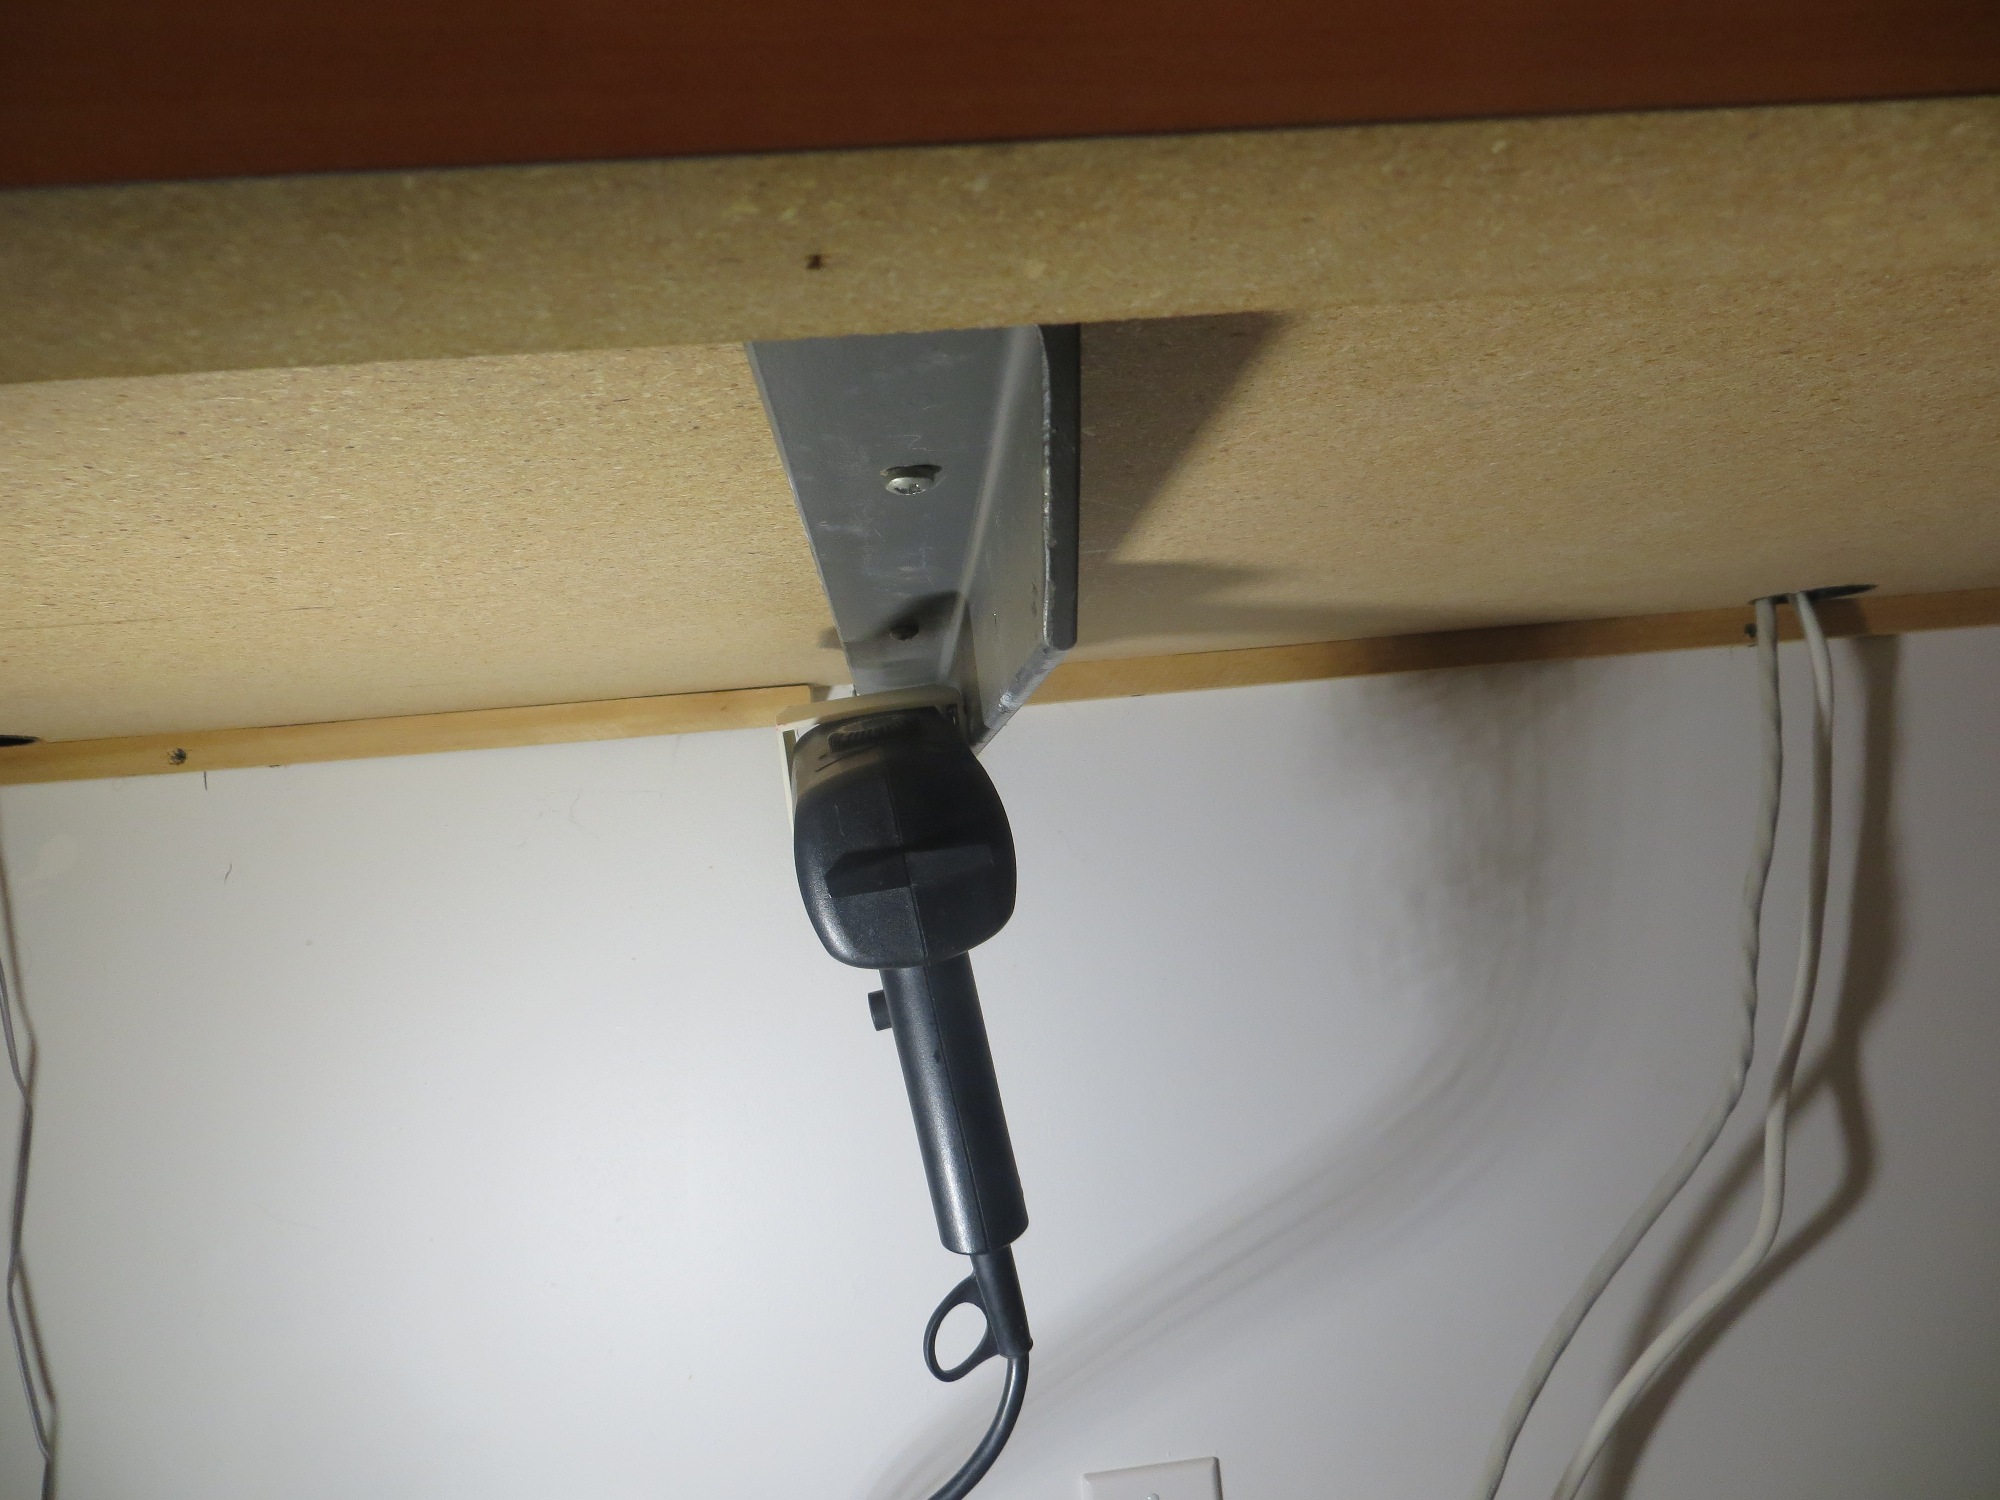
After getting the first hole in, I noticed that I didn’t really need the second one – the heat gun stays pretty level, and can’t go anywhere, even with just one mounting screw. The following photos show the installation. The holster is mounted far enough under the counter that I can roll my chair past this spot without my knees hitting the gun, but still close enough so I can easily remove/insert the gun in the holster.
Nice one! Great idea