I’m just now getting into the exciting new world of 3D Printing. It is pretty clear that the entire DIY 3D Printer is wildly chaotic and changing at a very rapid pace. This reminds me a lot of the early Personal Computer days (when the term ‘Personal Computer’ meant something that could fit onto a normal-sized office desk!). In those days, PC makers appeared and disappeared on a weekly (if not daily) basis. I remember buying a ‘Columbia’ PC (named because the company was located in Columbia Md). Its claim to fame was portability – if you wanted to think of a 30-40 lb package as ‘portable’! Almost all of these PC manufactures were gone in just a few years, I suspect the same thing is going to happen in the 3D printer market. I wonder if there will be a Dell and/or a Microsoft/Apple of 3D printing, or if the entire industry will go off in another direction entirely. One thing is for certain though, we are witnessing the dawn of a new era that will completely remake global industry and society. You can’t download pizza yet, but you *can* download the designs for, and print, just about anything else!
After doing some research into the many many offerings out there, I decided to go with the PrintrBot Simple Metal Kit. I have a pretty strong background in Electrical Engineering, and can find my way around basic construction toolboxes, so I figured I should be able to handle the kit and save some buckazoids in the process.
The kit construction turned out to be very straightforward, and the kit instructions on the web were pretty complete. I did have some minor problems when it turned out that a late addition to the kit (a small DC-DC converter PCB for the inductive build-bed sensor) wasn’t referenced in the kit build instructions – oops! A couple of quick emails to the PrintrBot support team, and some judicious Googling got me the information I needed to correctly integrate the new part.
In any case, here are some photos of my completed Printrbot Simple Metal.
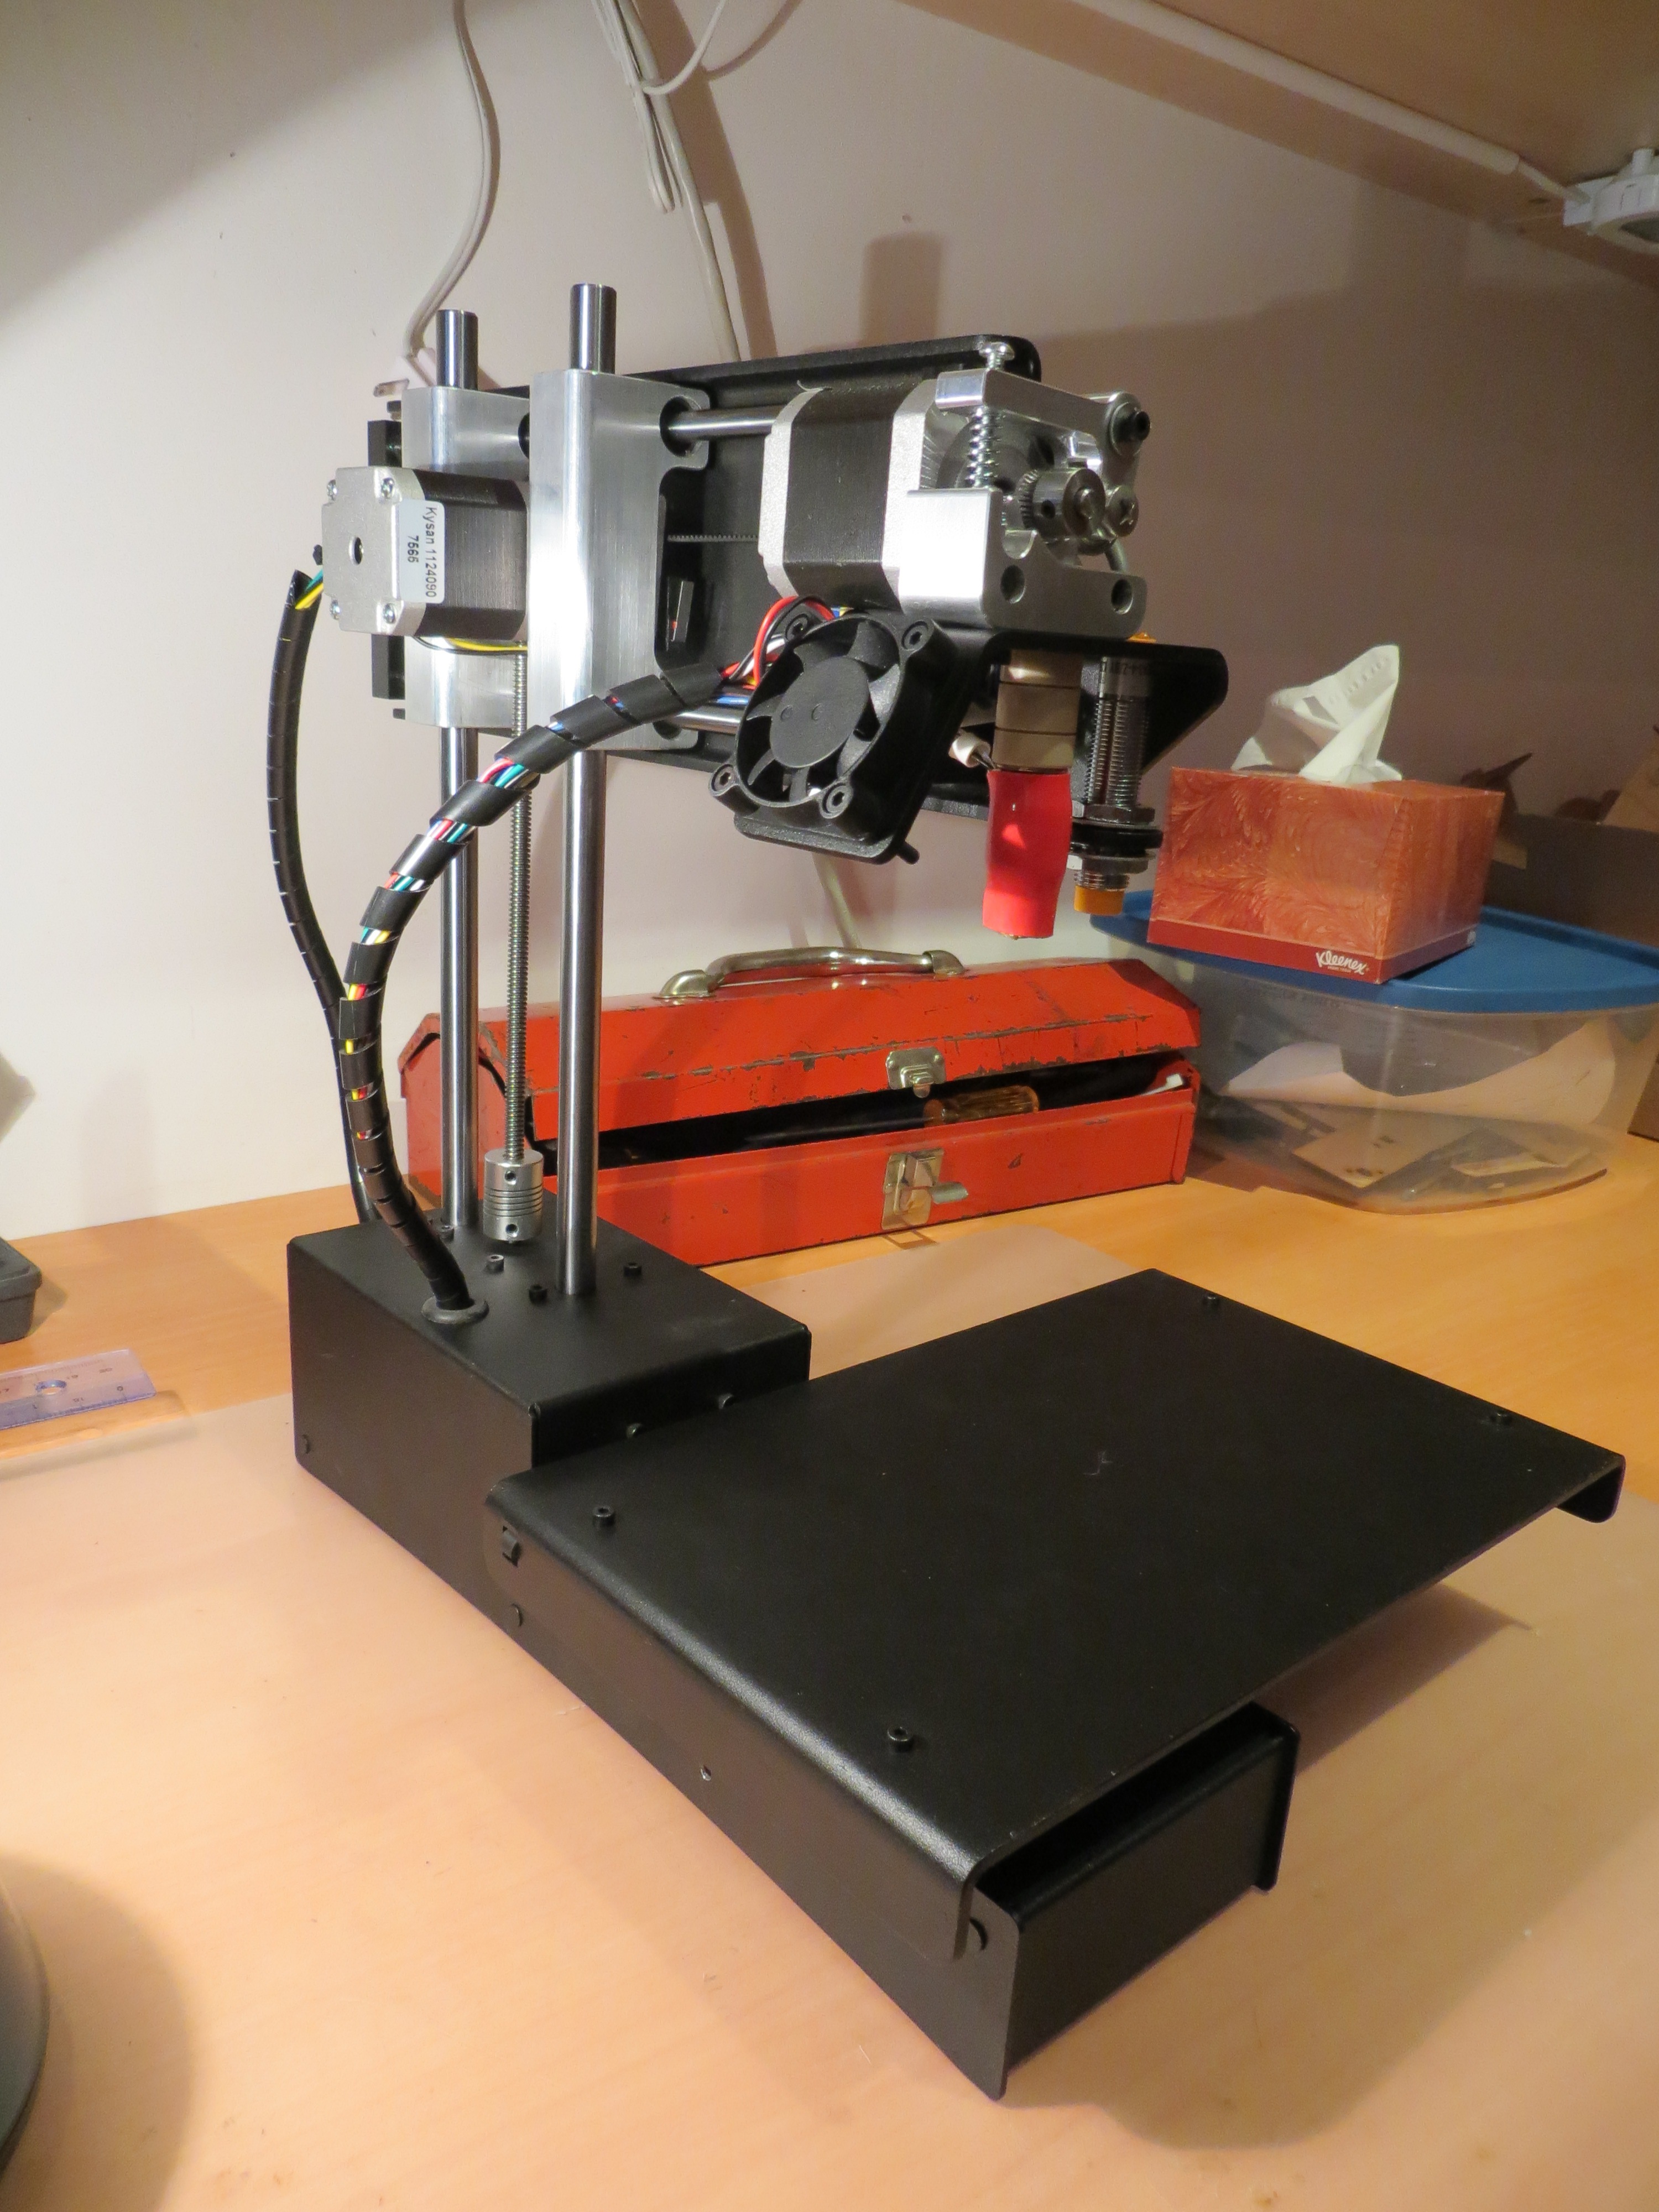
My first 3D printer – a PrintrBot Metal Simple Kit
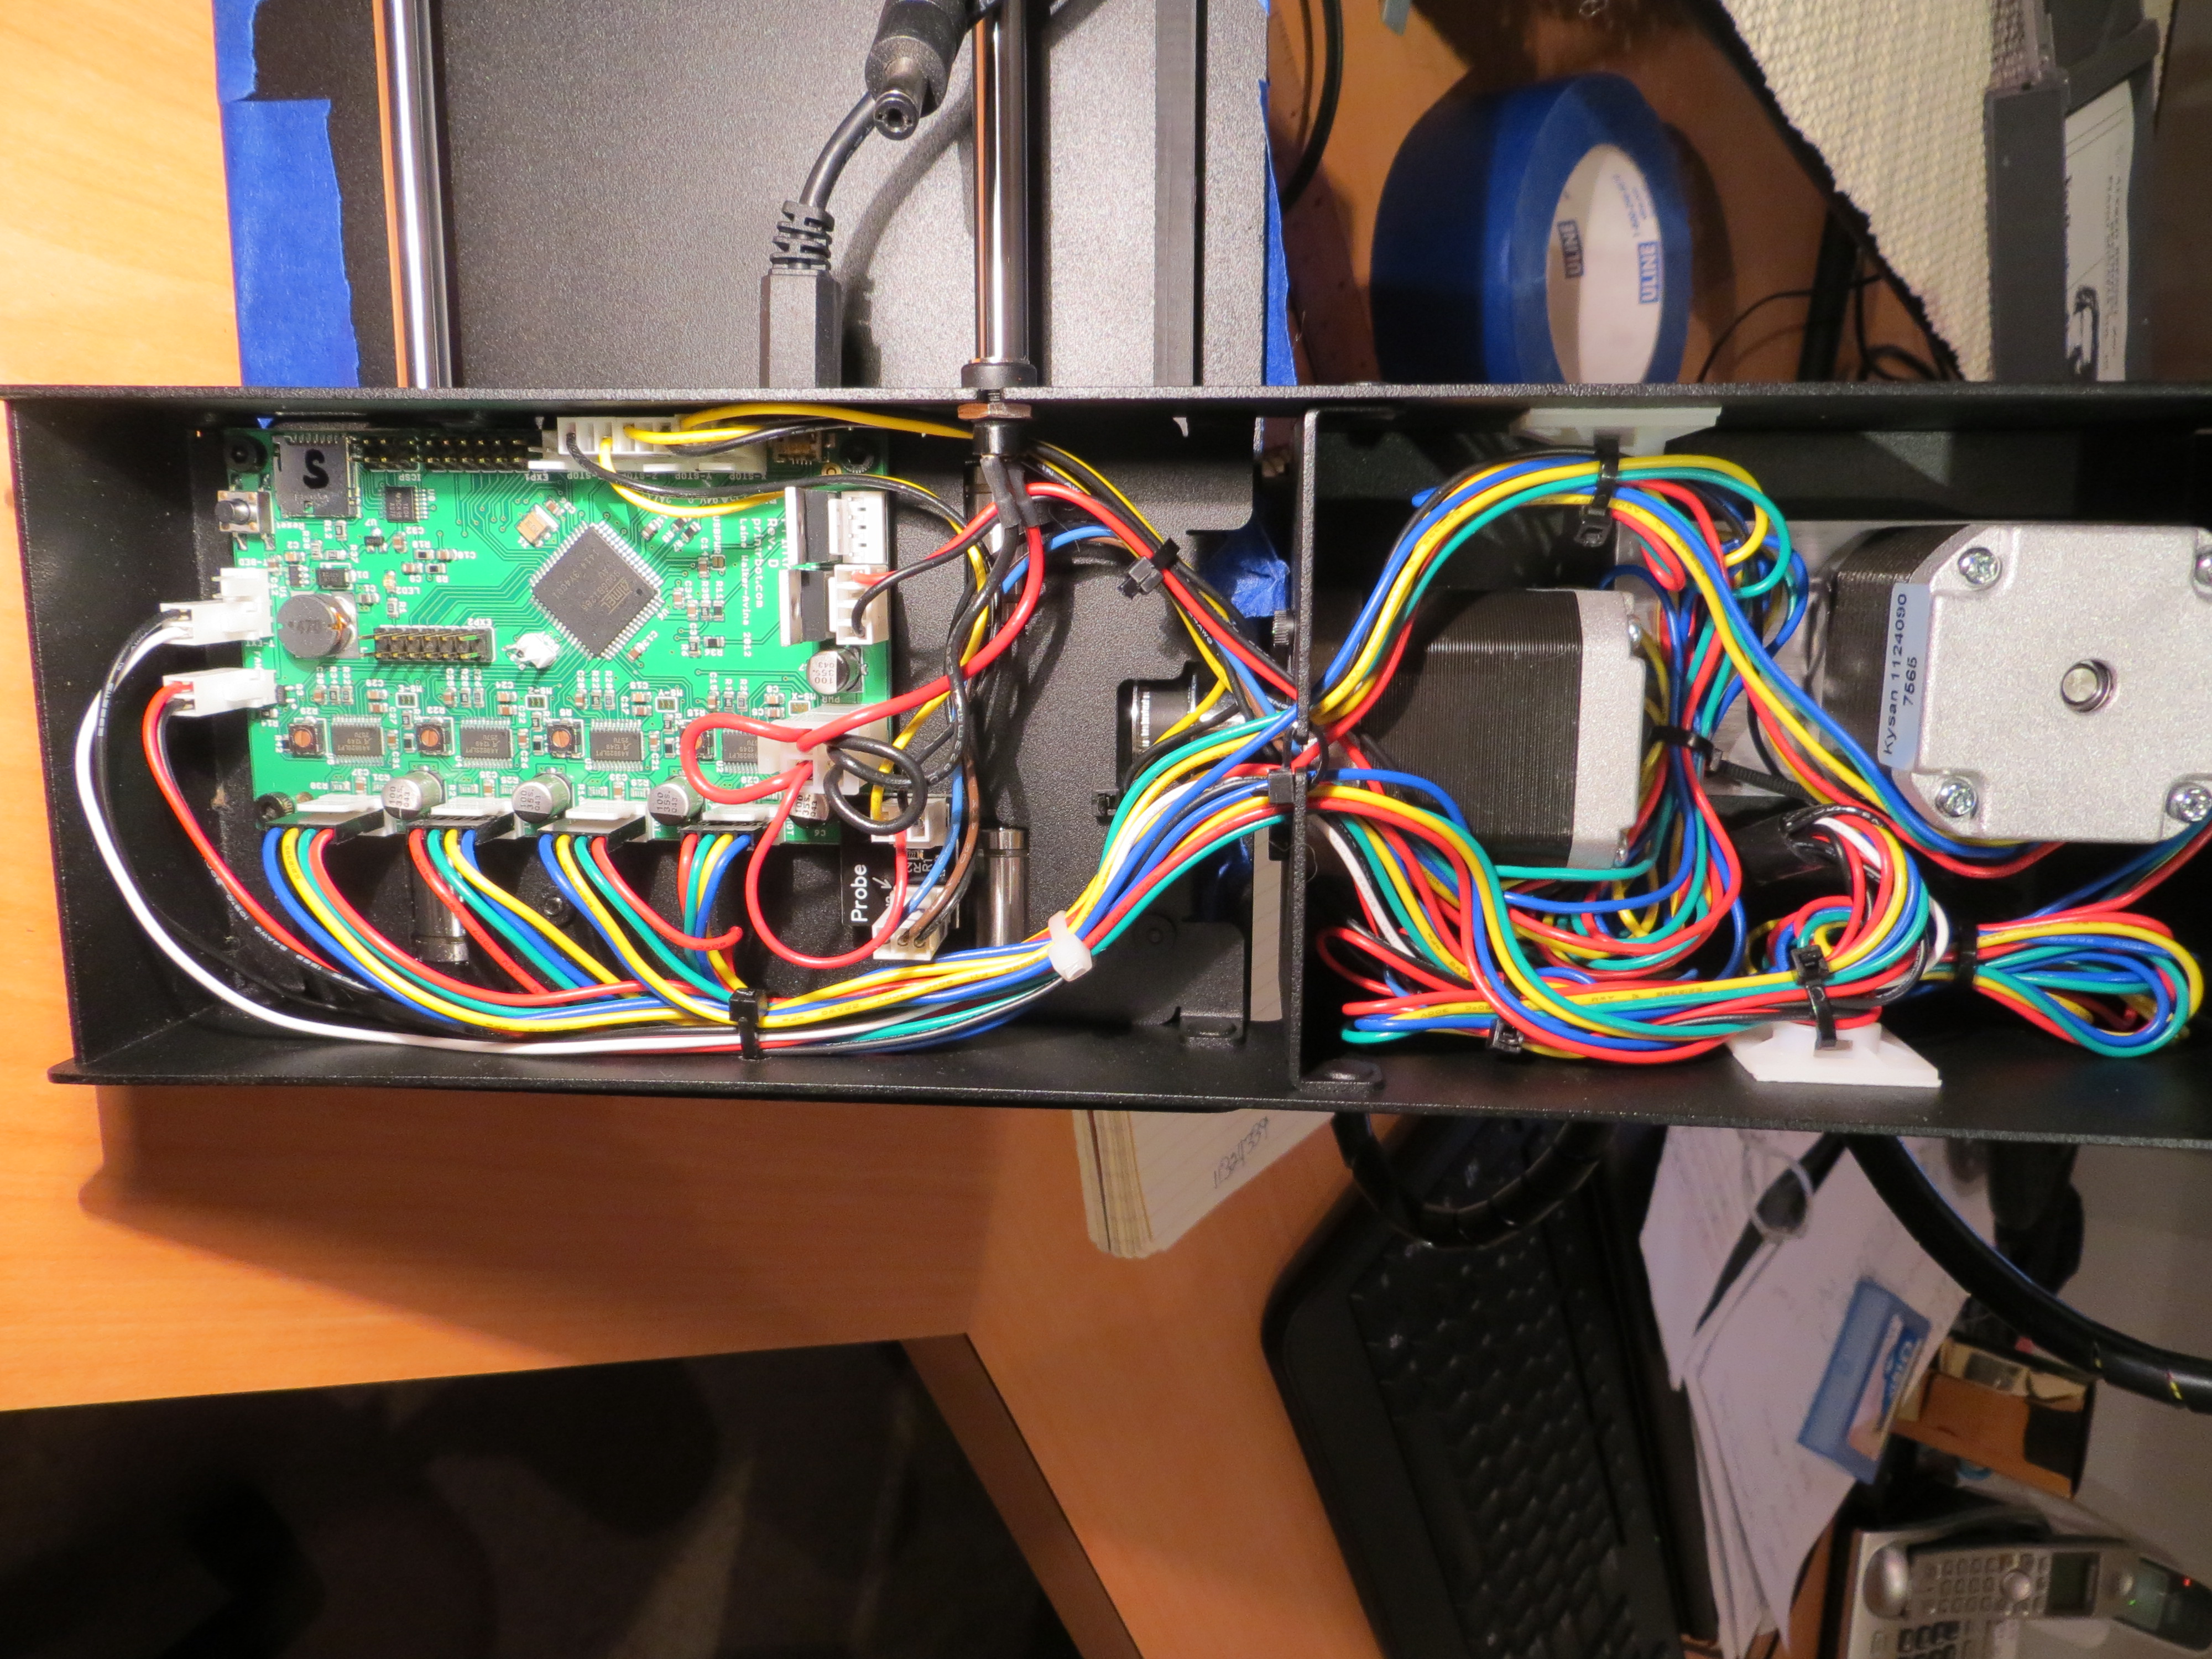
Underneath the covers. Note the extra white cable tie mounts
After getting the PrinterBot completed, of course I now had to actually *do* something with it. This required me to learn the software side of the house, and it too is a bit of a wild-west ride at the moment. It is entirely possible to design a part (or capture a 3D model from uploaded camera still photos) without paying a cent for software. For initial 3D design, Autodesk has 123D Design, 123D Catch, 123D Print and TinkerCad (recently purchased). The Autodesk apps come in standalone and web-based flavors, with the exception of 123 Design (which is being shut down due to problems with the required plugins) and TinkerCad. All of these have their own ‘special’ learning curves, complete with a wide variety of bugs and gotchas. Using any of them requires a *lot* of patience to work through missing functions and random crashes. However, notwithstanding all the problems, the functionality of some of these apps is simply amazing, especially considering it’s all free! From nowhere to actually usable in just a few years (or months!). For 3D printer management there is Repetier-Host – again free for the basic model. This app accepts STL files from the design side and manages the process of ‘slicing’ the model for a 3D printer (using one of a number of plug-in ‘slicers’) and then sending the ‘G code’ instructions to the printer itself. All in all, a hugely confusing (but exciting in a masochistic sort of way) landscape littered with bugs and obstacles on the way to that perfect 3D print.
Stay tuned!
Frank